


Project Info:
Quantity Needed For Project:
- 1 Cuties- Antique Brass Magnetic Clasp
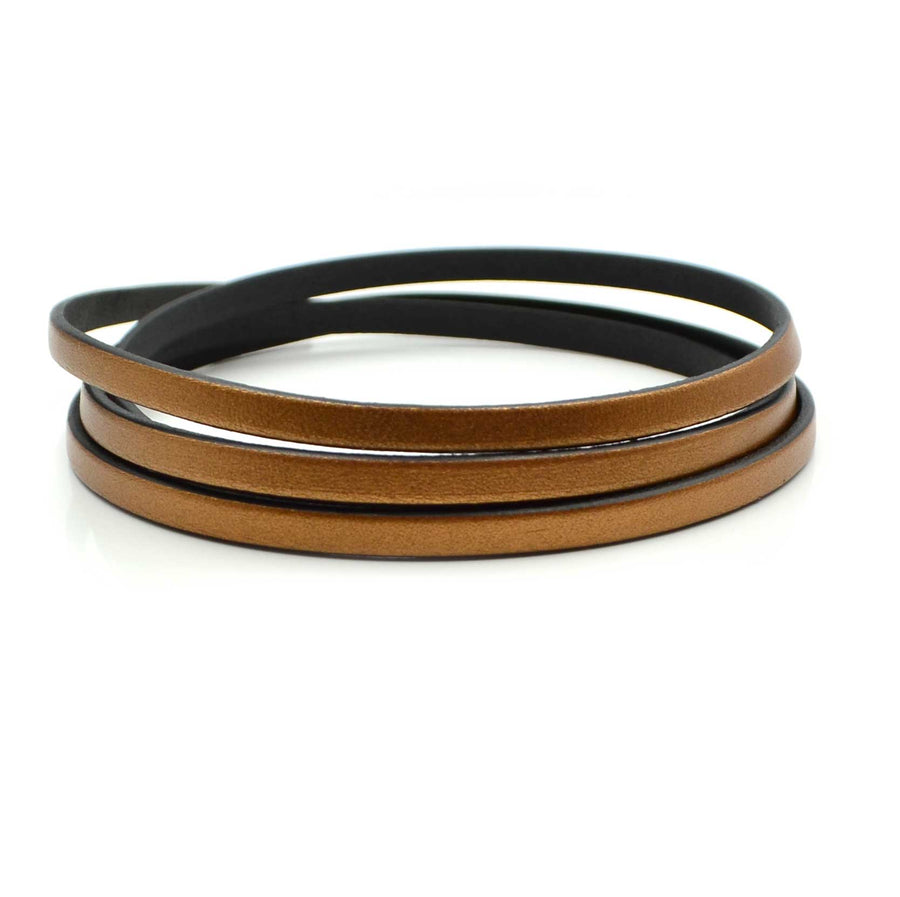
- 1 Yard Copper-5mm
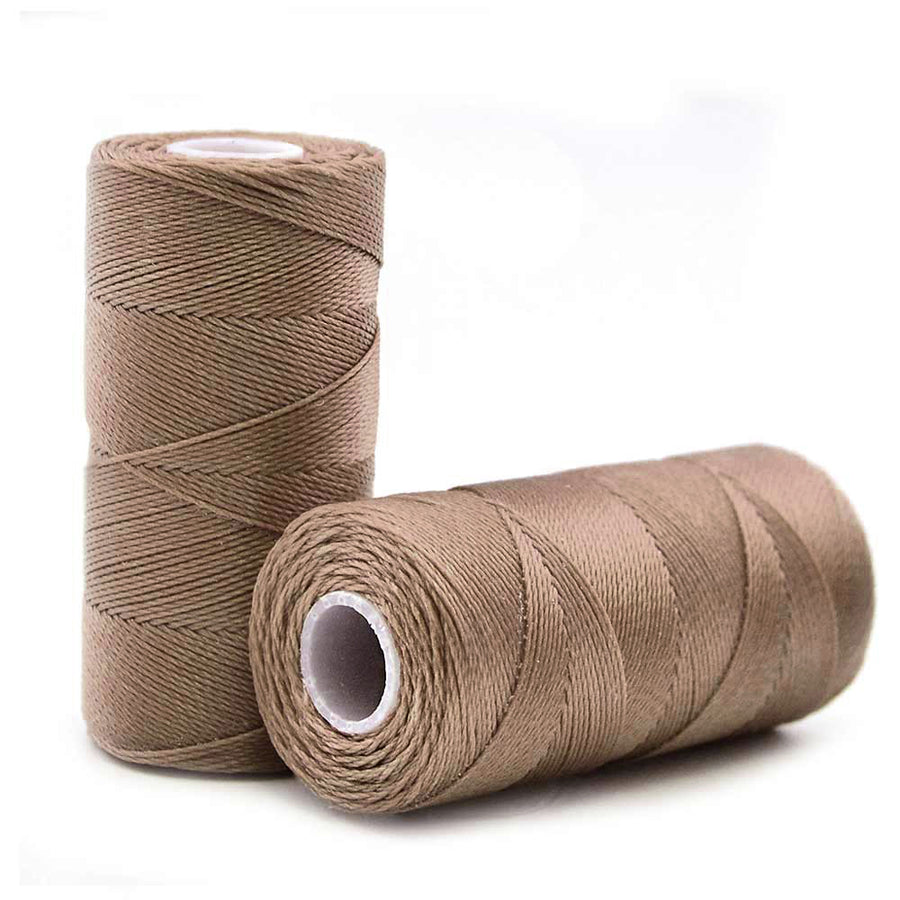
- 1 Spool Sable - Micro C-Lon
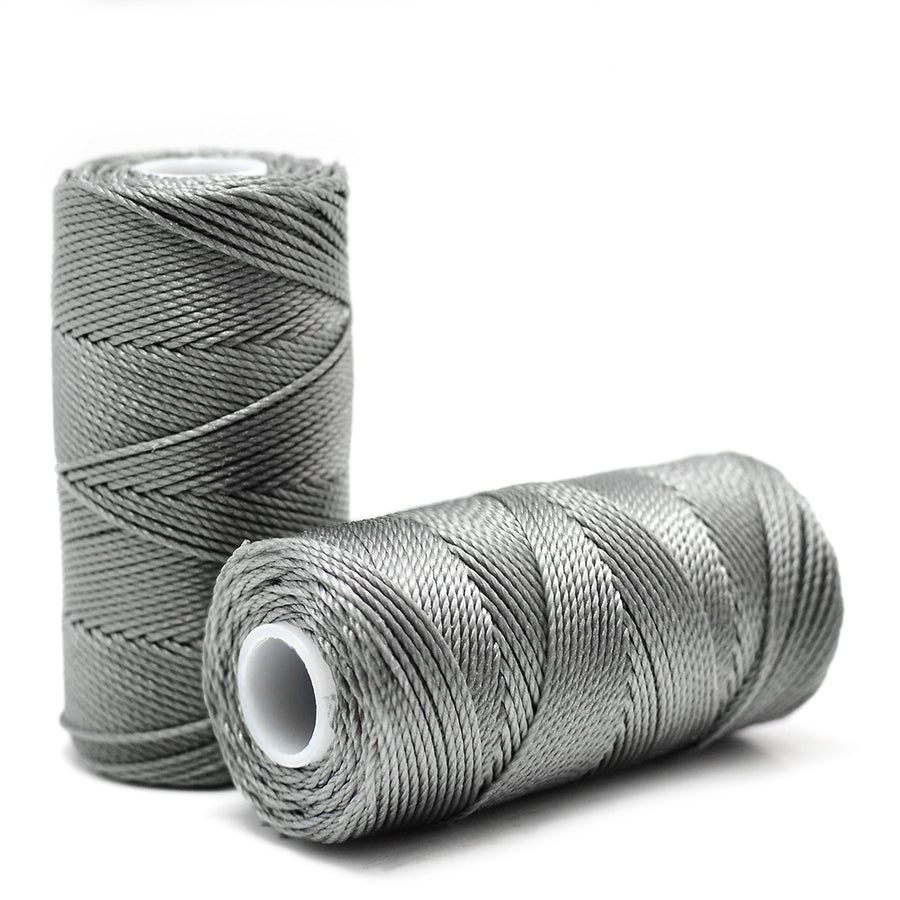
- 1 Spool Gunmetal - Fine C-Lon
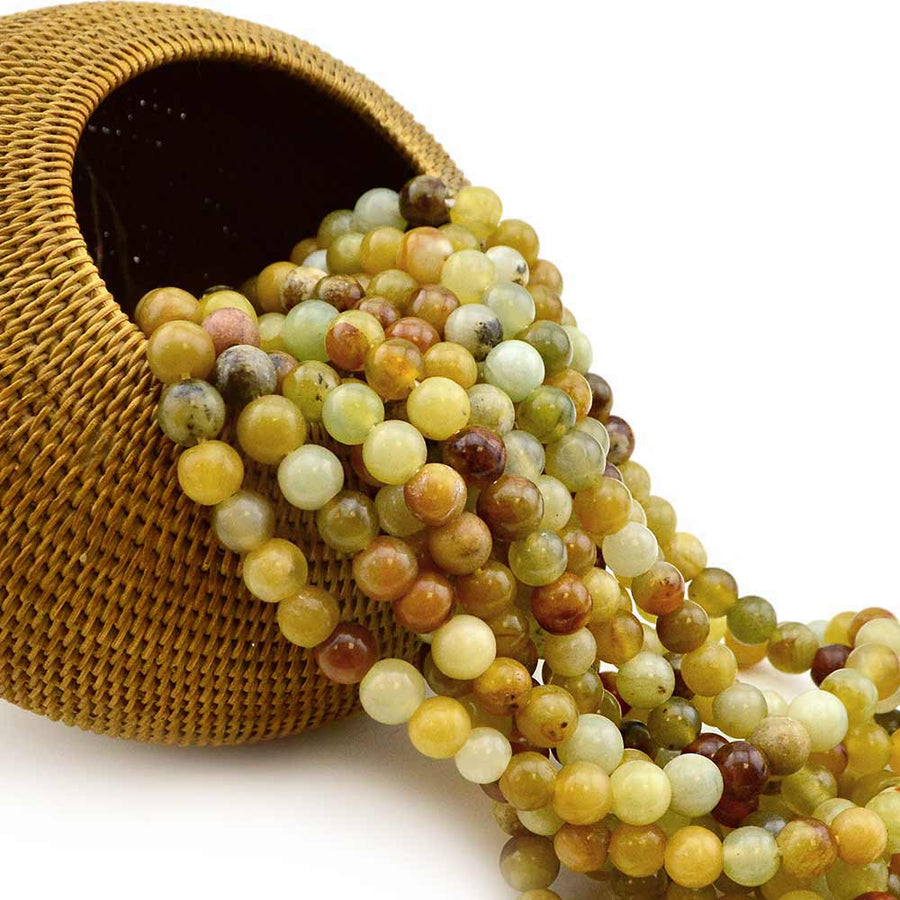
- 1 Strand Honey Serpentine
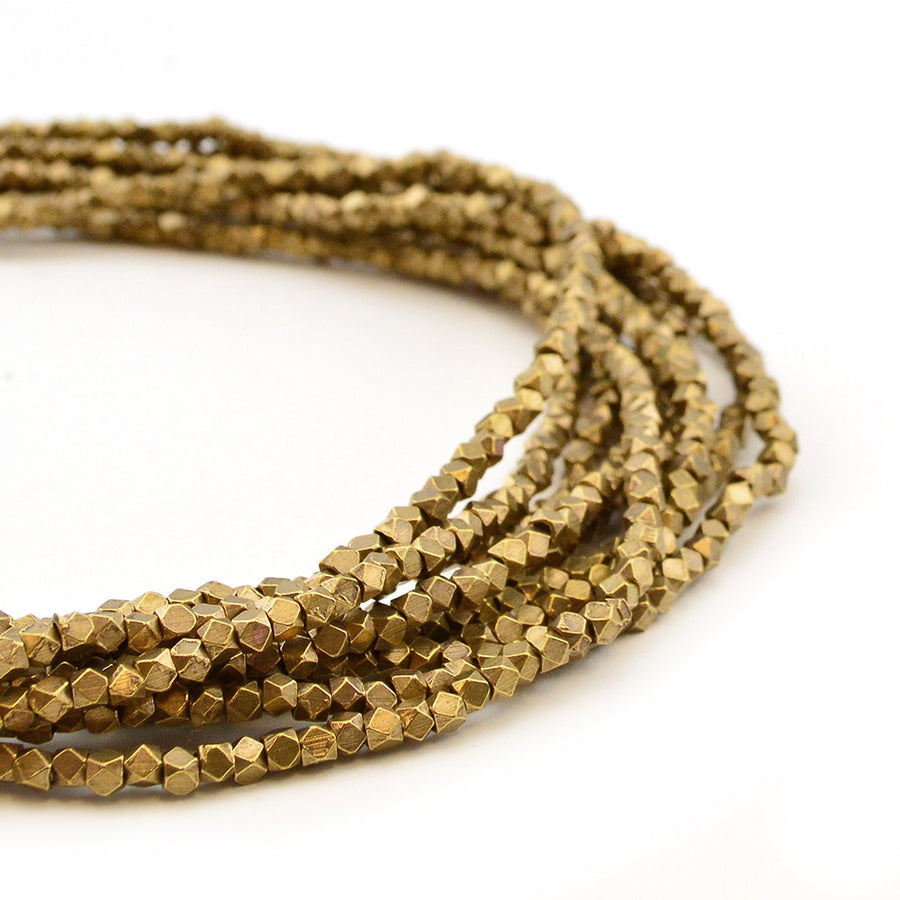
- 1 Strand Little Shadows- Antique Brass
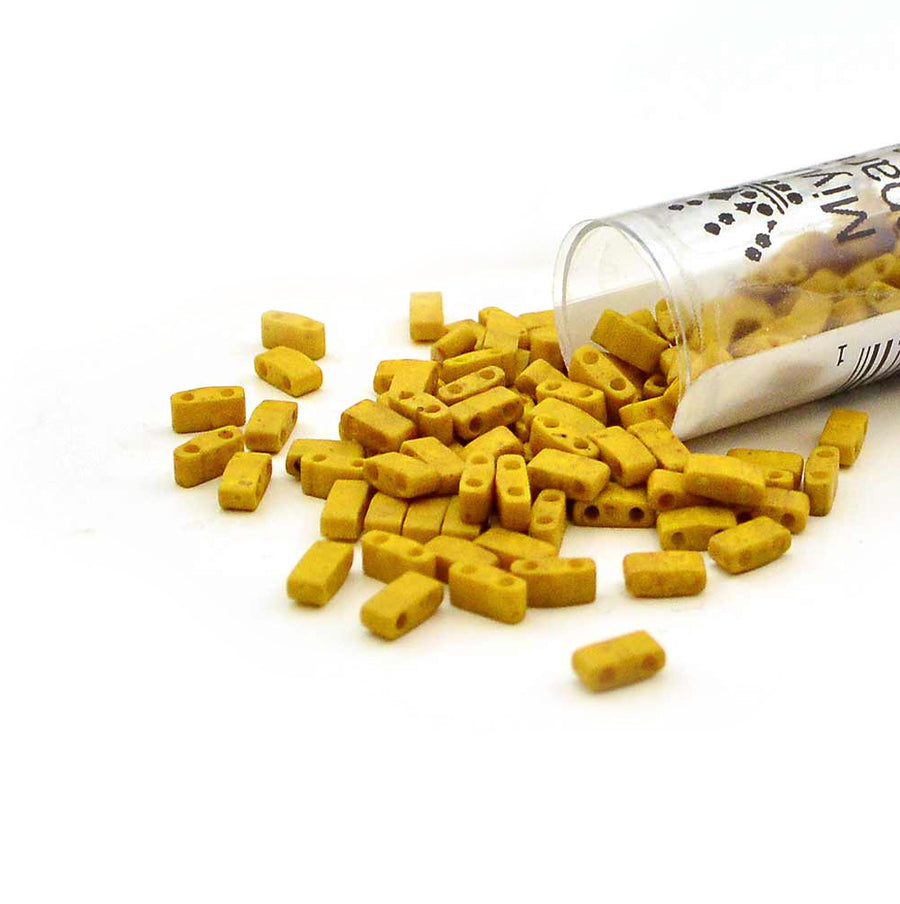
- 1 Tube Half Tila TLH2312- Mustard
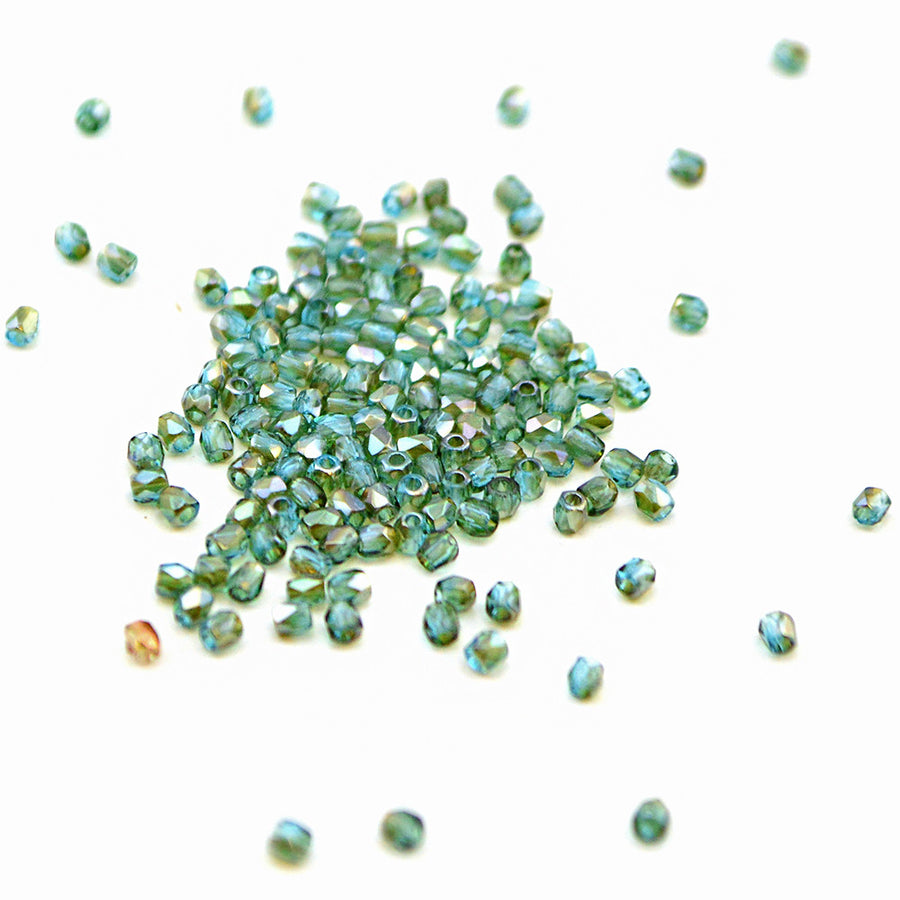
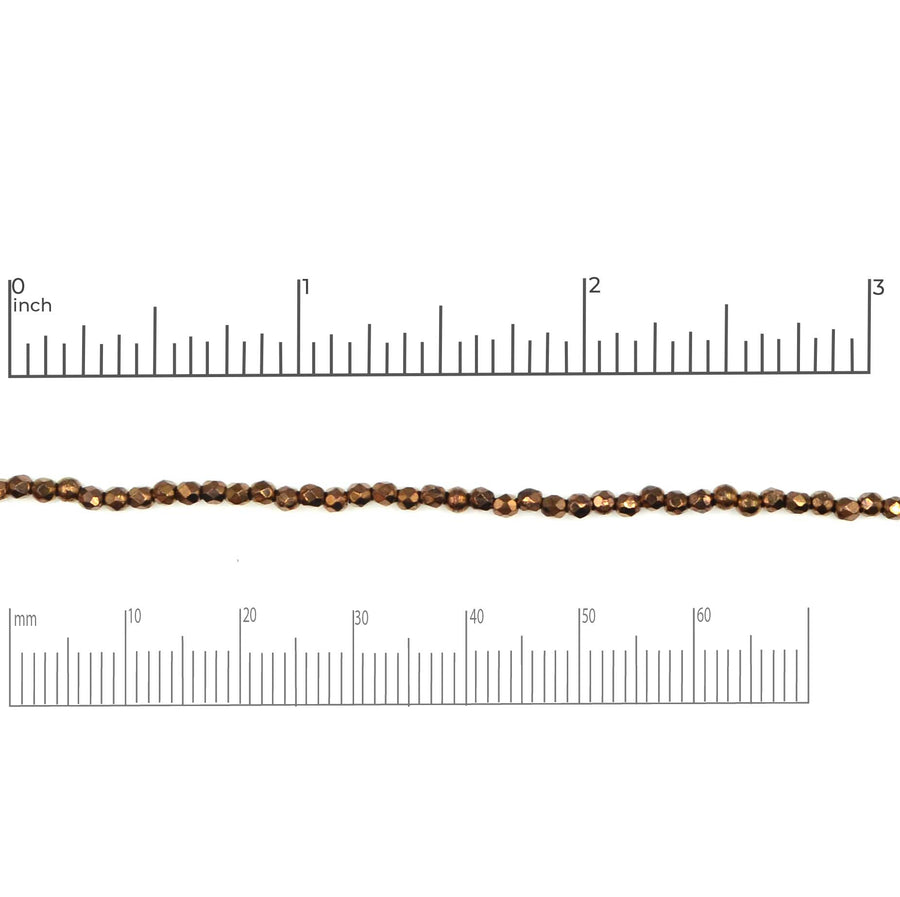
- 1 Pkg 2mm- Aqua Celsian
- 1 Pair Rounded Loop End- Antique Brass
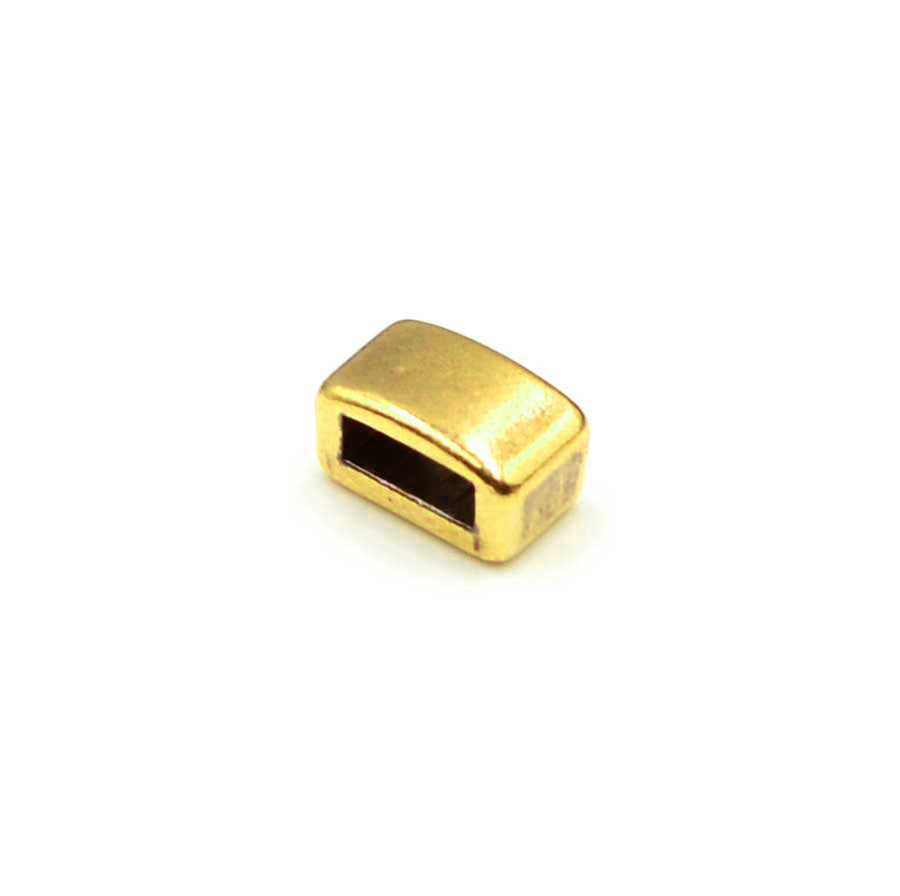
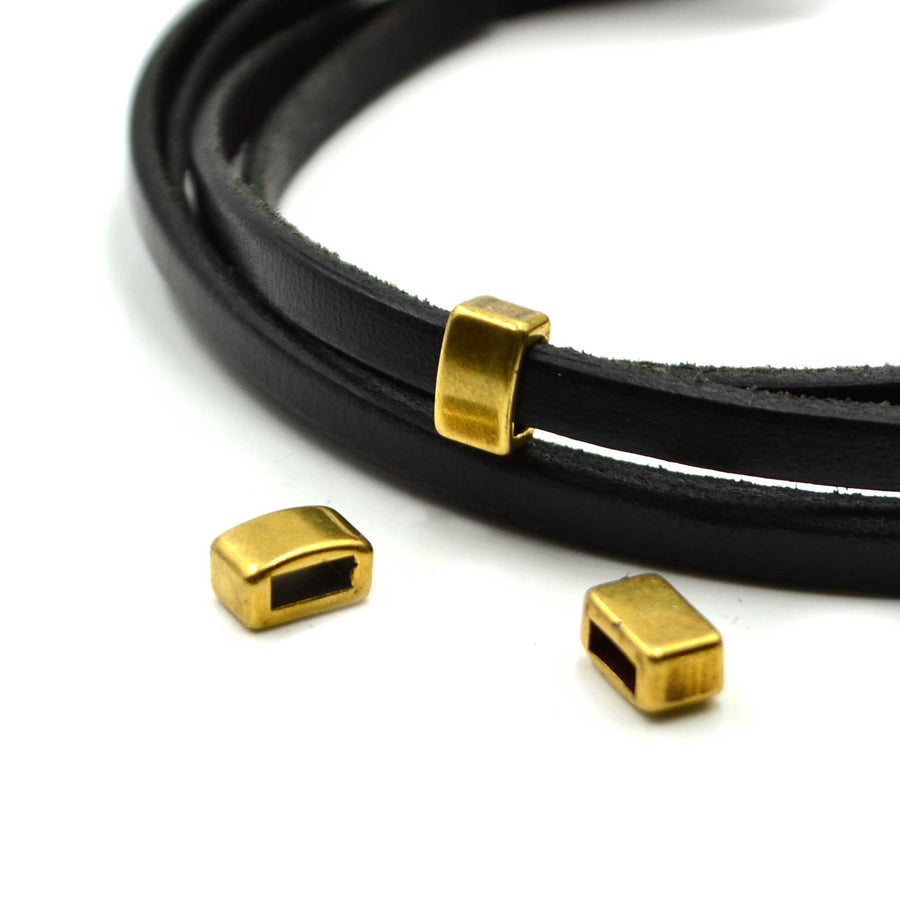
- 4 Home Run Slider Beads- Antique Brass
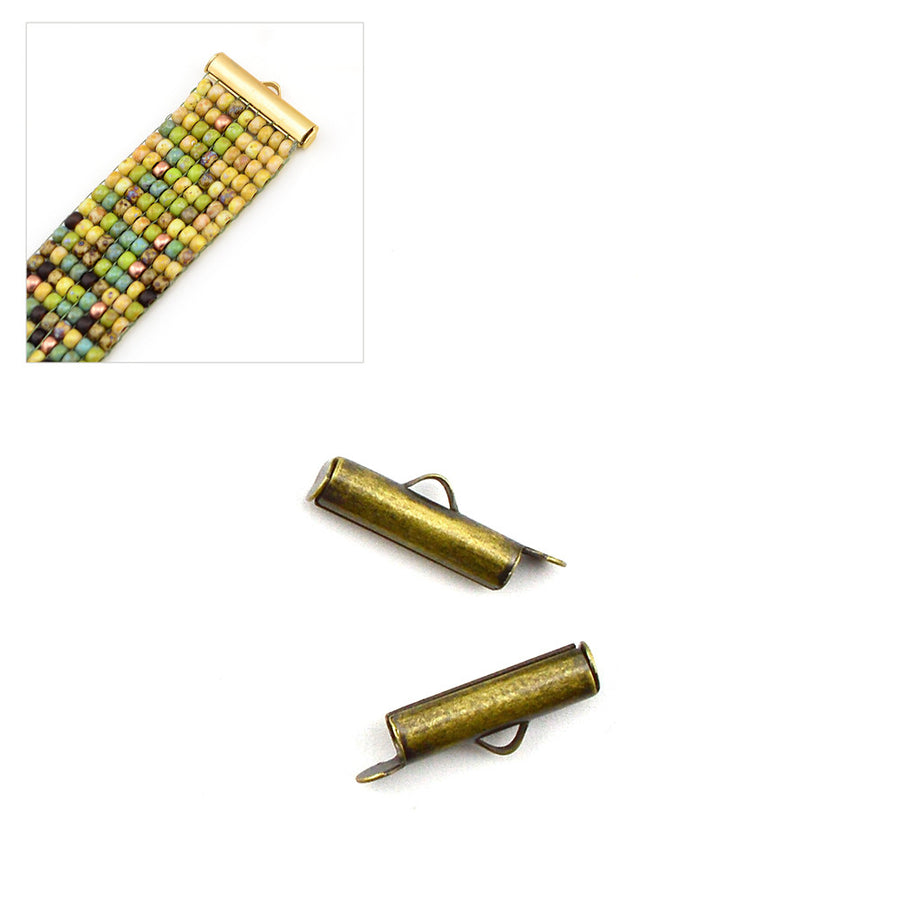
- 1 Small Slide Tube- Antique Brass
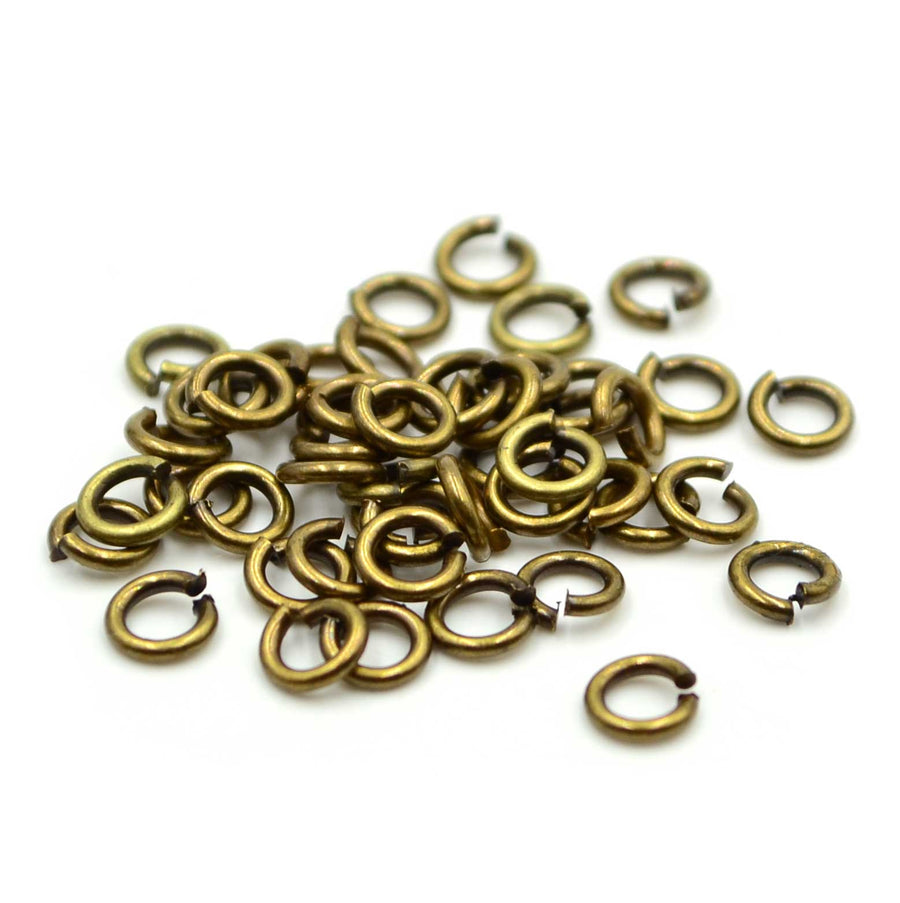
- 1 Pkg Antique Brass Jump Rings - 5mm/18g
- 1 Pkg 2 inch Eye Pins- Brass
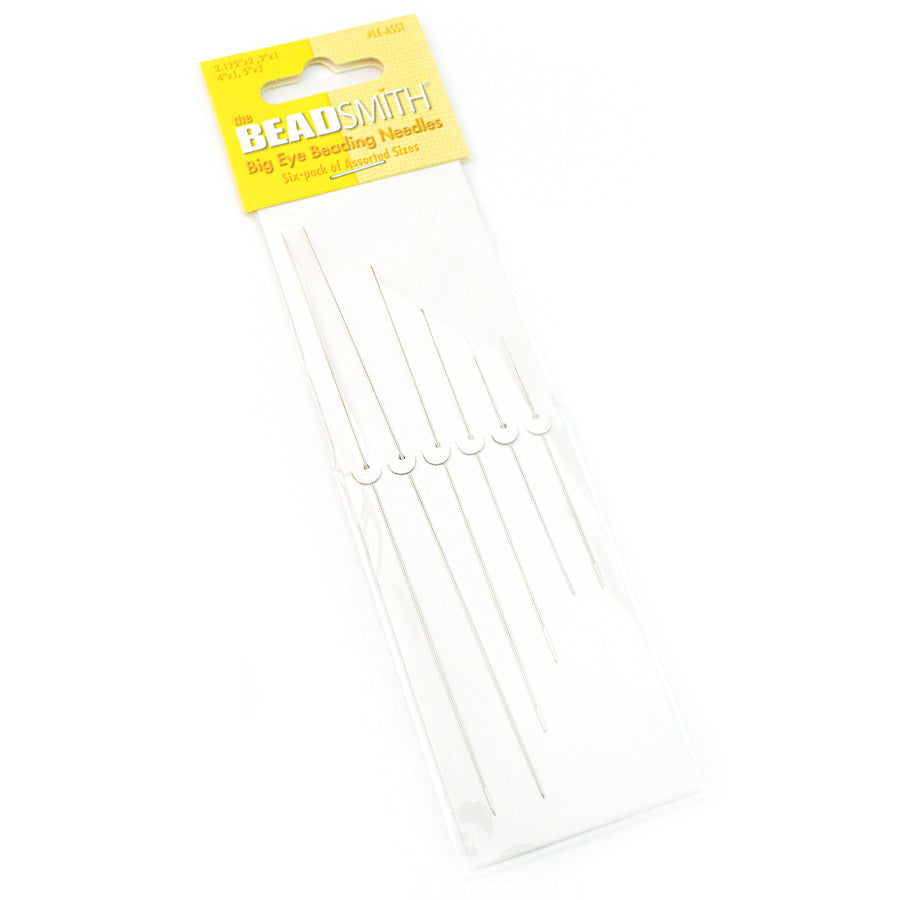
- 1 Pkg Beadsmith Big Eye Needles
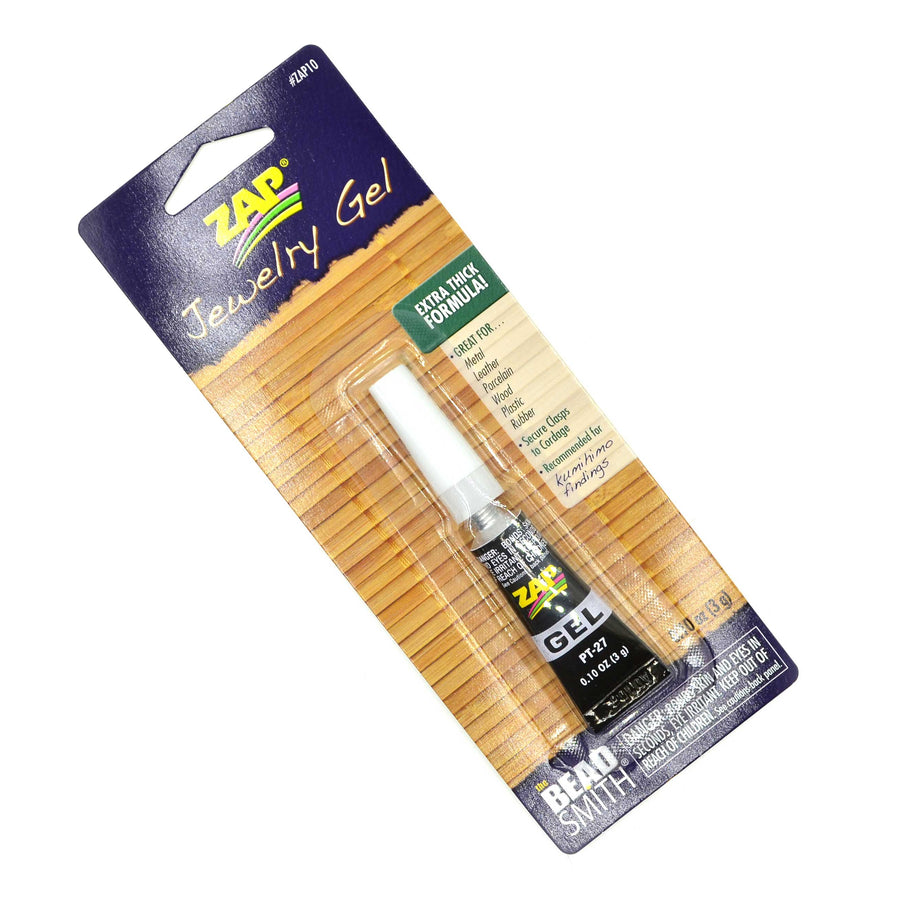
- 1 Tube Beadsmith Zap Jewelry Gel
Additional Learning:
- 1 Cuties- Antique Brass Magnetic Clasp
- 1 Yard Copper-5mm
- 1 Spool Sable - Micro C-Lon
- 1 Spool Gunmetal - Fine C-Lon
- 1 Strand Honey Serpentine
- 1 Strand Little Shadows- Antique Brass
- 1 Tube Half Tila TLH2312- Mustard
- 1 Pkg 2mm- Aqua Celsian
- 1 Pair Rounded Loop End- Antique Brass
- 4 Home Run Slider Beads- Antique Brass
- 1 Small Slide Tube- Antique Brass
- 1 Pkg Antique Brass Jump Rings - 5mm/18g
- 1 Pkg 2 inch Eye Pins- Brass
- 1 Pkg Beadsmith Big Eye Needles
- 1 Tube Beadsmith Zap Jewelry Gel
Level: Intermediate
Estimated time: Weekend
Leatherbound


Project Map
Project and Sample by Kate Richbourg
The inspiration for this project goes back to the years when Kate was a little girl. Her Grandmother Rose loved to collect trinkets, and Kate spent hours poring over the treasures. While making Treasure Chest Kate found that same feeling; time just seemed to slip away…just like the hours she spent playing with Gran’s treasure chest. This vintage-inspired color palette is inspired by treasures once lost and now found, stashed away in the attic.
Project Notes:
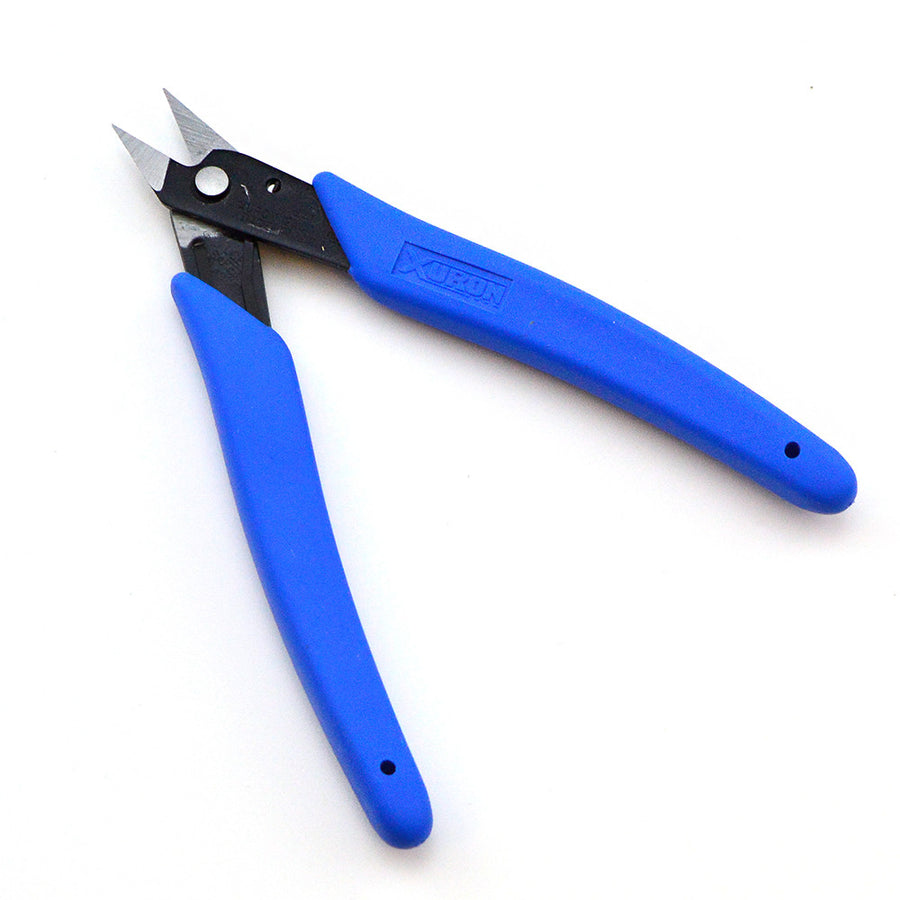
Begin by making a 5¾” loomed section on a Jewel Loom using Half Tilas, 2mm Fire Polish, and Little Shadows. Kate used Fine C-Lon for both warp and weft threads. Finish with a tube slider as described on page 2 of our Crystalline project handout. Please note: if the tube does not slide on easily, use a pair of chain nose pliers to very very gently pry it open to enlarge the channel so it slides on easier. You may also substitute the Little Shadows for the 8/0 seed beads that are usually used inside the slider when finishing.
Next, cut a 13½” length of 5mm leather, string the slider beads* spaced evenly across and adhere on each end to Leather End* with Zap Glue. Instructions for this technique are on page 3 of the PDF Handout.
Download the Making Rosary Loops PDF and use fifteen 8mm semiprecious rounds connected with rosary loops to form a chain. Connect the three segments together, finish with the Cuties clasp and you have your own attic treasure!
*Kate originally used different Brass Slider beads and Leather Ends that are no longer available. The Home Run Sliders in Antique Brass and Rounded Loop End are a great substitute!
A note on sizing from Kate. The overall length of this piece is 29” and fits my 6¾” wrist with a bit of wiggle room. Think about it this way, you are essentially making a bracelet that is 4x your wrist measurement with a couple of extra inches added to accommodate for the room needed to wrap around your wrist. If you need to adjust the length, the easiest section to shorten or lengthen is the section of rosary-looped 8mm beads.