

Project Info:
Quantities Needed For Project:
- 1 Button
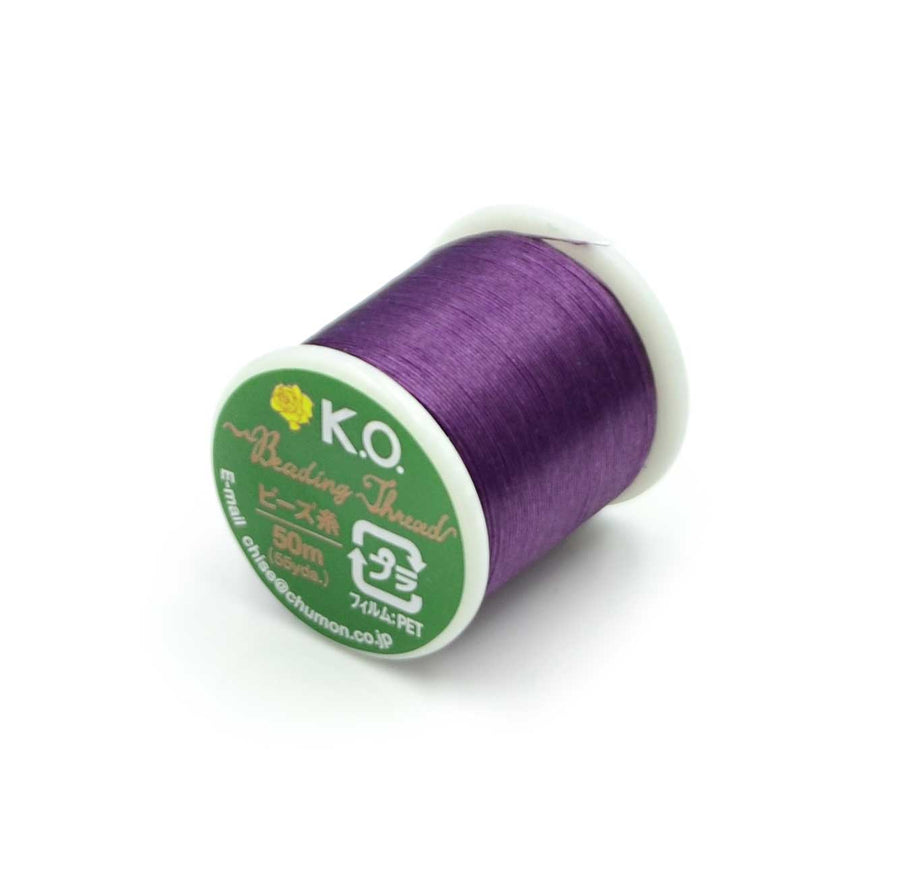
- 1 Spool KO Thread or Hana Thread
- 4 Yards 1.5mm Leather
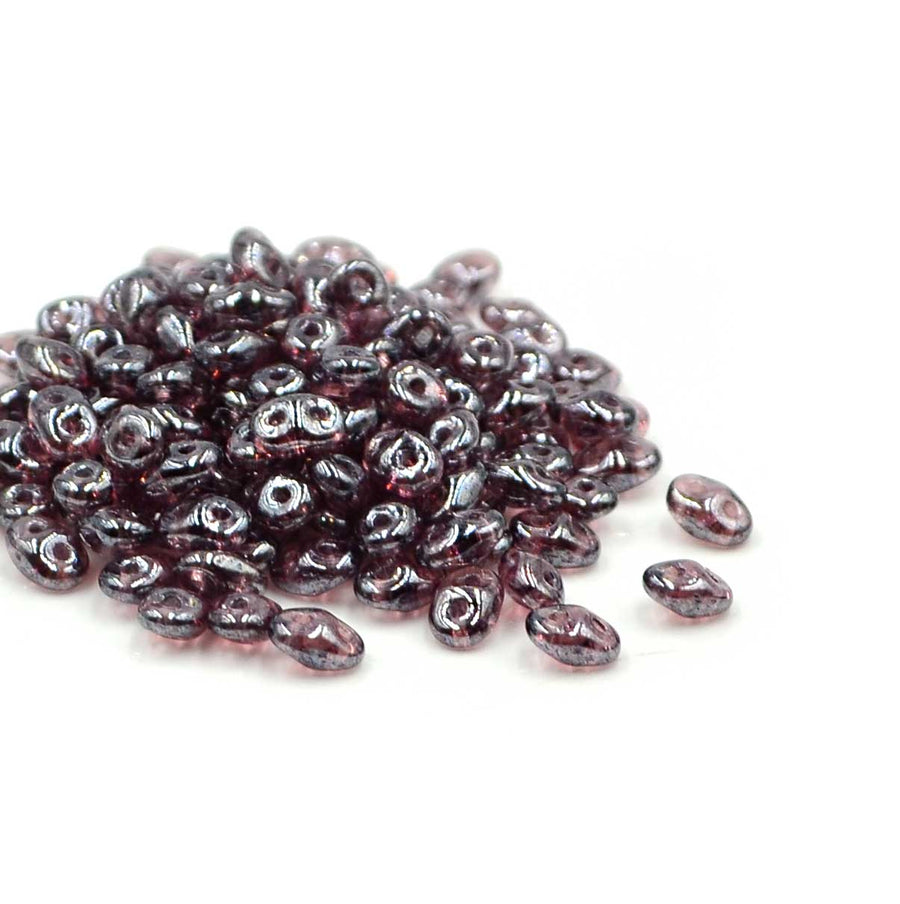
- 1 Tube SuperDuos
- 2 Strands 4mm Fire Polish
- 1 Strand 4mm Druks
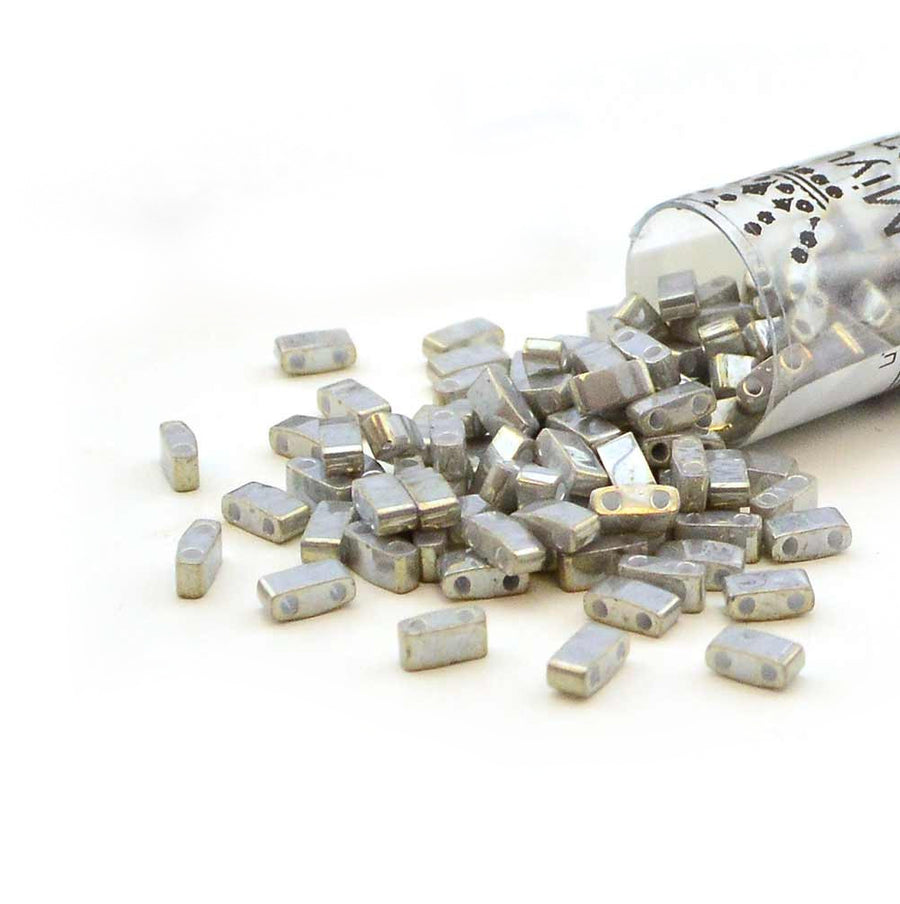
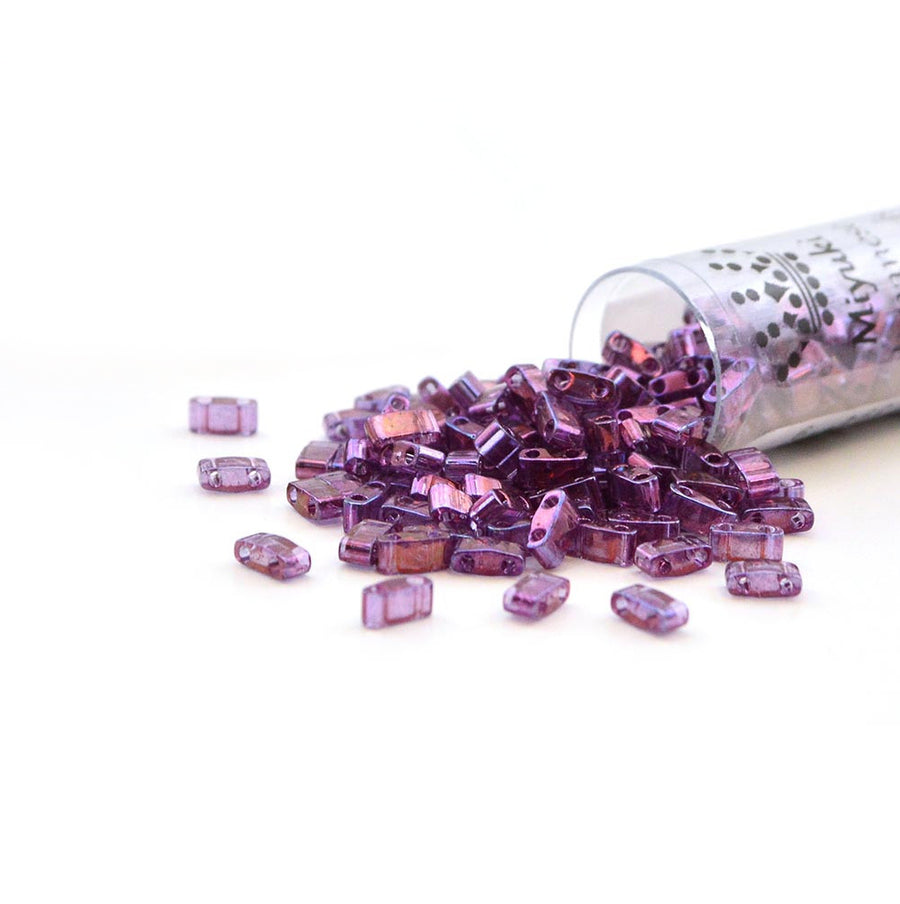
- 2 Tubes Half Tilas
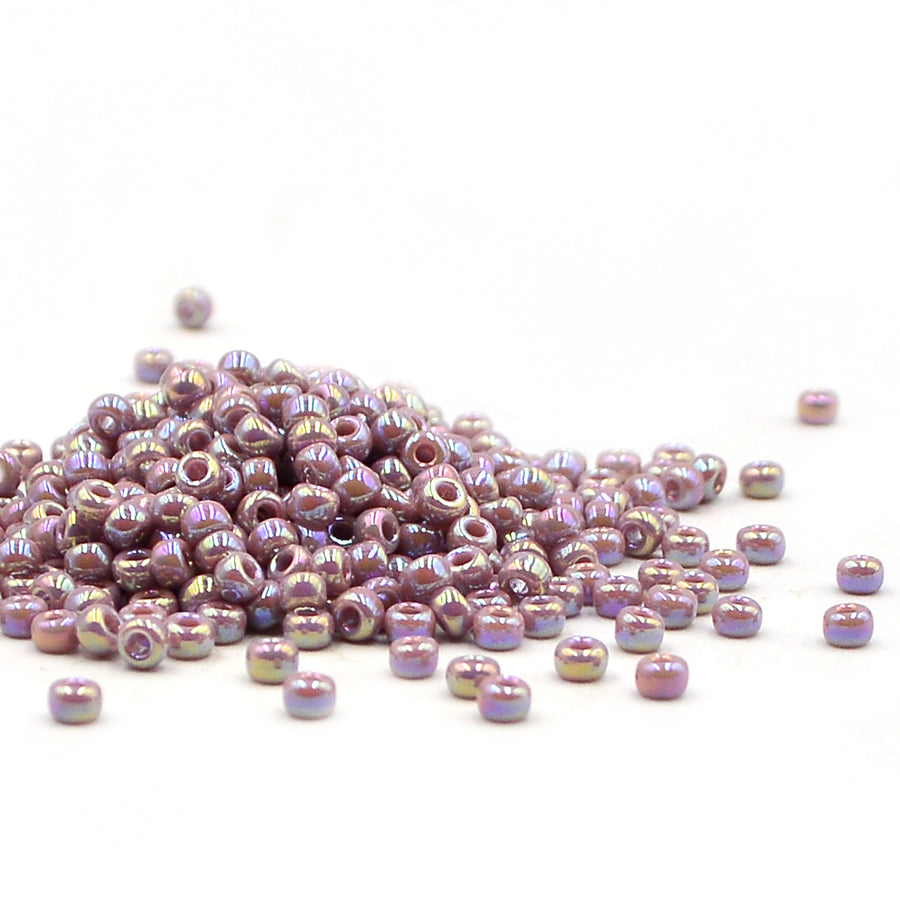
- 1 Tube 8/0 Miyuki Seed Beads
- GS Hypo Cement
- Beeswax
Additional Learning:
- 1 Button
- 1 Spool KO Thread or Hana Thread
- 4 Yards 1.5mm Leather
- 1 Tube SuperDuos
- 2 Strands 4mm Fire Polish
- 1 Strand 4mm Druks
- 2 Tubes Half Tilas
- 1 Tube 8/0 Miyuki Seed Beads
- GS Hypo Cement
- Beeswax
Additional Learning:
Level: Intermediate-Advanced
Estimated time: Weekend
Heather


Project Map
Project and Sample by Drea Carbone

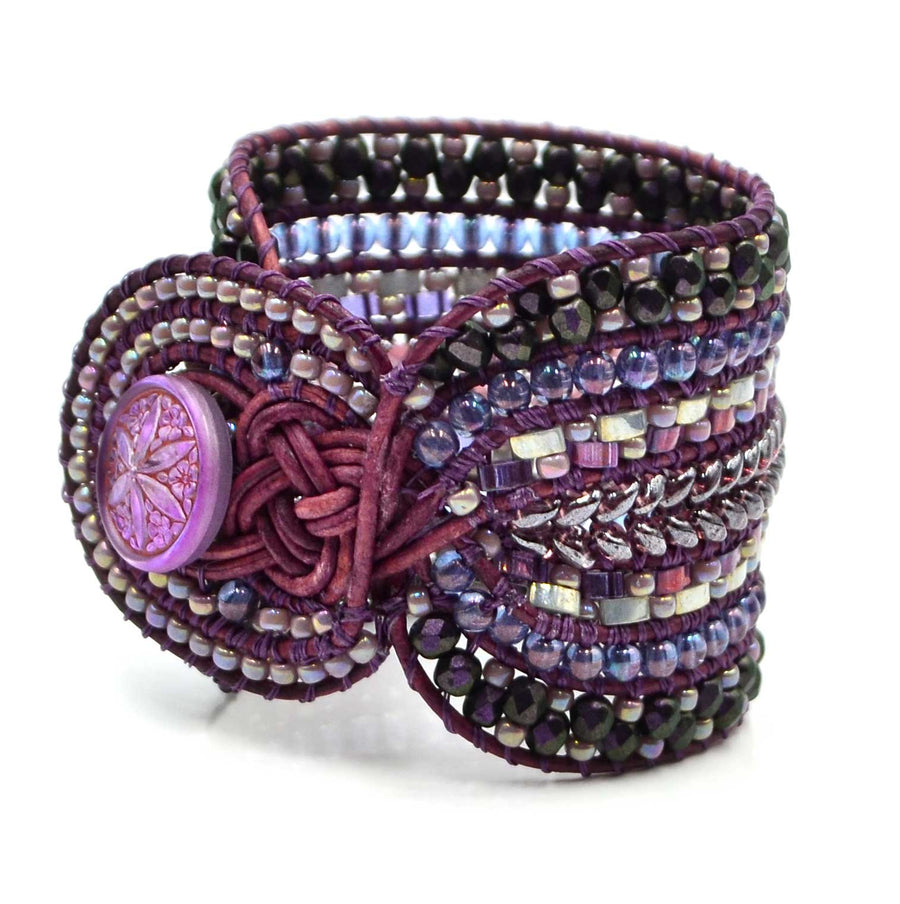
Several years ago Drea made an "Outlander" themed cuff (based on the books/tv show) for her good friend who got her into the fandom. Using all of her favorite things (two-holed beads, color study, semi-precious stones, infinity stitch...) the cuff was a great success! But there was a missing element...Drea wanted a way to make it more special, and spent the next year experimenting with different knots. The original two Highland Cuffs, Whisky and Fen, feature a Celtic Love knot---definitely a tricky one! This cuff, Heather, uses the much-easier Josephine Knot to start your Highland journey. However...watch the Free Tip Friday to see just where Drea went wrong with this knot--so you do't make her mistakes yourself!!
The Heather is in full bloom with this sample! When the Highland heather's blooming it's like a fragrant purple carpet takes over the land.
Start with two lengths of leather, both 3.5-4ft in length. Find the center point of both, this will be the top of your button loop. In the original video, you'll notice I use two colors of cord to help illustrate tying the Celtic Love Knot--it is very helpful to practice these knots on two colors of cord before starting in on a bracelet! As your leather cords "exit" the knot, cross them so you make a "V" to begin your herringbone ladder with. You can clip the other cords out of the way for the time being. Begin with a row of Herringbone with SuperDuos. Thread your KO or Hana onto your preferred needle, doubled over...wax if you prefer! Tie the tail ends around one leg of your leather and begin to herringbone ladder. Continue until you have reached the perfect length for your wrist. Do not be afraid to take this off your board to try it on, that is the best way to ensure a good fit! At the end of the Herringbone Ladder section your button will be added, so this is where your fitting really takes place.
When this section is your perfect length you will cross your leather ends and bring them back UP towards your button hole, laddering along the way. Add your button to one piece of leather, or both if the shank will accommodate, then begin to ladder! Keep using Infinity Stitch. In this sample, I've kept the design symmetrical, so both sides will be the same. The trick here is to keep these sections the same size beads, and keep it small. Larger beads will cause your cuff to fan out and look wobbly. I taper out using 8/0 seed beads, adding one or two before I add the larger beads, and likewise tapering back down in this way at the end of the row. Once at the end, reinforce your final bead by laddering through it twice.
Your crossed leathers at the button will not be used to ladder back up on either side of your herringbone, like in Whisky and Fen's samples. Instead, bring your leather from the Josephine Knot down, laddering on either side of your Herringbone from the knot towards the button. You should now have three complete rows of laddering and all four strands of your leather at the button end. NOW, bring your leather back up and ladder two more rows on either side back towards your knot. I first did a row of 4mm Druks, using that solid line of beading to break up my rows of patterned beading.
Patterned Rows: I like using a tartan-esque patterning in these cuffs, another homage to Scotland.
For the Half Tila rows, the Half Tilas are off-set and use an 8mm between as well. Be sure you're treating each hole of the two-holed tilas as separate beading rows! The pattern, row by row here, is:
8/0-Half Tila
Half Tila-Half Tila
Half Tila-8/0
8/0-Half Tila
Half Tila-Half Tila
Half Tila-8/0
etc. The rows that list Half Tila-Half Tila, you're going though the first hole of one, the second hole of the other. Check out the photos in the layout above to get the idea! I think it helps to see it!
The 4mm fire polish and 8/0 seed bead rows are a simple pattern. Ladder a 4mm FP and a 8/0 in place, then switch the order for the next row:
4mm-8/0
8/0-4mm
4mm-8/0
8/0-4mm
etc
Finally, when all your rows are finished, I like to do a dab of Zap to hold the leather in place, gluing leather to leather from the previous row of laddering. Add some GS Hypo Cement to keep thread knots in place (GS Hypo is a better choice as it will sink into the fibers, Zap is better for leather-to-leather!).
The button loop can also be beaded, add a row or two (or three!) of 8/0s here. This is where I made my error...I should have laddered the first button loop row and then added more rows of laddering outward with the leather I've brought around the knot. Instead I laddered from the outside in, eventually leaving not enough space to ladder my innermost leathers around the button loop. Do the button loop first, then add the extra laddering around the knot and that beaded loop! I'll point this out on the live show.
Please join us as our worldwide community gathers on Facebook and YouTube at 10:30am Pacific Time on March 18th, 2022. It’s so much fun to go live with us and bead together! After the live broadcast the video will be available above.
Like what you see? Sign up for our Newsletter to learn about all our new projects, as well as updates on LIVE broadcasts, new product, and of course…SALES!