

Project Info:
- 2 Forest Secrets - Antique Copper Clasps
- 1 Pkg. Transitions - Antique Copper
- 1 Pkg. Evolve - Antique Copper
- 1 Pkg. Sliders - Antique Copper
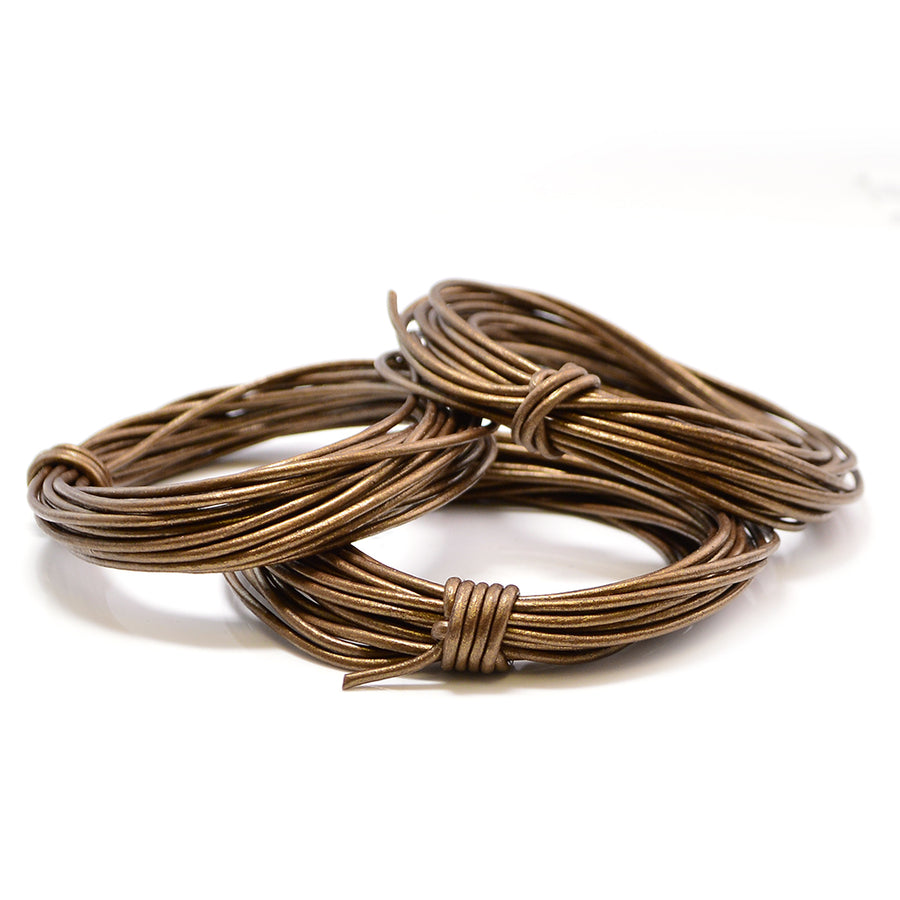
- 2 Yards 1.5mm Leather
- 2 Forest Secrets - Antique Copper Clasps
- 1 Pkg. Transitions - Antique Copper
- 1 Pkg. Evolve - Antique Copper
- 1 Pkg. Sliders - Antique Copper
- 2 Yards 1.5mm Leather
Level: Beginner
Estimated time: 1-2 Hours
By Janice Parsons
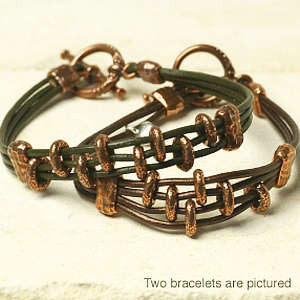
Tahoe is an easy, fun project to pass an afternoon out by the lake with friends. In copper, Tahoe has a rustic, casual chic to it. We call it Sun Jewelry because you can wear it all summer...in the water... at the beach...wherever. By summer’s end, the leather will be worn and old from too much water, too much sand, too much fun...but, it will be the best bracelet that never left your side! Please read through all the directions before starting. The Project Maps reflect both copper samples. The additional steps are done in Pewter, our original Tahoe Bracelet. Thank you and enjoy!
Tahoe- Antique Copper


Project Map

The total length of this sample from tip of clasp to tip of loop is just a bit more than 7 inches. Adjust the length based on your wrist size. This hook is more secure when the bracelet hugs your wrist, not necessarily falls loosely. Plus, if you plan on leaving it on all the time, tighter is better. Wrist sizes can be from a child’s size 5 to a men’s 9-11. So, be sure to measure.
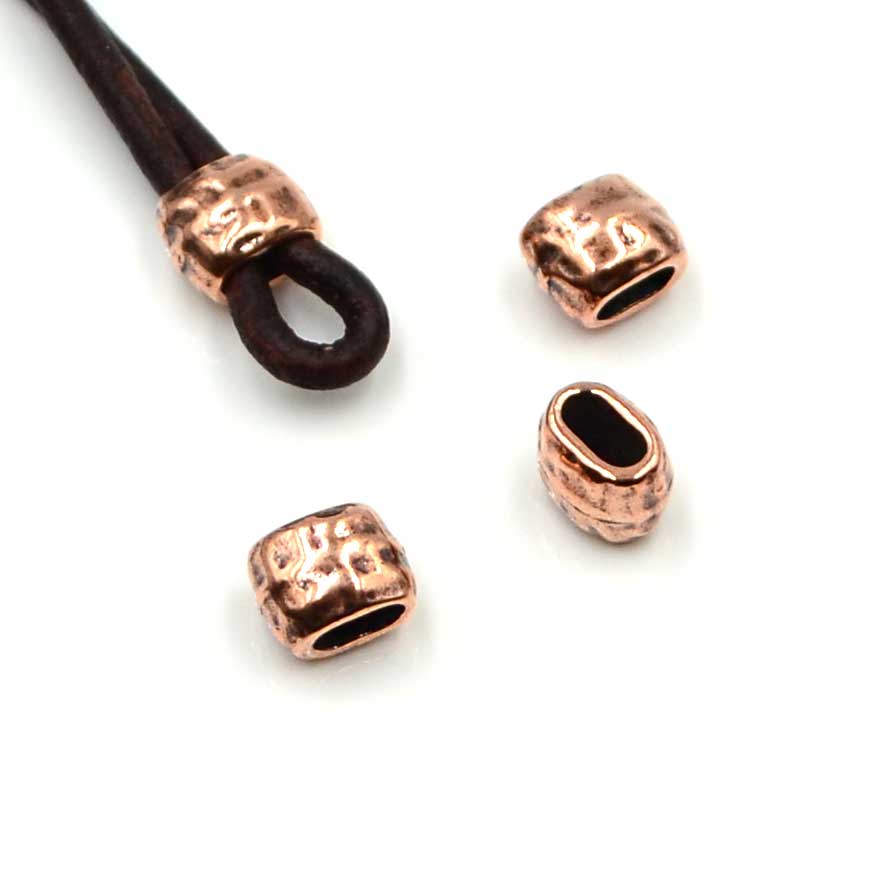
Prepare your Transition Crimps
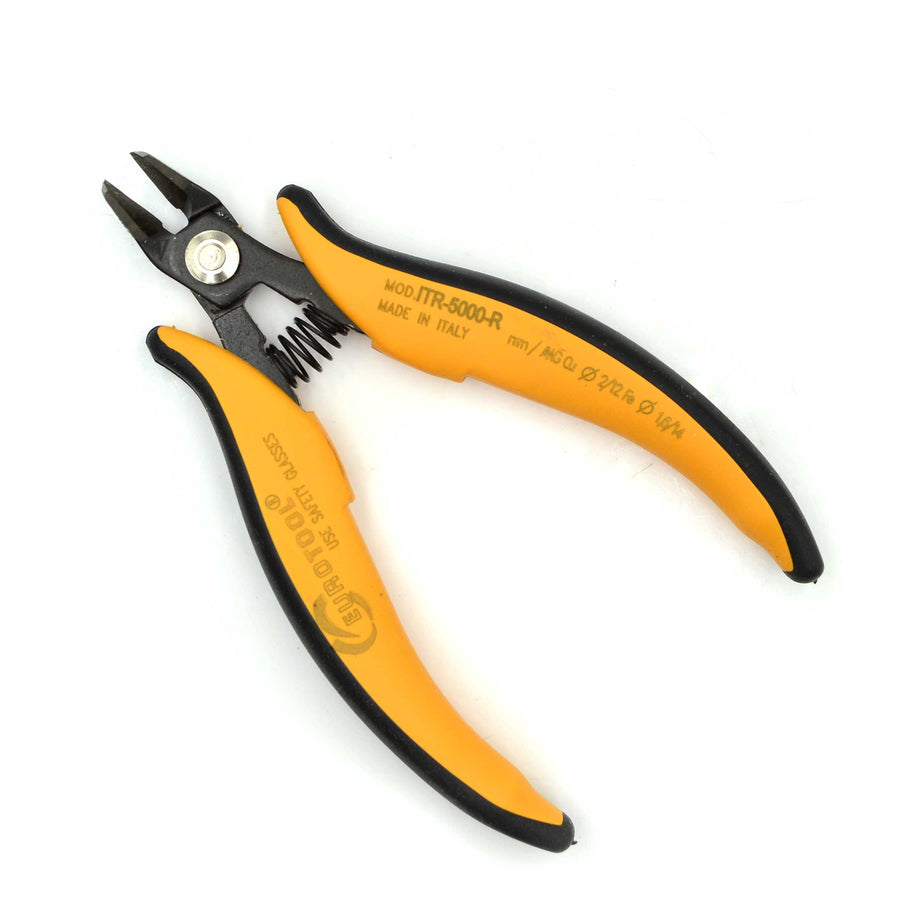
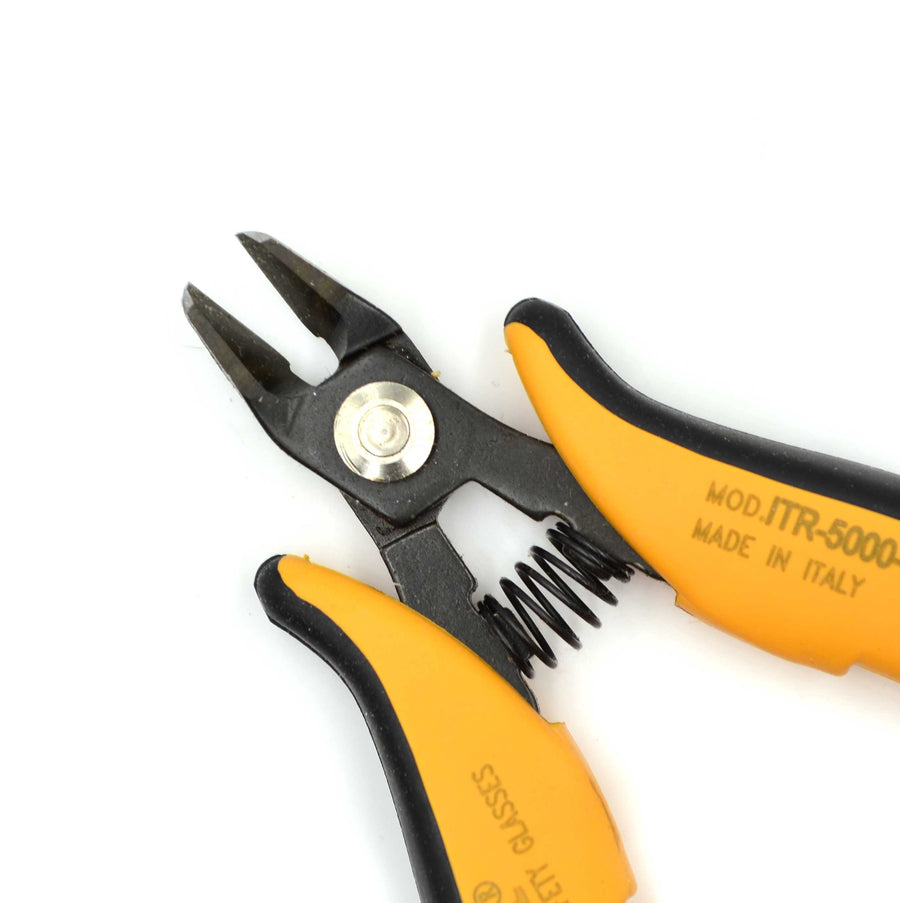
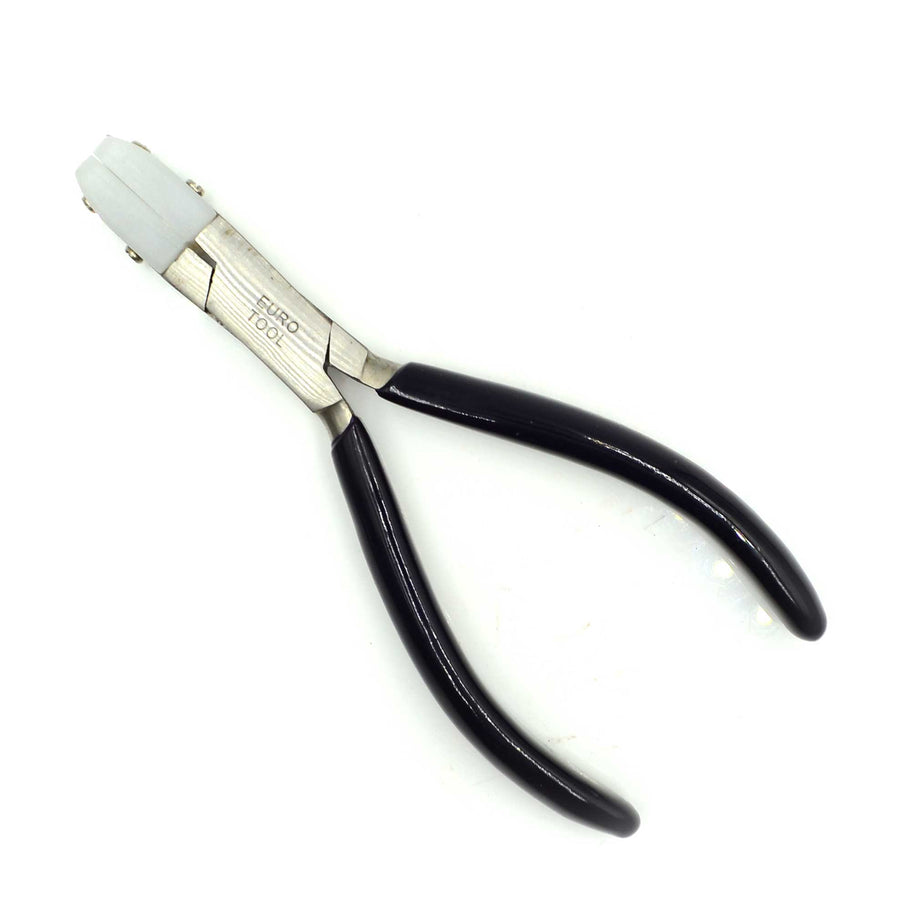
In order to fit 3 pieces of leather through the Transition Crimp, it may be necessary to widen the opening of the interior hole of the bead. Try first stringing your leather through the transition multiple times. If you can get three pieces of leather through, you can skip opening the hole using Wire Jawed Pliers. On the other hand, if you do have to open it up, gently position the bead between the jaws and in one direction, make the opening more round than long. If you don’t have nylon jawed pliers, you can use a Mighty Jaw Crimping Tool or Chain Nose Pliers.

Cut and Feed Through Your Leather
For a seven inch bracelet, cut your first piece of leather 18 inches. Cut 1-2 more pieces of leather 12 inches each. In total, you will have 3 or 4 pieces of leather, depending on which style you like best (see below). Feed your 18 inch length of leather through the hook of your clasp. Stop when the leather is at the mid-point (9 inches). Slide on your Transition Crimp up near the clasp, but not to the very end. Take a second piece of leather and feed it into the Transition Crimp Bead leaving some excess on the clasp side. Now slide your bead up into position close to the clasp and crimp the Transition Bead closed using Chain Nose Pliers or Nylon Jawed Pliers. Cut excess leather with your Flush Cutters. Notice there is just a hint of it showing. After a little time wearing it, the leather will shrink and you won’t notice it. Use caution cutting that you don’t snip into the other leather as you cut.

Moving On....
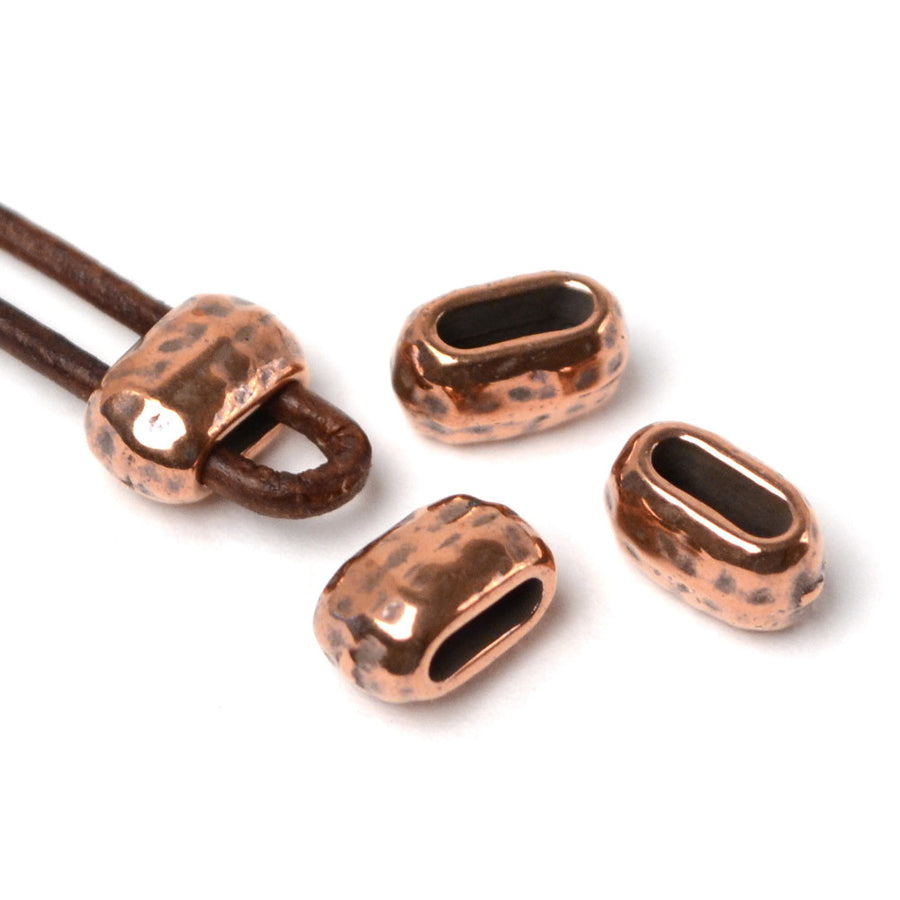
Slide the Evolve Crimp bead over your leather and gently crimp it down using Chain Nose or Nylon Jawed Pliers. Be aware to keep your leather cord side-by-side and not clumped on top of each other. If you would like your center section to have four strands (See photo for Sliders below), add in your fourth piece of leather to crimp in under the Evolve Bead. Repeat the technique used in your first crimp. The fourth strand should crimp in easily inside the Evolve because it is a wider crimping bead.

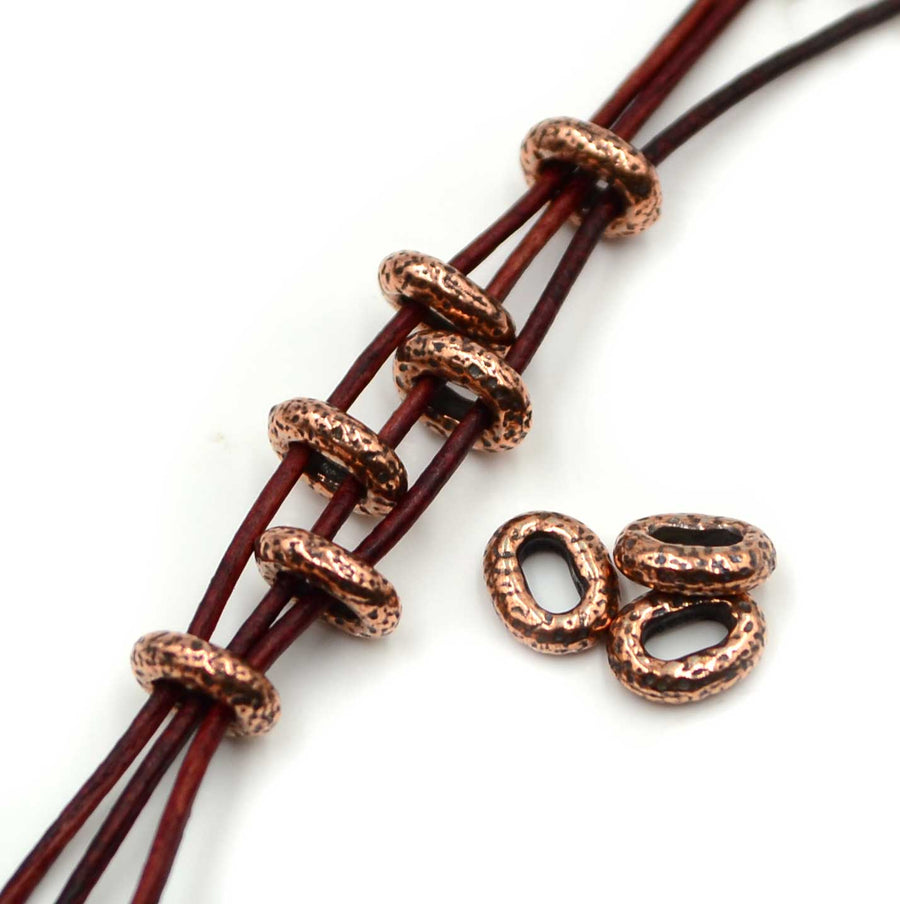
Sliders
This is the really fun part...weaving the sliders on to two strands and then alternating the strands to keep them separated. As mentioned, if you wanted to add a fourth strand, it should be done before crimping down the first Evolve Crimp Bead. When you are ready to add the second Evolve Crimp Bead, check your strands of leather are lying flat before crimping with Chain Nose Pliers or Nylon Jawed Pliers. Cut off excess of fourth strand of leather using Flush cutters.

Charm-it and Get Ready to Complete
If you want to add a charm or bead dangle, now is the time to do it. Be sure the loop or link to it is soldered and not easily opened. Remember, this bracelet is going everywhere with you and you don’t want to worry about losing a charm or precious family locket.
As you did at the beginning, enlarge the hole size of the transition bead to accommodate all the leather. For closing it has to be as wide as you can make it because it has to fit the three strands that came through at the beginning AND one of the strands to string back in holding the other side of your clasp.

Almost Done
Feed your three strands of leather through the enlarged opening of the Transition Bead. Add the second half of your clasp to one of the strands. If you are using a button instead of a clasp, make a loop of the leather large enough to go over the button on the other end.

Finishing Up
Feed back through the opening of Transition Bead only one of your strands of leather. Sometimes it helps to angle cut the end of the leather to get it through. An old trick I use is once the leather is pushed into the bead, I slide the bead rather than try to push the leather. So, once the leather is almost through the bead, I move the bead in the opposite direction over the leather. This allows me to see the end of the leather more easily and then slide it where I want it. It also means less wear and tear on the leather.


Beach Time!
You are all done and ready to hit the beach volleyball court! You will be the envy of all your friends. We hope you enjoyed making Tahoe and will have time to make more for the whole family!
