


Project Info:
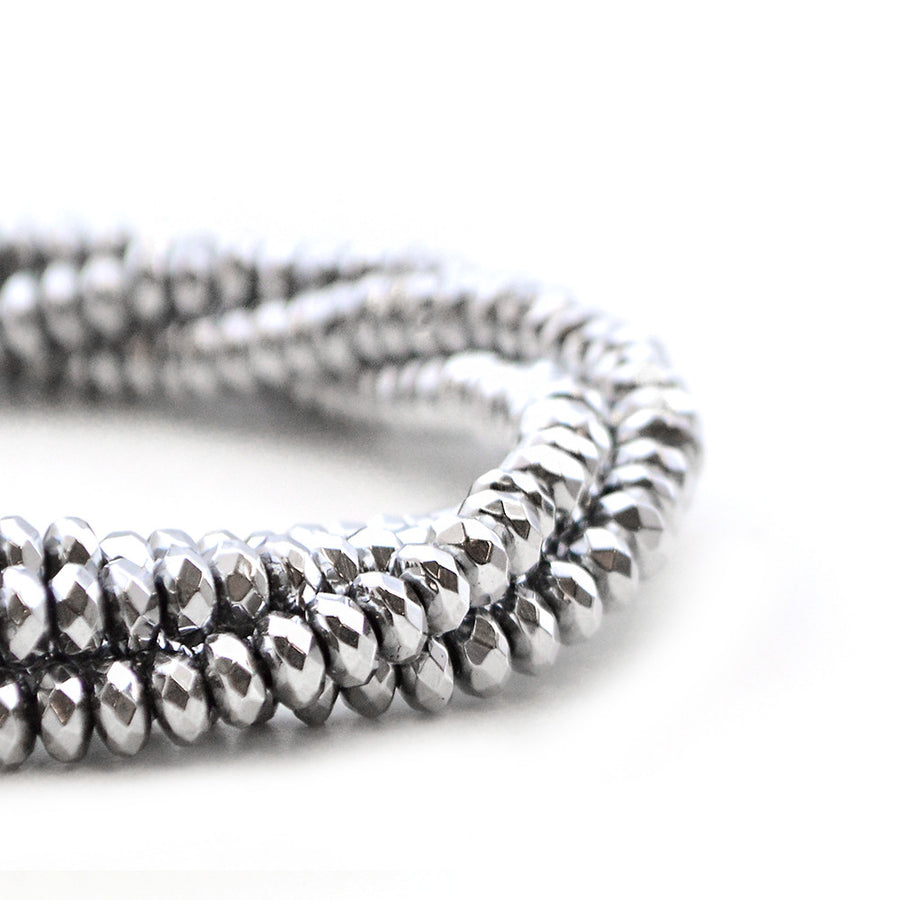
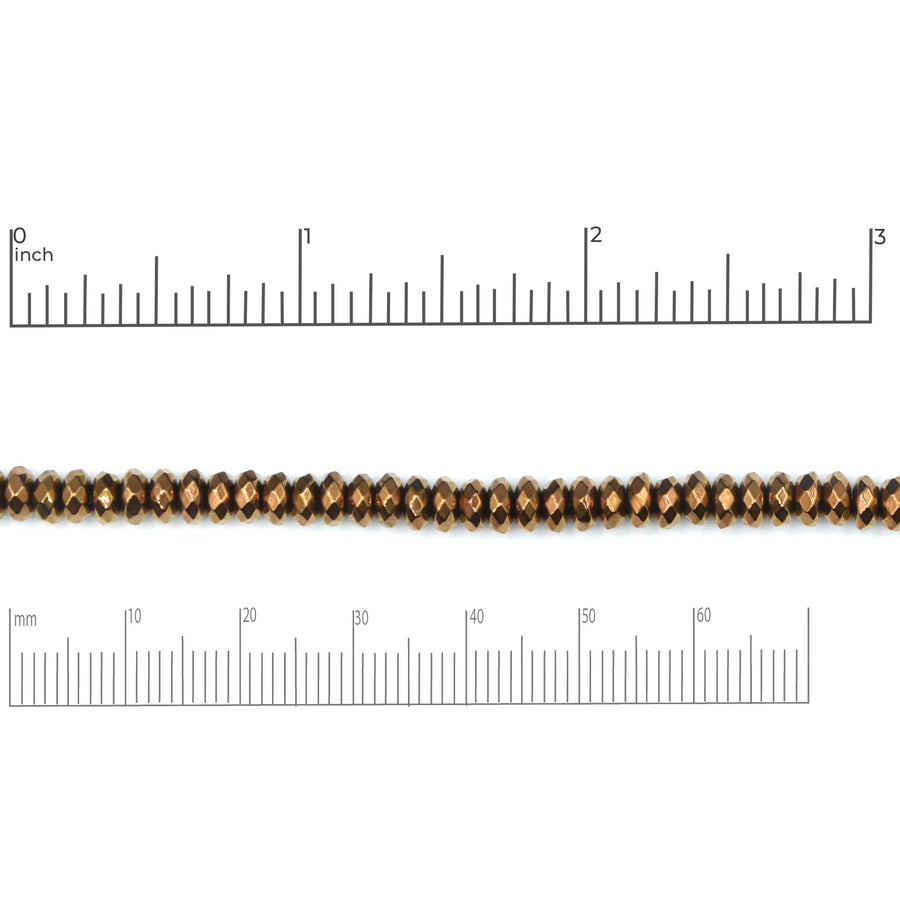
- 2 Strands Silvered Hematite
- 1 Dubliner Button- Antique Silver
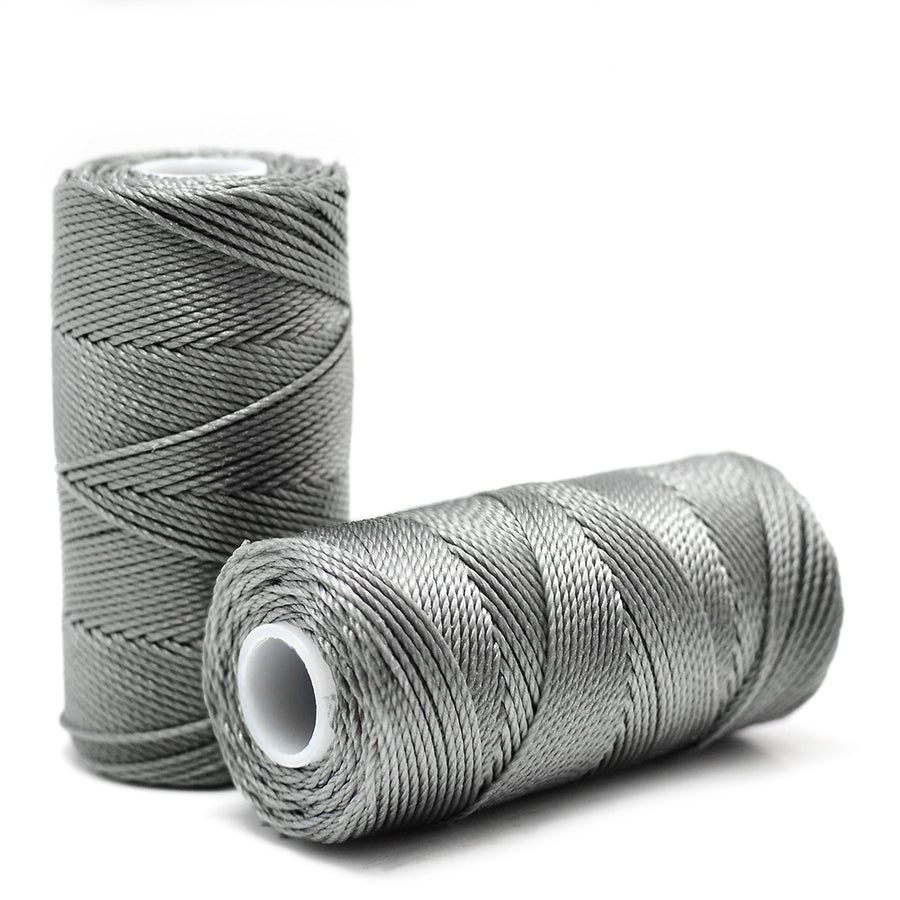
- 1 Spool Gunmetal Fine C-Lon
- 3 Yards Metallic Gray- 1.5mm Indian Leather
- 1 Tube GS Hypo Cement
- 2 Strands Silvered Hematite
- 1 Dubliner Button- Antique Silver
- 1 Spool Gunmetal Fine C-Lon
- 3 Yards Metallic Gray- 1.5mm Indian Leather
- 1 Tube GS Hypo Cement
Level: All
Estimated time: Weekend
Project by Janice Parsons
Sample by Grace Noland
When Silver Hematite came in we all jumped at the chance to create Strong Point in this cool, delicious metallic, but Grace lucked out and got to the four ingredients first.
For quick and easy one-stop ingredient shopping, click the SHOP tab above! Note: When selecting Tuff Cord, please make sure you choose Tuff Cord #3 before you add it to your cart.
Please scroll down to the Project Map before you start beading. Measurements, sample tips, and links to learning are all listed in the Project Notes below the Map.
The Learning you’ll want to review:
Strong Point- Silver


Project Map

Project Notes:
The Silver sample is 35 inches long.
It is intended as a 5 wrap bracelet fitting a 6½-7 inch wrist.
- Start by cutting your leather 3 yards in length. This 5 wrap uses every bead on two strands of hematite beads. If your wrist is larger than 7 inches, you may need to add a second button loop or extend the pattern to the desired length.
- String the button to the middle of your leather and secure it to your board.
- Cut 5 yards of Tuff Cord #3 and macramé several square knots below the button. Review How to Ladder and How to Macramé, if you’re new to these techniques.
- Begin laddering your first row with just one bead. Continue with a pattern of: 2-1-2-1. As you ladder, if you run low on Tuff Cord, review How to Add Thread to a Laddering Project to add more cord. Be sure to try on your project before ending it.
- End your laddering with a last row of just one bead. If you want to make a longer bracelet for a larger wrist, you can extend the length with the same number of beads by doing a pattern of: 1-1-2-1-1. For additional length, you can also add a second macramé button loop.
- When ending, macramé after your last bead about 4 complete square knots. Be sure to coat the last two knots with GS Hypo Cement. Allow the glue to dry before cutting the Tuff Cord tails off. In older handouts and videos we have recommended using a Thread Burner to cauterize thread. We don’t feel this is still necessary. If you use glue appropriately and cut your thread carefully, your jewelry is secure. Just don’t cut into your macramé knots!
- Check the button will fit through the opening of the leather tails before you macramé the second loop. Repeat Step 6. Use your cutters to cut away excess leather.
- Note: When selecting Tuff Cord from the SHOP TAB above, please make sure you choose Tuff Cord #3 before you add it to your cart!