

Project Info:
- -1 Leafy Toggle Clasp - Antique Brass
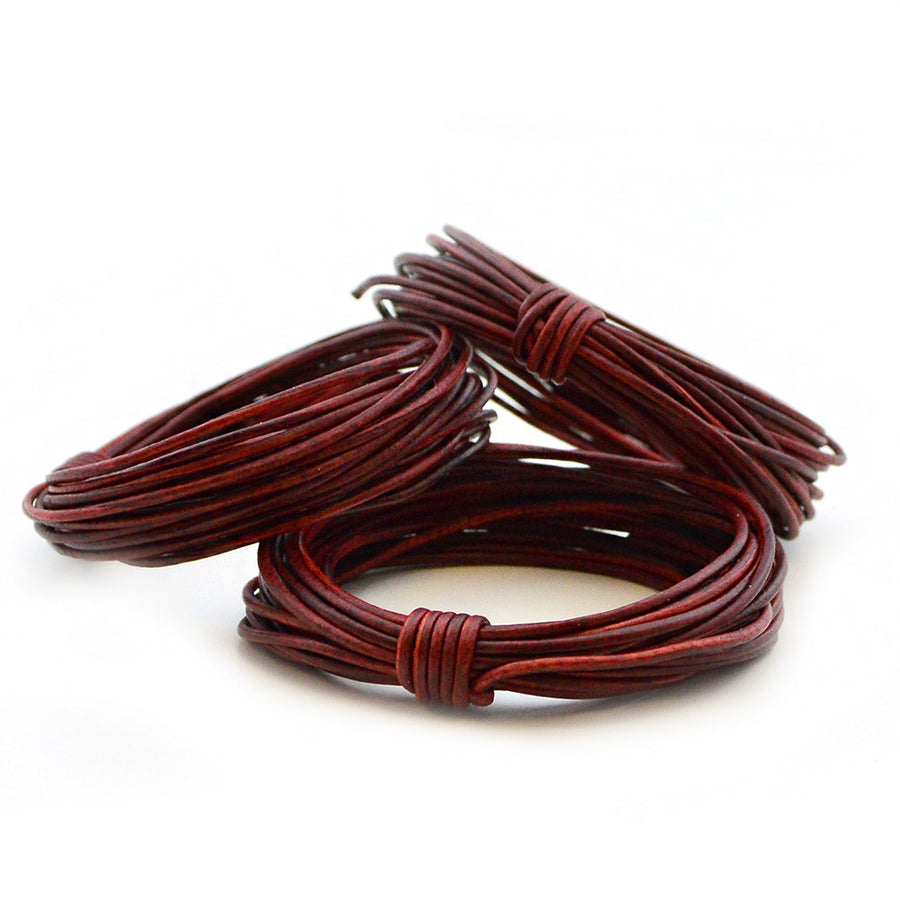
- 4 Yards 1.0mm Leather
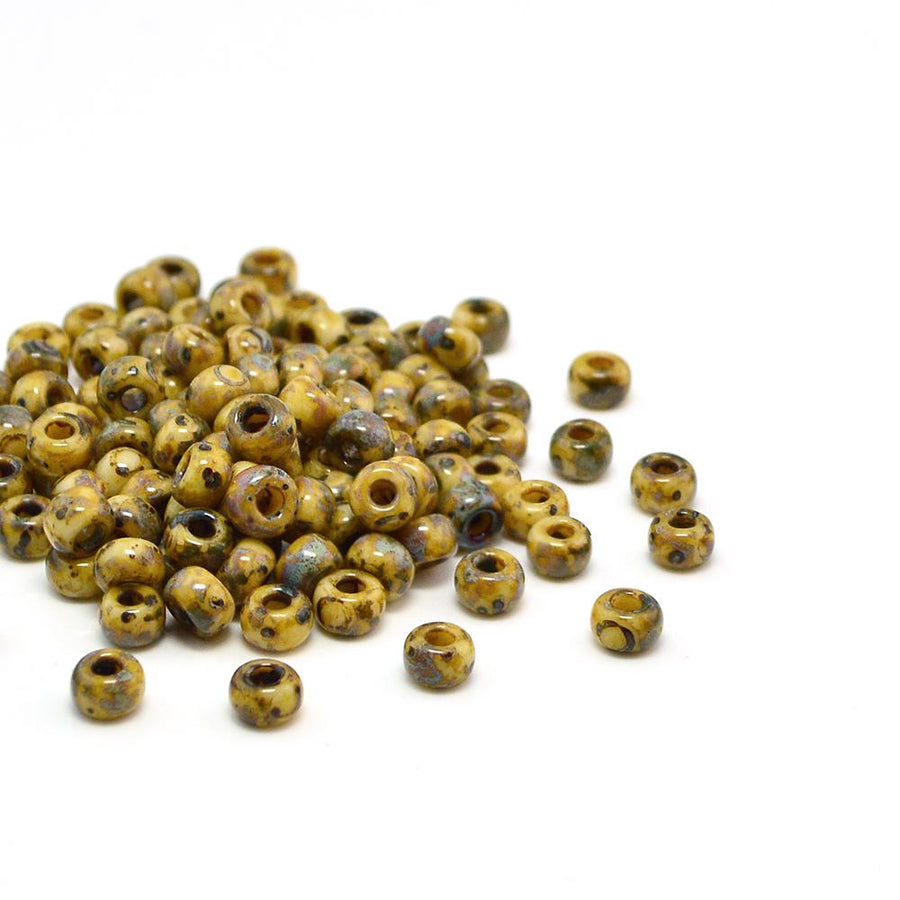
- -1 Tube 6/0 Picasso Brown Tan Matte Miyuki Seed Beads
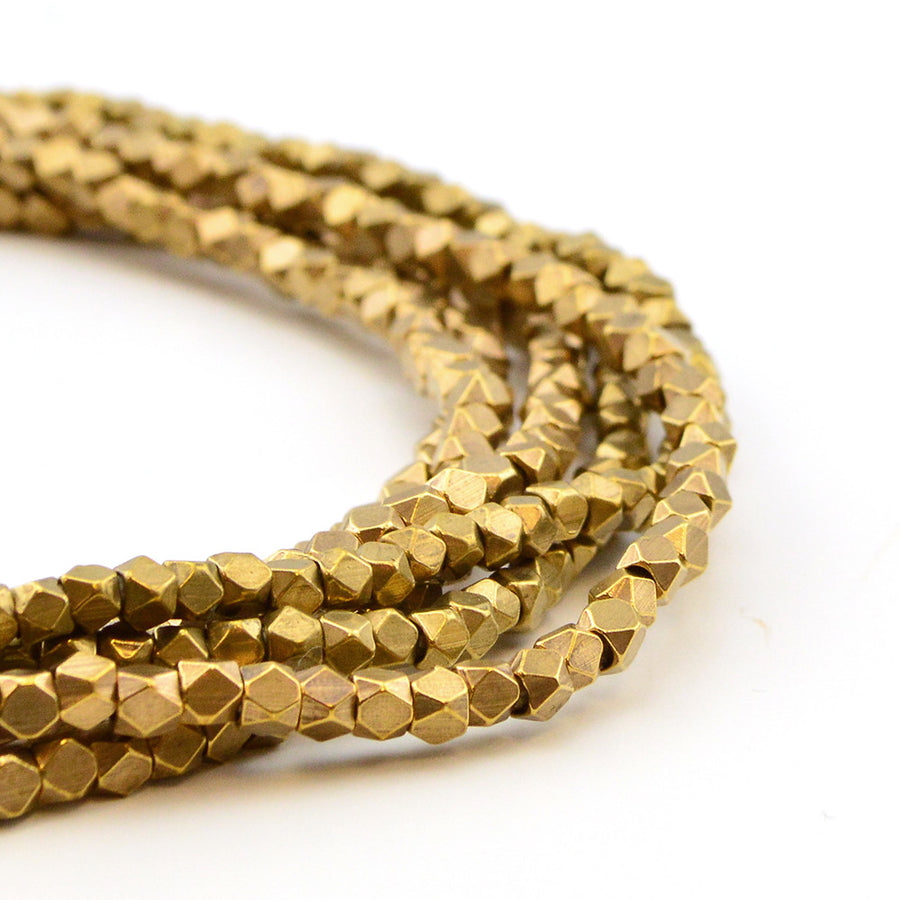
- -1 Package Tierra Heishi Antique Brass
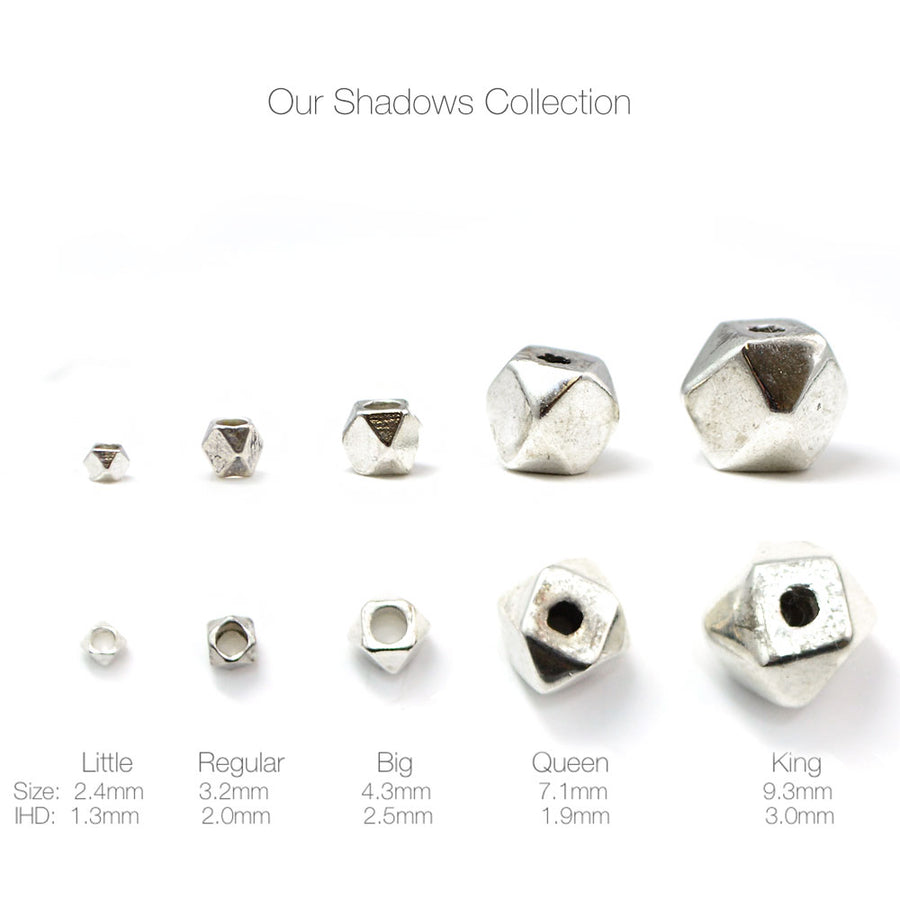
- -1 Pkg Shadows - Antique Brass
-
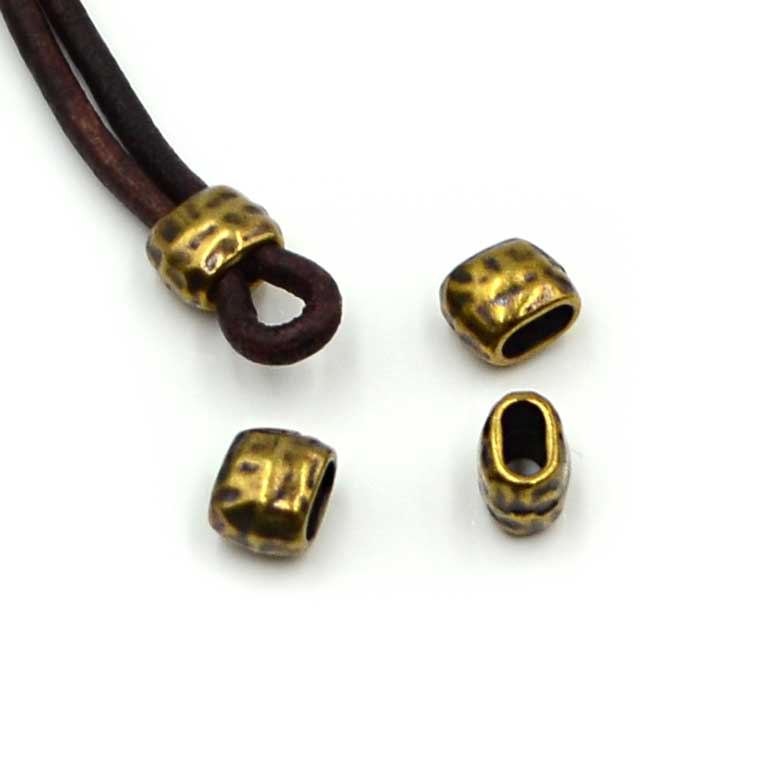
-10 Transitions Beads- Antique Brass
- -1 Leafy Toggle Clasp - Antique Brass
- 4 Yards 1.0mm Leather
- -1 Tube 6/0 Picasso Brown Tan Matte Miyuki Seed Beads
- -1 Package Tierra Heishi Antique Brass
- -1 Pkg Shadows - Antique Brass
- -10 Transitions Beads- Antique Brass
Level: All
Estimated time: 2-3 Hours
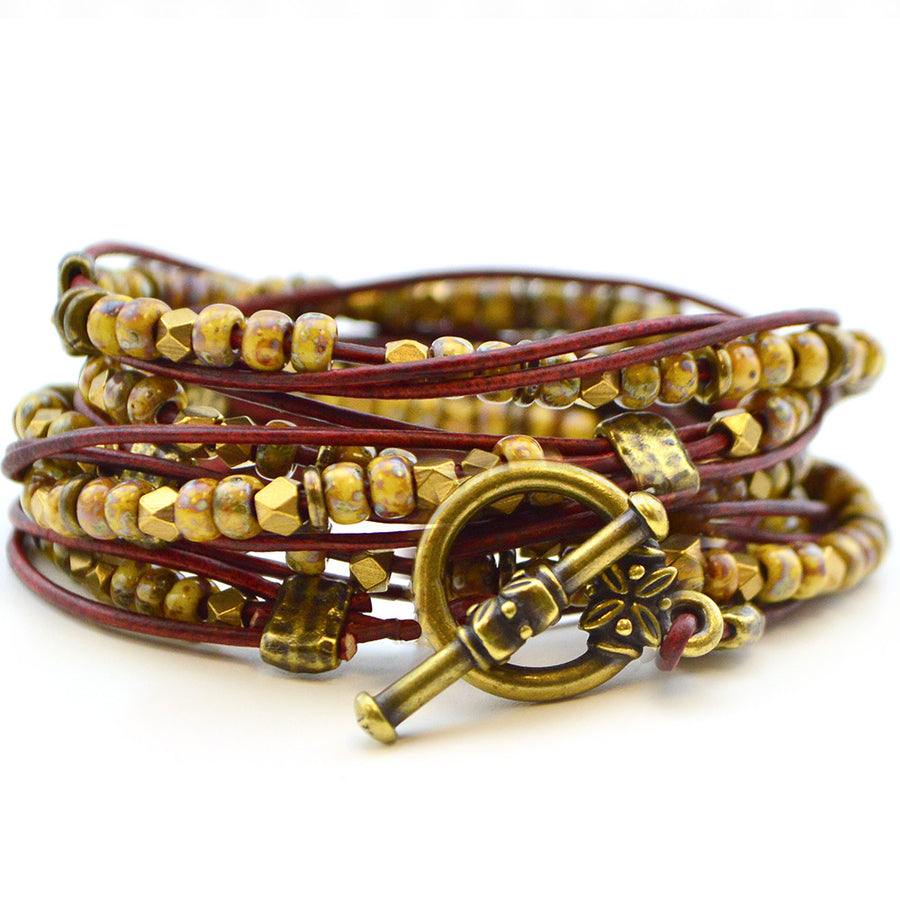
Feeling the sun behind you as the day ends, the red glow of sunset settles on canyon walls giving off light and shadow… Inspired by one of our most popular projects, 5 Wrap Tahoe, Red Canyon is an easy project for beaders of all levels and the results are spectacular.
This kit includes all the ingredients you'll need...no more, no less! It's quick and oh-so-easy. But if you'd prefer to buy your ingredients separately, please make careful note of the quantities. The ingredients listed to the left are exactly what is included in the kit. For example: You don't want to buy ten packages of Transitions! You'll need ten Transitions Beads, which would translate to three packages.
Please review the Project Map and Notes below before downloading the Tahoe 5-Wrap PDF. Then, just get out your beads, your leather, and a few tools and away you go. Happy Beading!
Red Canyon


Project Map

Red Canyon is a Limited Edition Kit that will make a 4-5 Wrap Tahoe Bracelet. The sample measures 35 inches long from the tip of the Toggle Circle to the Toggle Bar. It will wrap five times around a small wrist. Please read the Sample Notes below before you download the Tahoe Project Handout.
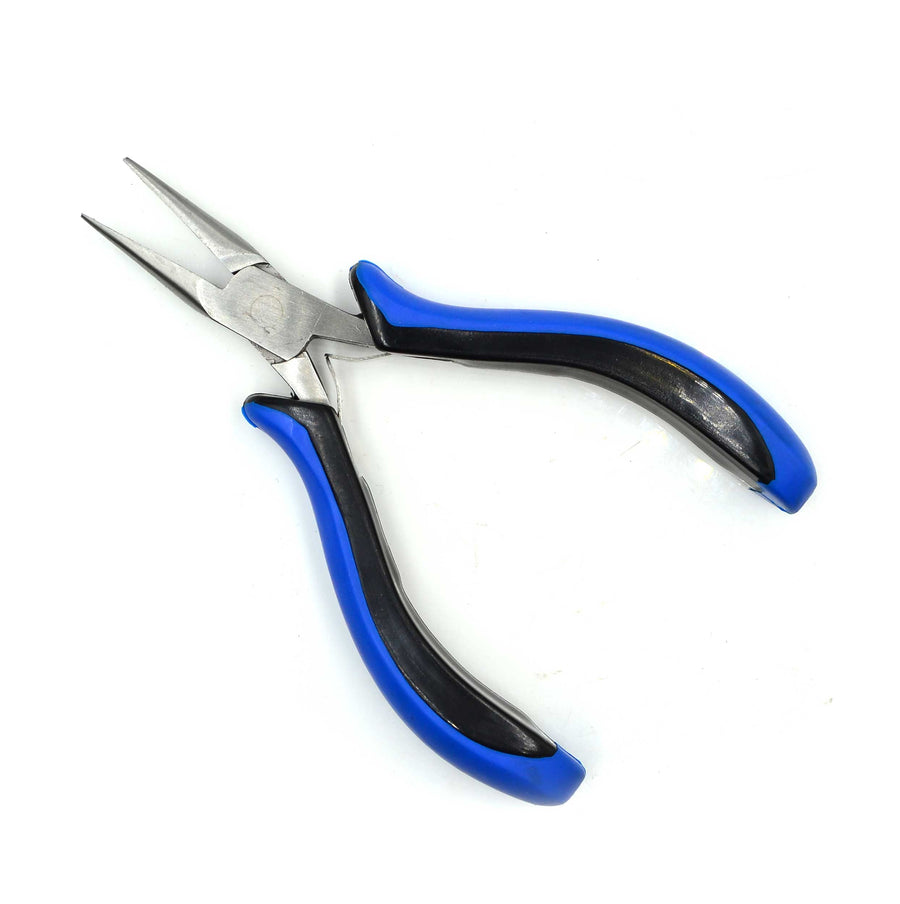
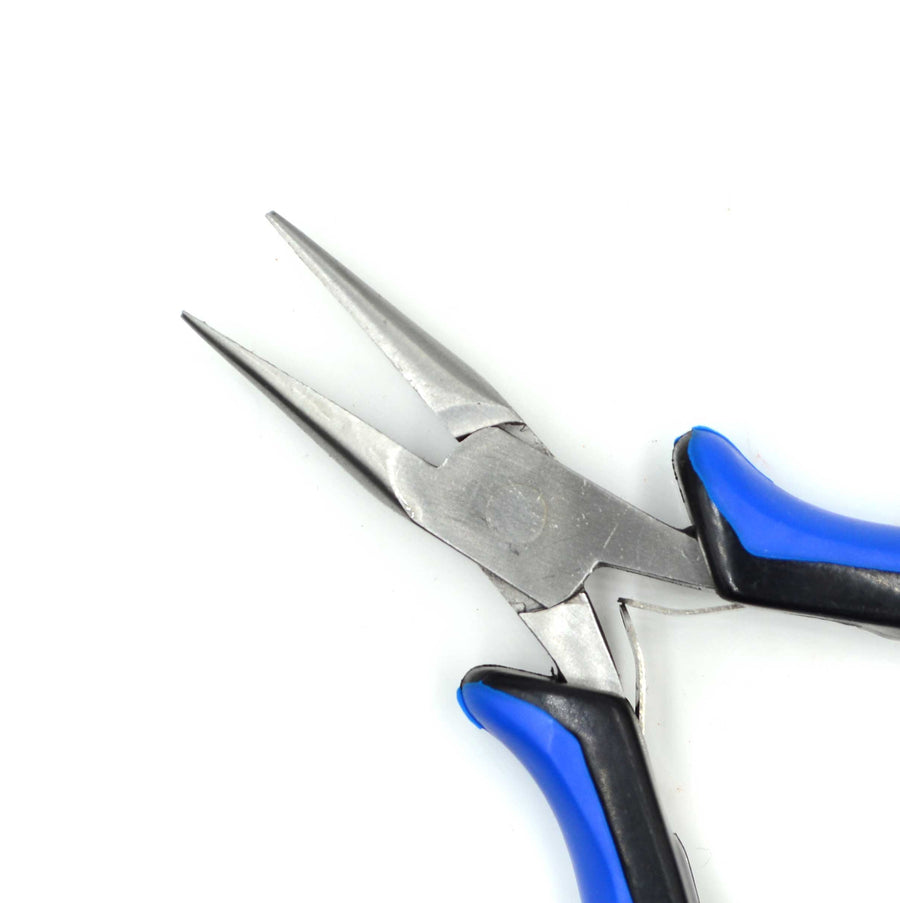
 Begin by cutting your 3 yards of leather into two pieces: one at 2-yards and one at 1-yard. Feed the 2-yard length of leather through the loop of the Circle until the ends are evenly divided. String one Transitions Bead up the tails of leather until it rests comfortably by the loop. Make sure there’s a little wiggle room for the Toggle to move. Feed the end of the 1 yard length of leather into the middle of the Transitions Bead and use Chain Nose Pliers to flatten the Transitions Bead so that all pieces of leather are secure and stationary. Use your Cutter to cut away any excess leather from the middle leather strand near the clasp.

Select the middle leather strand and begin stringing on a random pattern of your beads. There are 8 sections of beads each separated by a Transitions Bead. Each section is about 4 inches* in length. Be sure to leave a bit of air on the leather so the beads will have room to move. Follow the Tahoe PDF Handout instructions for securing the Transitions Beads with your Chain Nose Pliers.
It helps to divide your beads into eight piles so you have enough beads to string them evenly throughout the project.
*If your wrist is larger than 7 inches (and many are!), your sections can be as long as 4-1/2 inches each. If the length of leather will only fit 4 times around your wrist, space the beads out accordingly. Be sure to always leave 2-3 inches of leather at the end so you can secure the toggle bar.
Continue each section stringing your beads randomly and crimping a Transitions bead in place.
 When you have the desired length, string on your last Transitions Bead. Feed the middle strand of leather through the loop of the Toggle Bar and back through the Transitions Bead. Make sure the loop of leather allows the Bar to move freely. Firmly flatten the Transitions Bead securing all strands of leather. Cut away the excess tails of leather with your Cutter. Now, doesn’t that look great? Congratulations!