

Project Info:
Quantity Needed for Project:
- 1 Toggle Clasp
- 1 Yard 2mm Leather
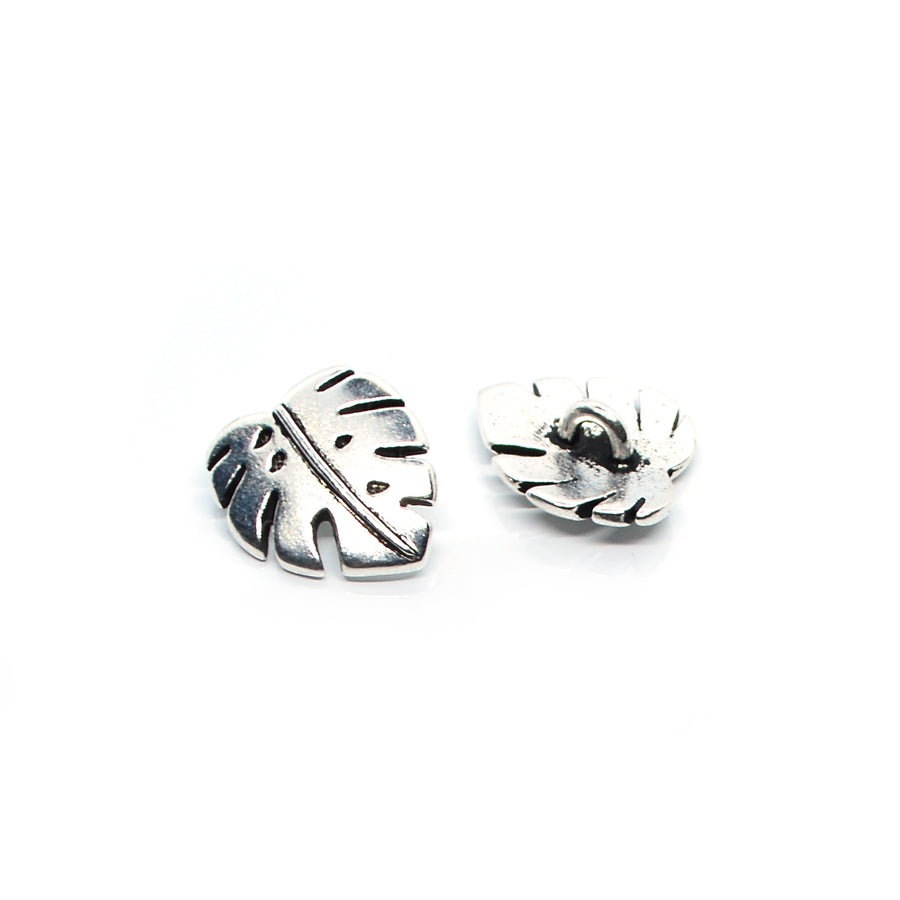
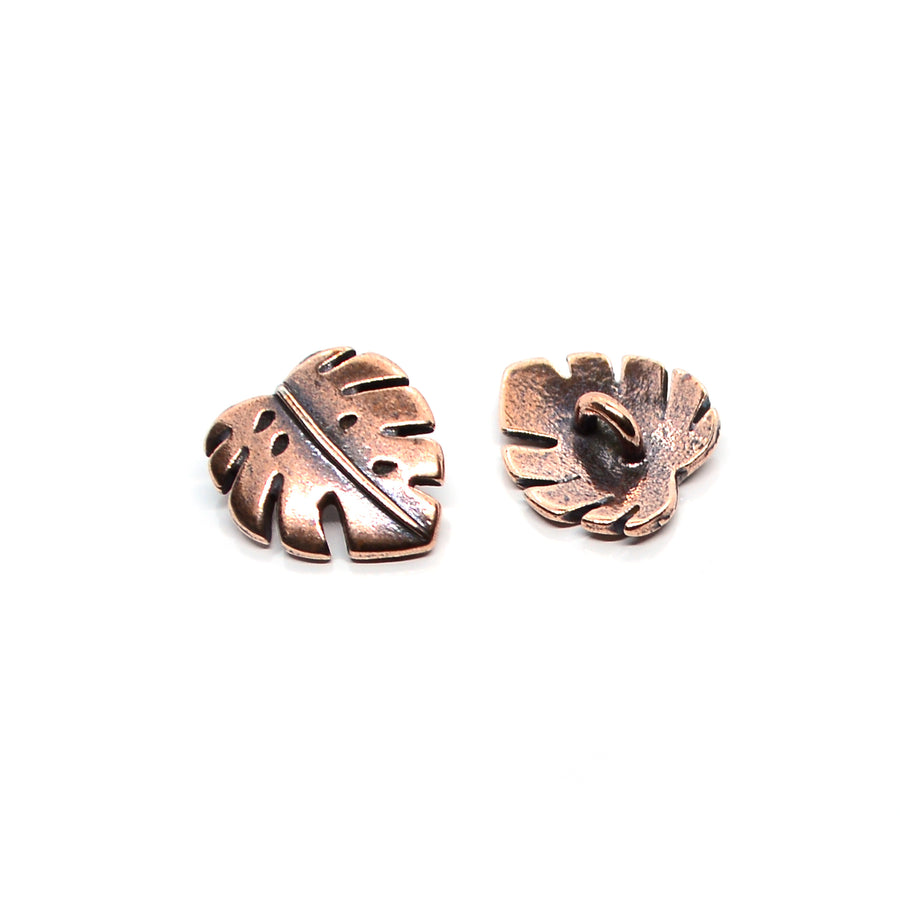
- 3 Buttons (with 2mm+ shanks)
- 2 3-Hole Nugget Spacer Bars
- 1 Pkg Evolve Crimp Beads
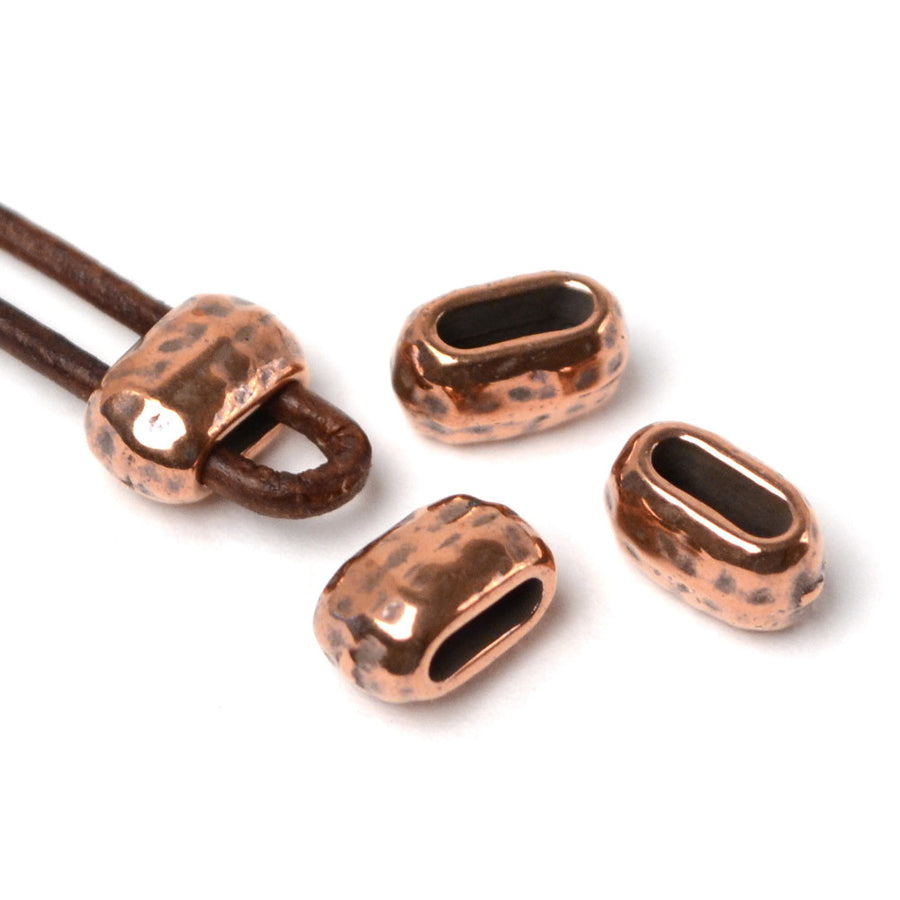
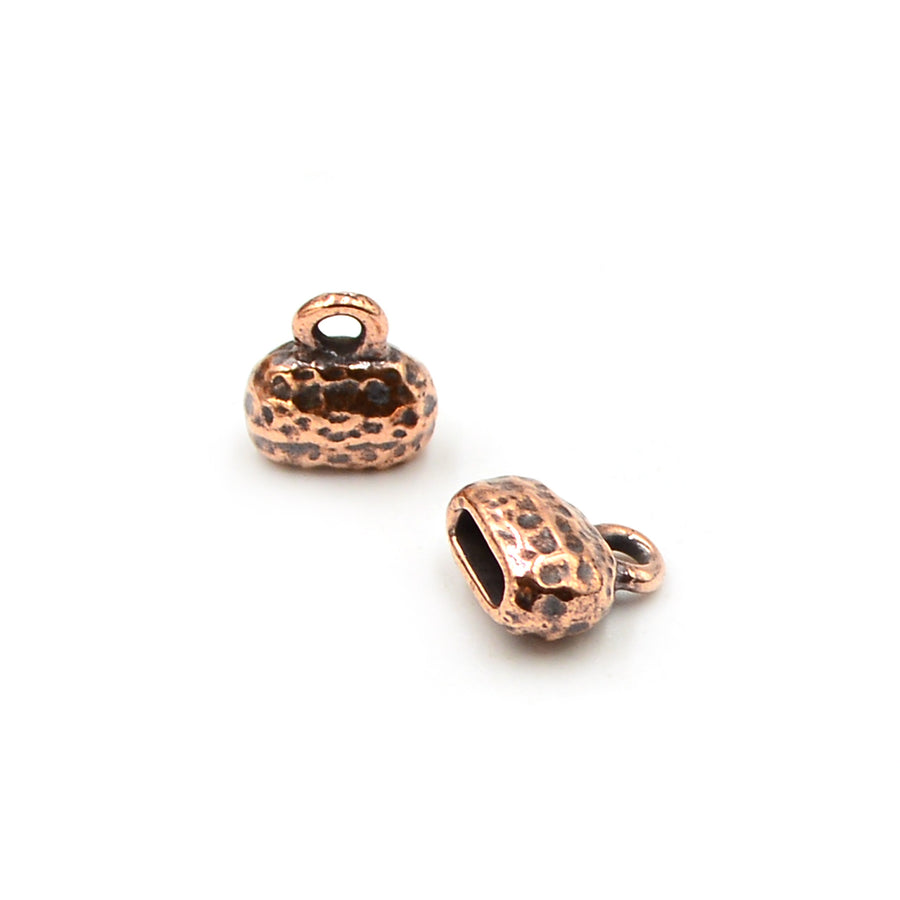
- 1 Pr Distressed End Caps (large)
- 1 Pkg 6mm Oval Jump Rings
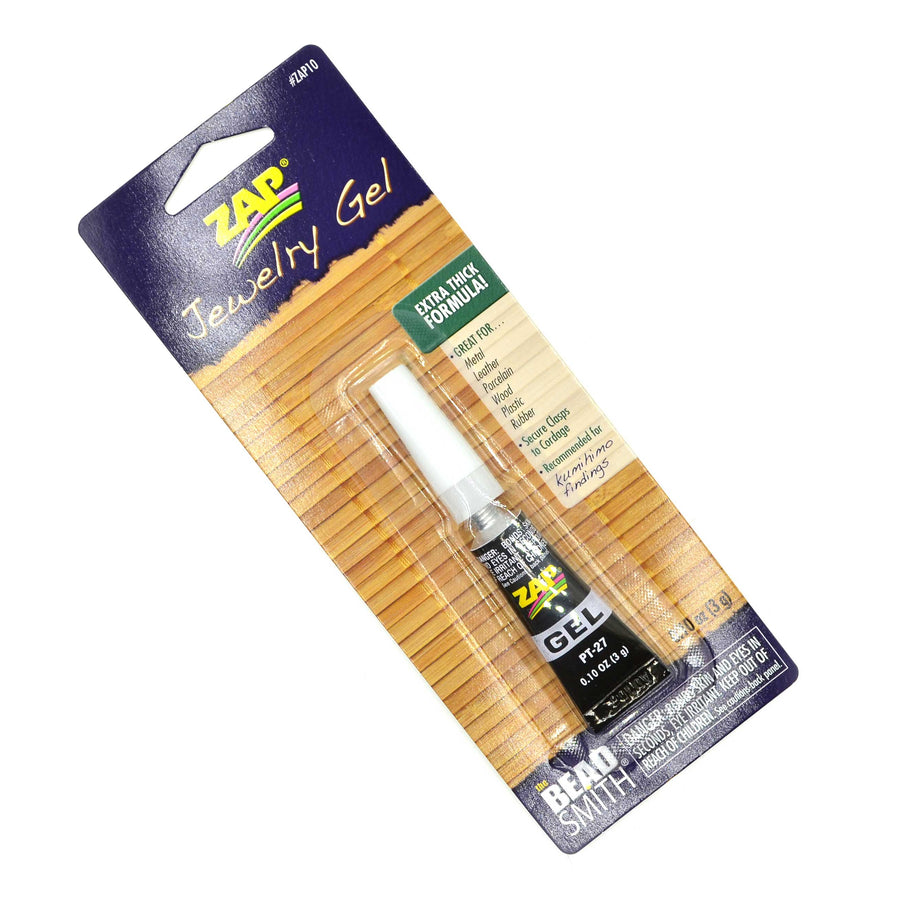
- Zap Glue (Optional)
Additional Learning:
- 1 Toggle Clasp
- 1 Yard 2mm Leather
- 3 Buttons (with 2mm+ shanks)
- 2 3-Hole Nugget Spacer Bars
- 1 Pkg Evolve Crimp Beads
- 1 Pr Distressed End Caps (large)
- 1 Pkg 6mm Oval Jump Rings
- Zap Glue (Optional)
Level: Beginner
Estimated time: 1 Hour
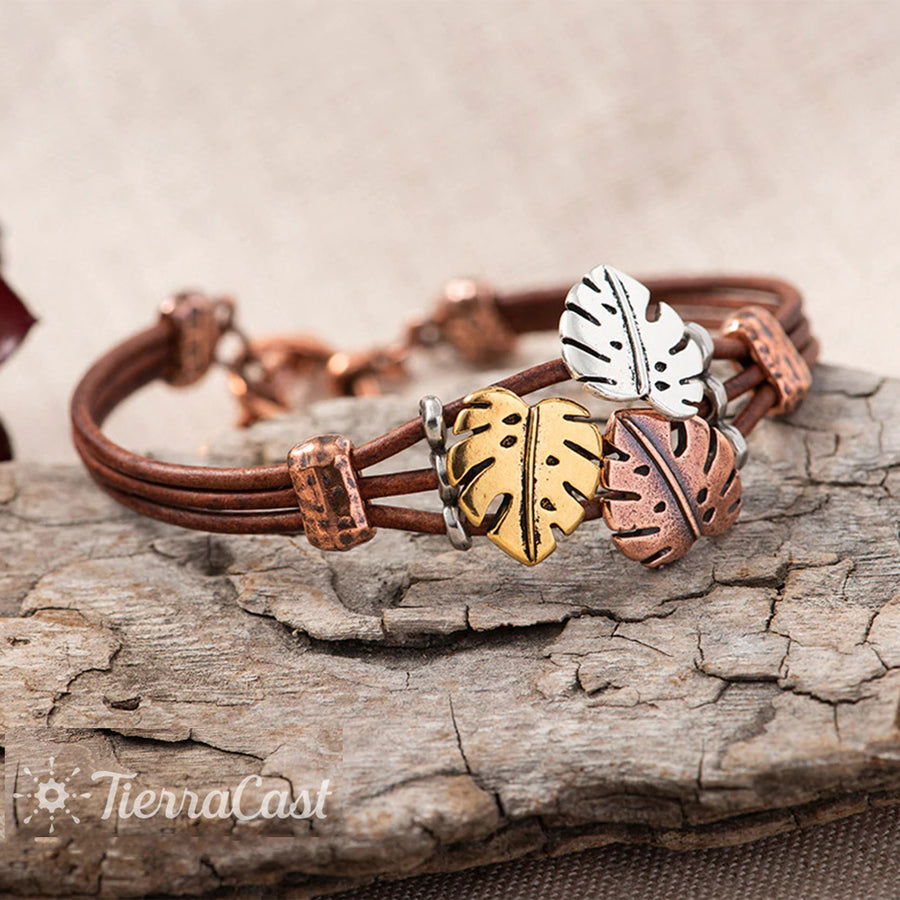
Monstera Leaf Tahoe


Project Map
Time: 1 Hour
Difficulty: Beginner
Project and Sample by Tracy Proctor, TierraCast
When we saw this Tahoe-esque project from TierraCast we fell in love. How cute is this? The Monstera Leaf buttons are perfect, but we’d really love to see what you can come up with, too! A trio of Czech Glass Buttons would be divine, or imagine with Green Girl buttons...c’est magnifique!
Tips: When determining bracelet length be sure to take cord ends and clasp assembly into account! When securing Crimp Ends, try crimping from loop side.
Steps
- Cut three 8" pieces of cord.
- String one button onto one piece of cord, positioning it near the center. Repeat with remaining cords and buttons.
- Line cords up next to each other. Position buttons at center as desired, then string one 3-hole bar onto one side of bracelet. Move bar next to buttons. Repeat on other side.
- String one Evolve bead onto one side of bracelet and position next to bar. Repeat on other side.
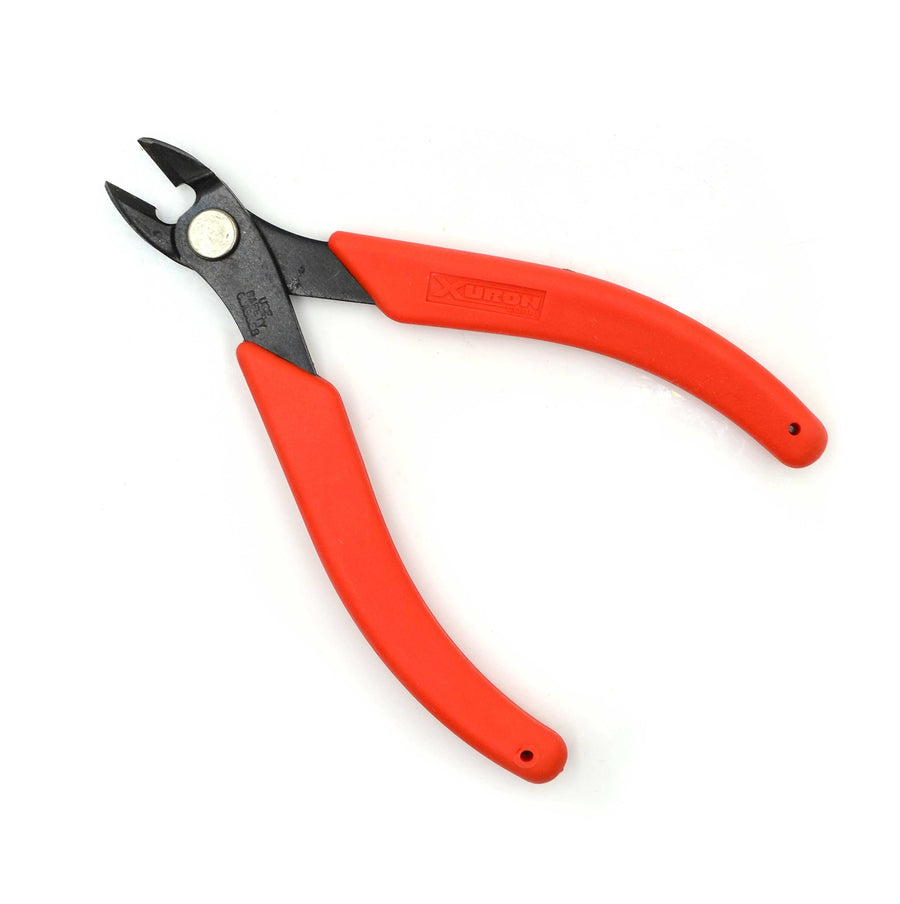
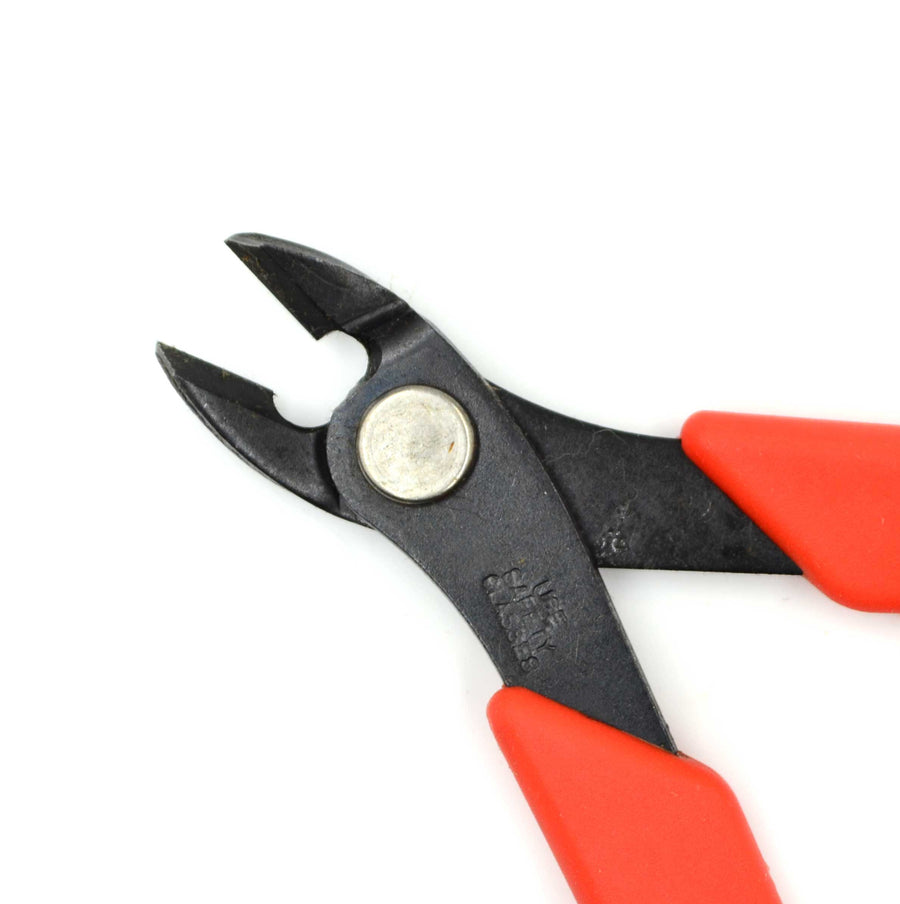
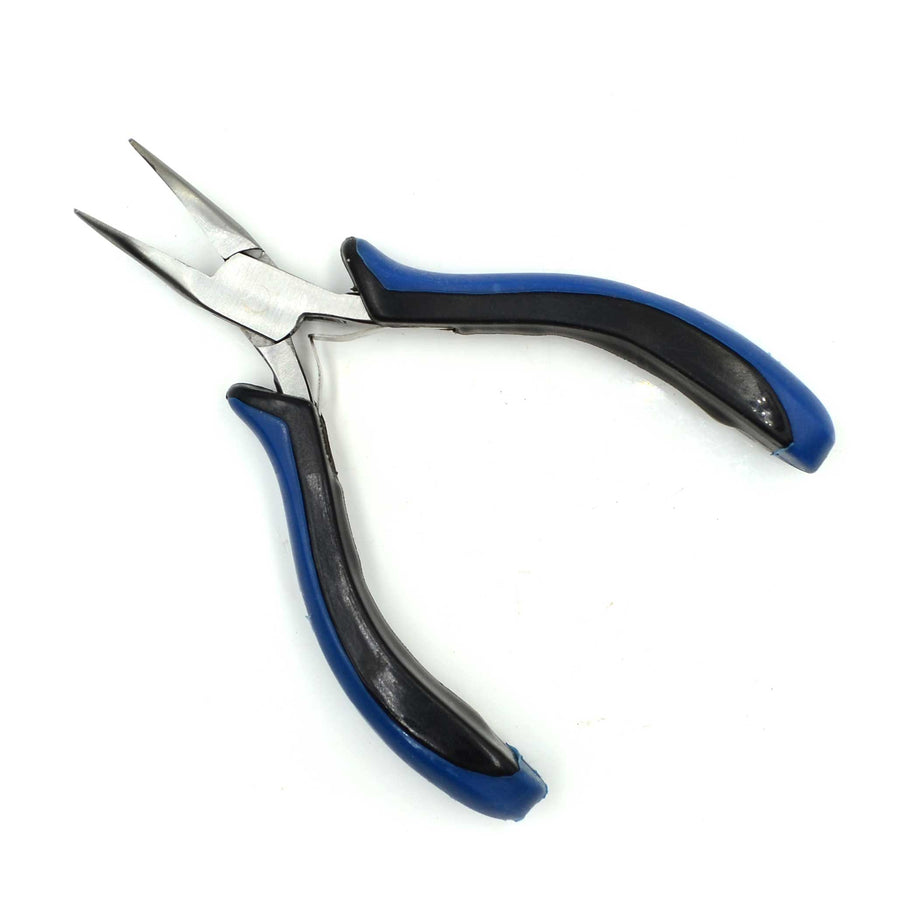
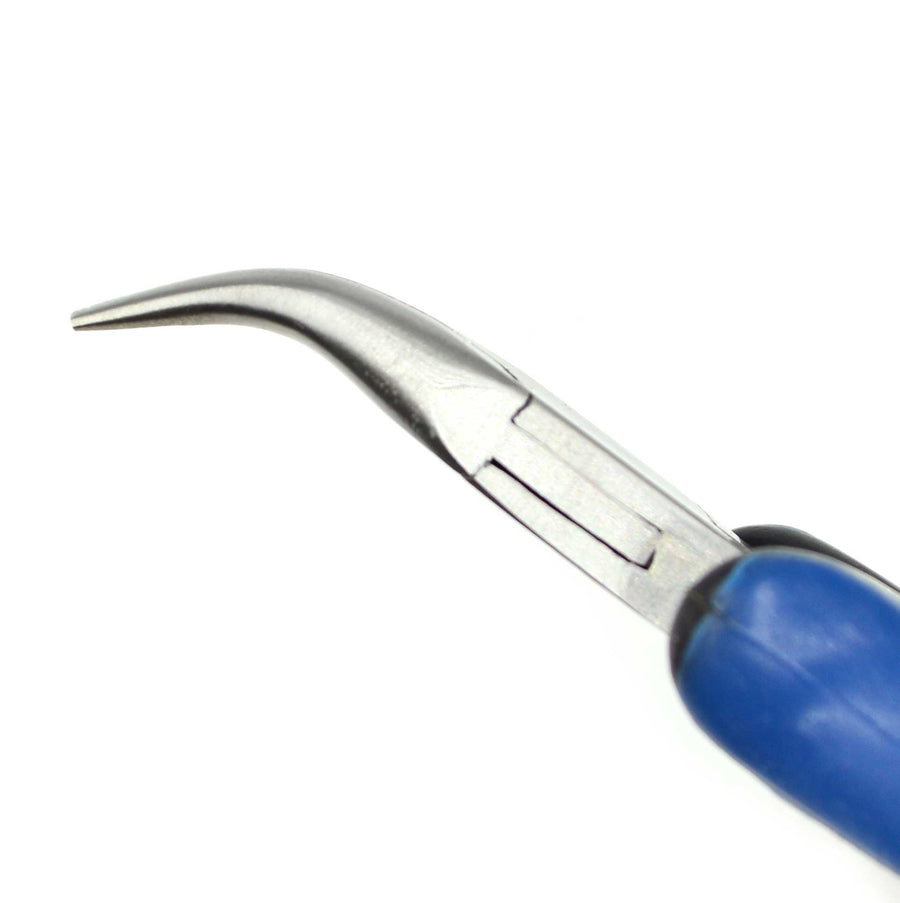
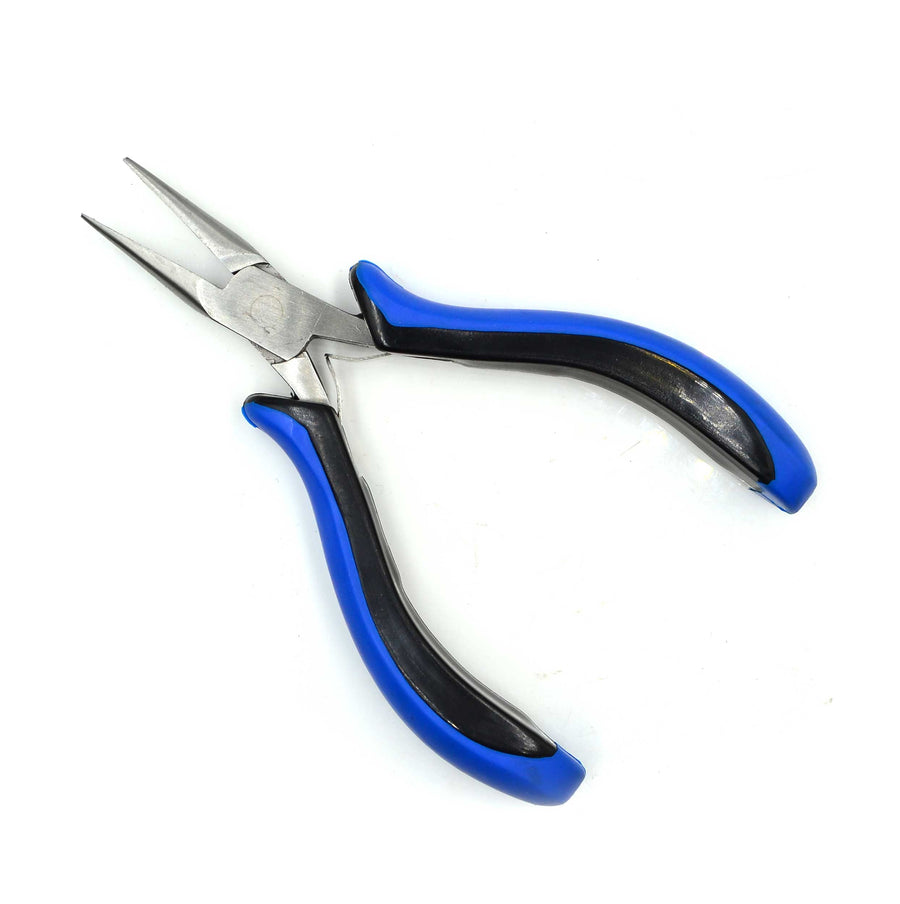
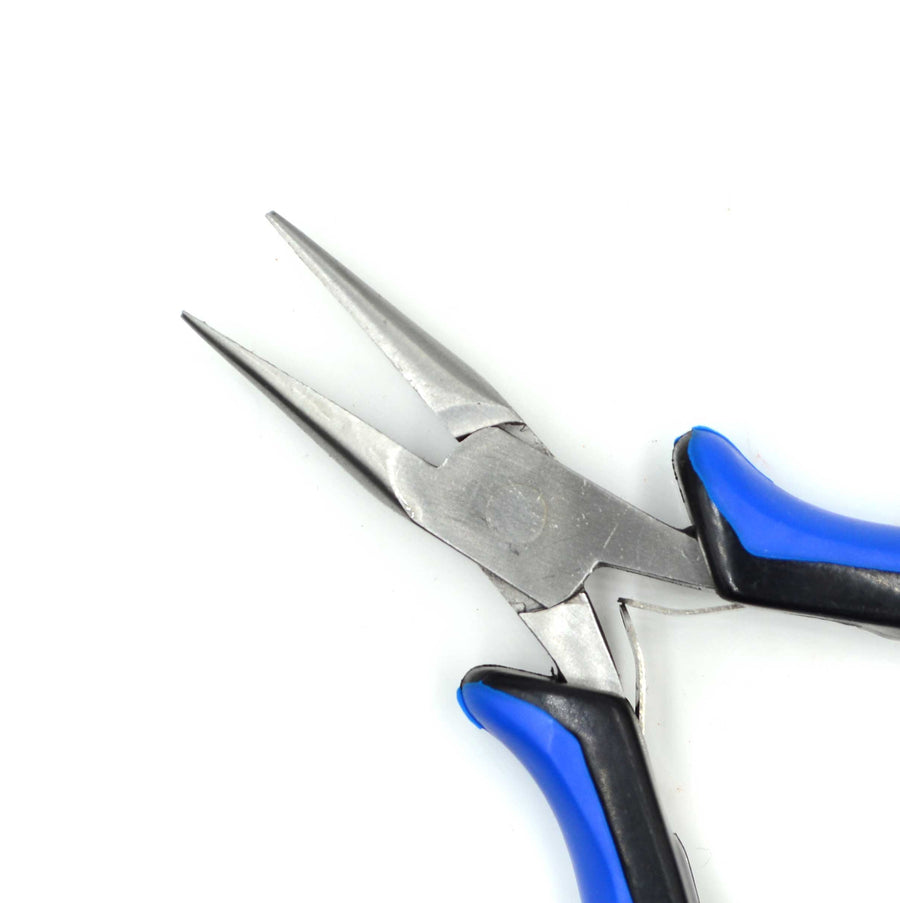
- Arrange buttons, bars and beads as desired, then use flat nose or parallel pliers to lightly crimp the barrel beads into position.
- Determine desired length of bracelet* and trim cords at both sides as needed.
- Place one Crimp End onto cords at one side of bracelet. (Optional: place a small amount of glue into crimp end before placing.) Use flat nose or parallel pliers to crimp in place. Test carefully to make sure it is secure. Repeat crimping as necessary. Repeat on other side.
- Use jump rings to attach Clasp to Crimp Ends.
Find ingredient quantities listed above for easy shopping, and find our other samples here.
Like what you see? Sign up for our Newsletter to learn about all our new projects, as well as updates on LIVE broadcasts, new product, and of course…SALES!