

Project Info:
Level: beginner
Estimated time: Under 5 minutes
How to Open and Close Jump Rings Securely

Project Map

|
|
 |
|
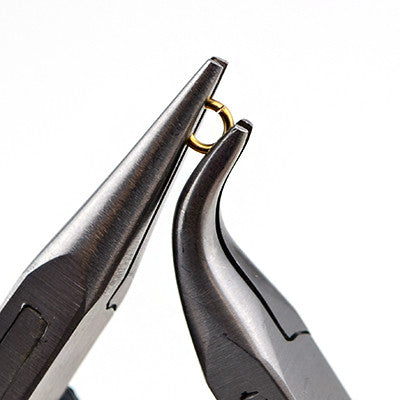
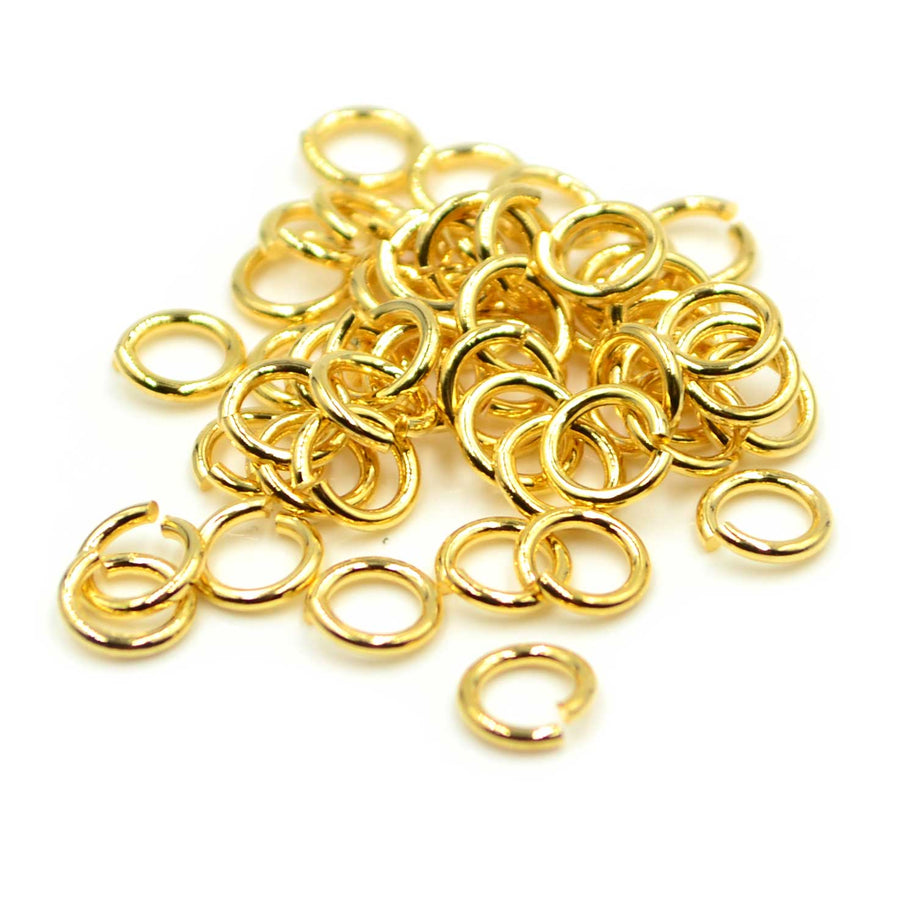
Opening Jump Rings: Step 1With the cut in the jump ring at the top of the ring, hold it with the pliers as shown: chain nose in left hand and bent nose in right (reverse all steps for left-handed)The plier jaws should be parallel with the cut in the jump ring with the tips pointing to the sky. |
Step 2Imagine you want to twist the point of metal opposite the cut in the jump ring. This is the only part of the jump ring that will actually be moving.
|
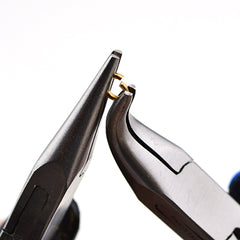
Step 3Without exerting any inward or outward pressure, twist your right hand so that the tip of the plier comes towards you.
|
|
|
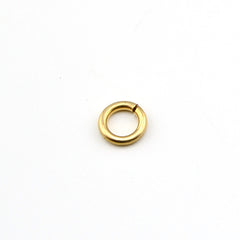
Step 4Your ring should look like this. |

Closing Jump Rings: Step 1Holding the pliers the same way, gently twist the right plier back towards the left, without any inward or outward pressure. |
Step 2Since wire is springy, you may need to gently "rock" the pliers back and forth past the closed point until the jump ring remains closed. You should be able to achieve a very flush close with no gaps. |
