

Project Info:
Quantities Needed For Project:
This is an evolving project with new products added as Kate creates. We've linked the broad general categories Kate plans on utilizing below.
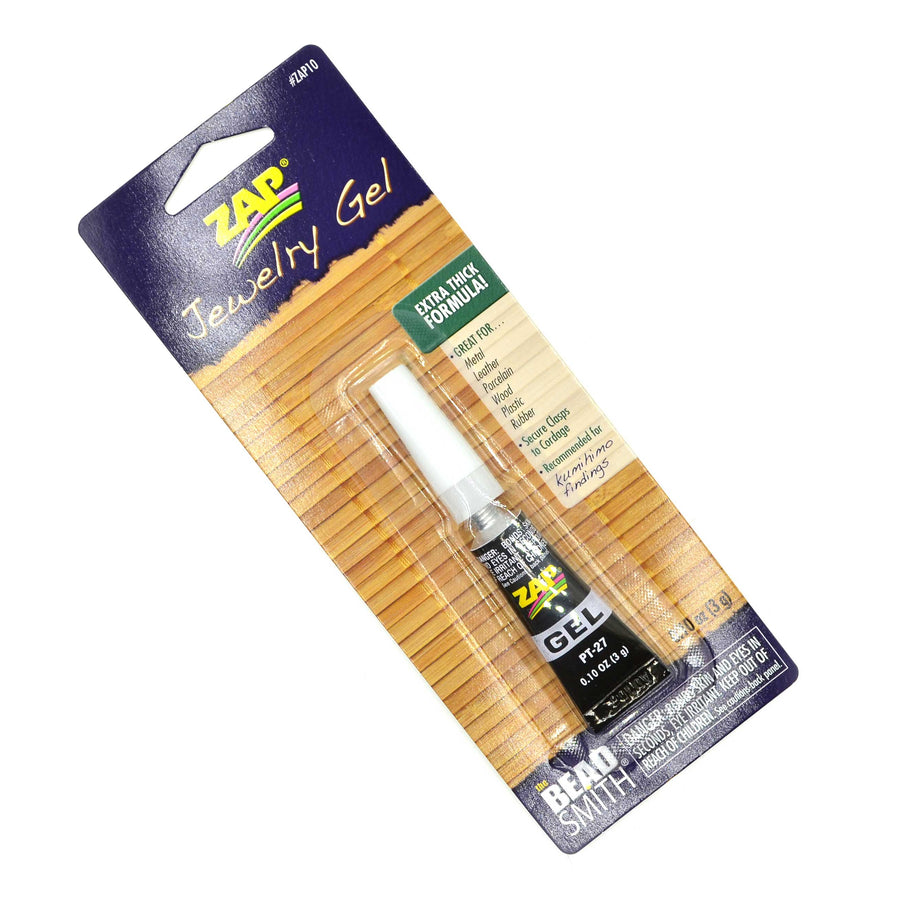
- Button or Clasp
- Regular C-Lon
- Fine C-Lon
- Czech Glass Beads
- Trade Beads
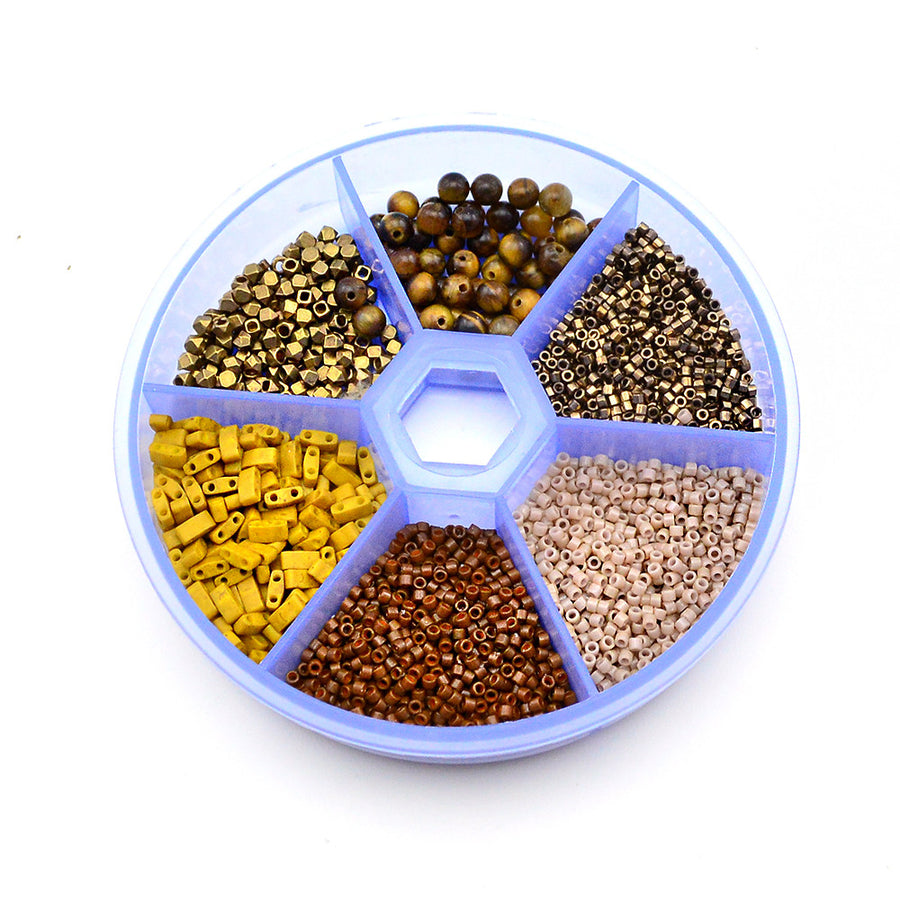
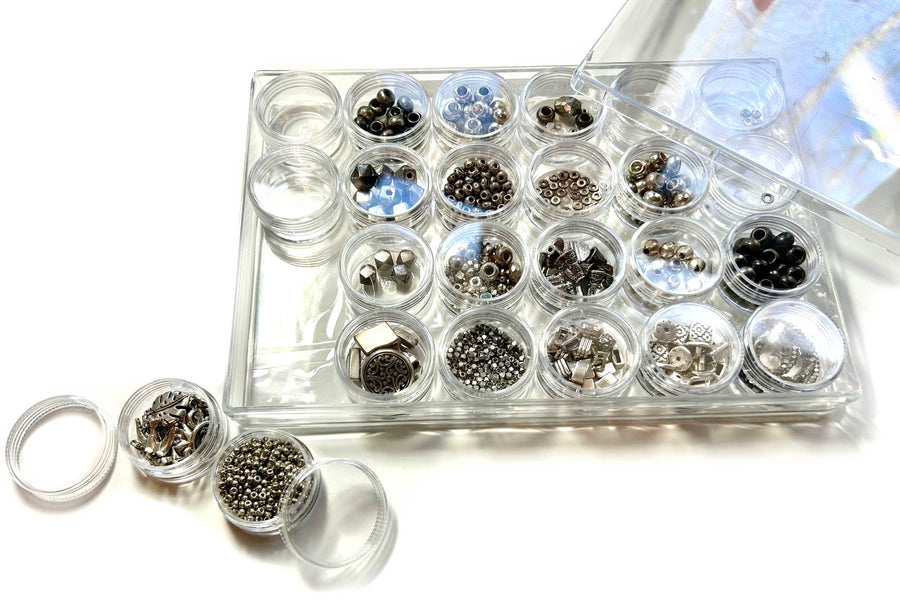
- Metal Beads
- Gemstone Beads
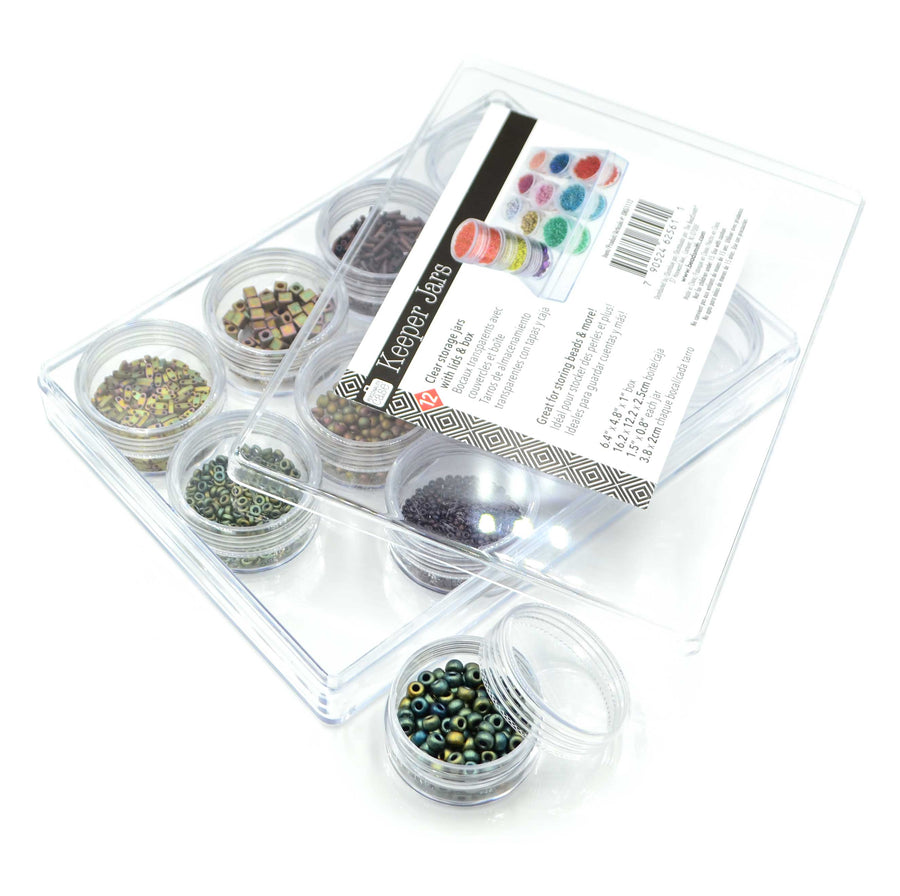
- Seed Beads
- Pendants and Charms
-
This is an evolving project with new products added as Kate creates. We've linked the broad general categories Kate plans on utilizing below.
- Button or Clasp
- Regular C-Lon
- Fine C-Lon
- Czech Glass Beads
- Trade Beads
- Metal Beads
- Gemstone Beads
- Seed Beads
- Pendants and Charms
Level:
Estimated time: Ongoing!
Master Class: Advanced Stringing Techniques


Project Map
With Kate Richbourg

Join us for a series of beadshopLIVE episodes where Kate strings a multistrand necklace using classic techniques. Covering everything from selecting thread to choosing beads to step by step instructions on advanced stringing methods. Once a month Kate will bring this ongoing project back to work on further, and as she works we will update this page with ingredients, progress, and links to the videos. Perfect your mastery with Kate as she shares tips from her decades of beading experience!
Episode 1: Introduction
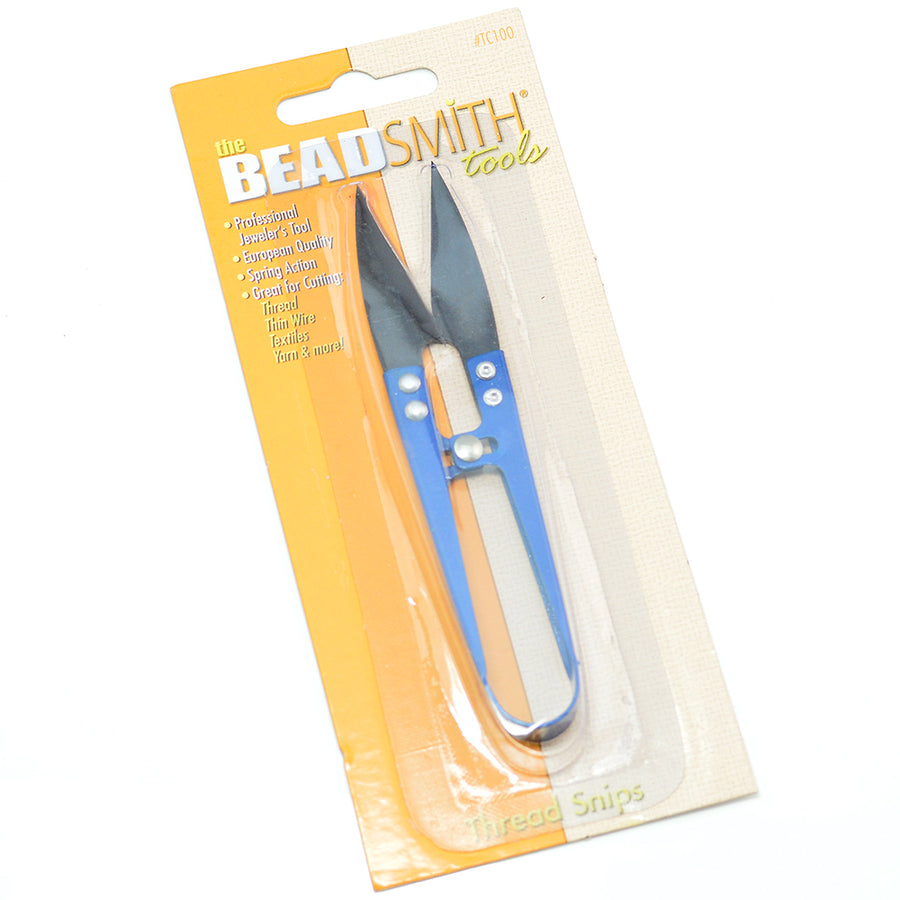
- Tools & Supplies
- Selecting a Bead Palette
- Stringing Materials
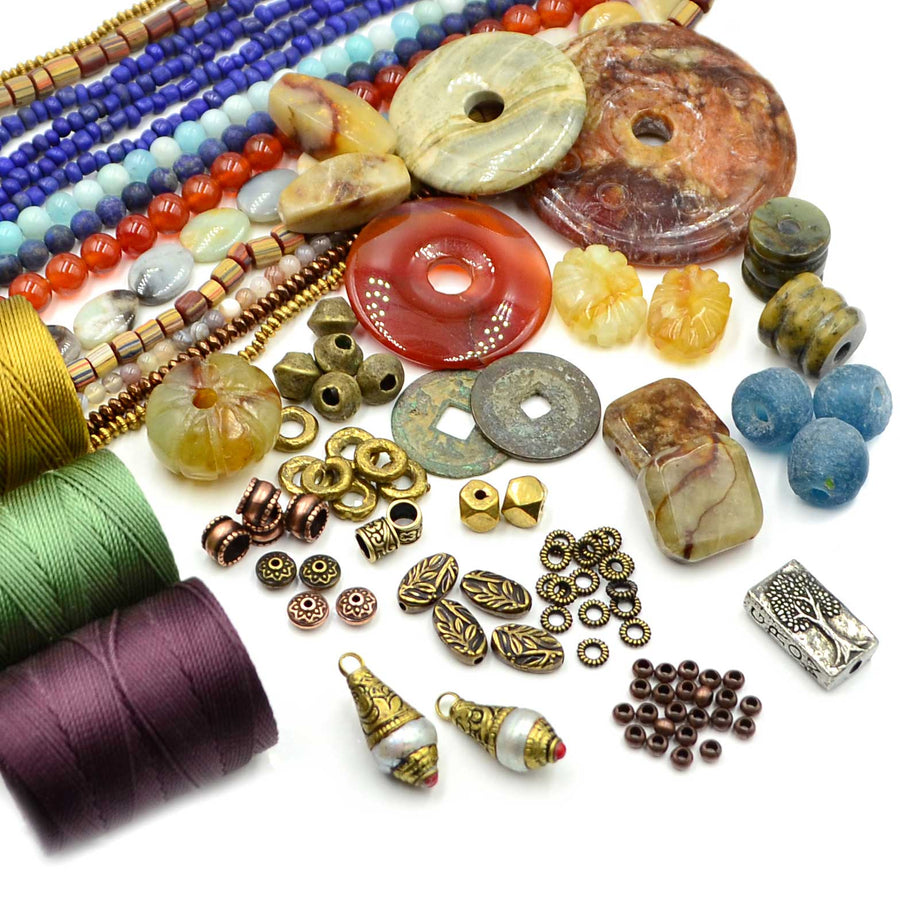
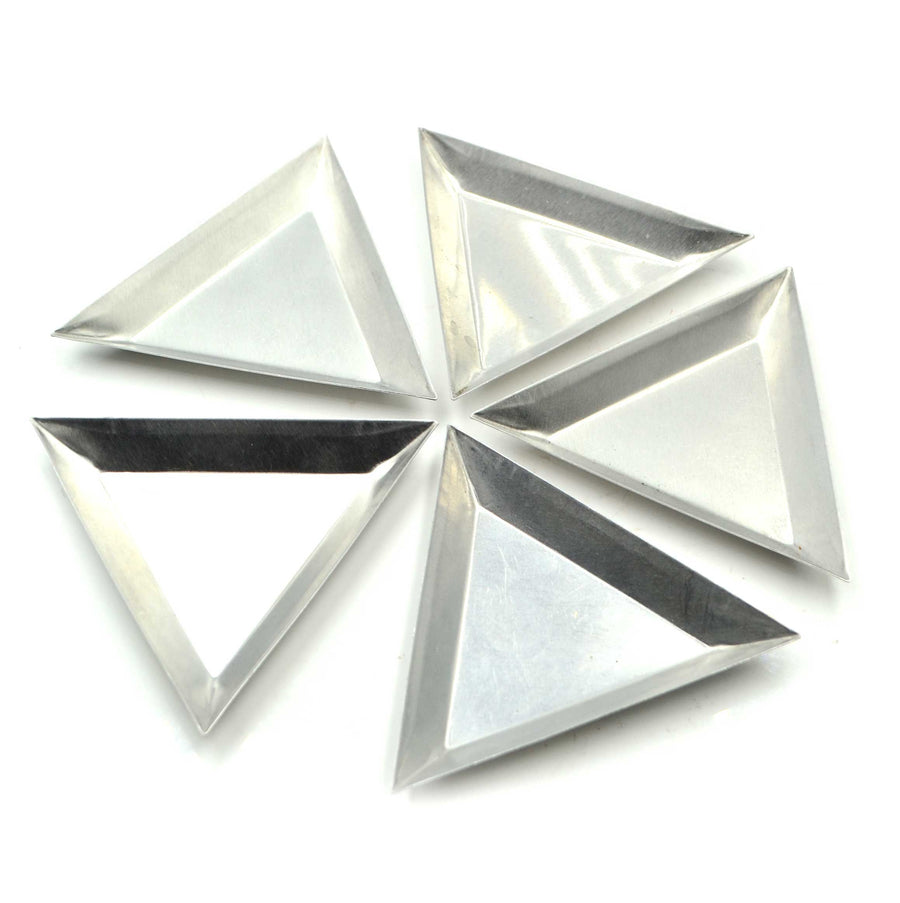
In this episode, Kate talked about the above points to get us started on our necklace journey. She curated a few bead mixes, mostly by color but also by size. As you'll see in the photo above, she has triangles and bowls containing her bead palette. From the top left to right: 2/0 Matubos and Coil Spacers, 4mm Fire Polish and 5mm Rondelles, assorted large hole metal beads, larger Czech and trade glass beads in "cool" tones of yellows and greens, large "showcase" beads from Vintage Finds, and a seed bead mix. Bottom from left to right: Focals, the "warm tone" medium sized blend of glass and semiprecious and pearls, a two-hole bead mix of Superduos/Quarter Tilas/CzechMates Tiles, and Regular C-Lon in Eggplant-Fern-Antique Gold.
The themes this episode were:
For the centerpiece, Kate strung her mix of 6/0s and 8/0s along with small brass beads and Little Shadows using three 1yd strands of Regular C-Lon. String 1.5" of beads to the center of each strand, and then the strands were knotted together at each end against the beads. Kate used this as a base to continue to string, weaving the strands around a Pi Disc. To finish, the strands were knotted at the top of the disc. More thread will be added for the next step when Kate strings off the right edge of the disc to create the connection for the second side.
Episode Three
This episode focused on:
- connecting the second side of the necklace
- creating fringe from the centerpiece
Episode 3 is about "making it work."
Episode Four
This next lesson brings us to about the halfway point in our creation! In this show, Kate will work on:
- Looking at design inspiration
- Finishing the body of the necklace
- Knots and connections
We're winding up! Nearly to the end of this epic Master Class series and let us just say...we have been loving your pieces inspired by this journey! Keep sharing! And keep watching, because today is all about...
- Finishing the stringing
- Checking for balance and length
- Tapering to the closure
The Finale! Today's the day we complete this Master Class series! Kate is ready to bring everything to a close, and we hope you've enjoyed this as much as we have. Stay tuned for our next Master Class series in the new year!