

Project Info:
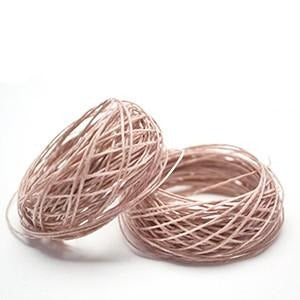
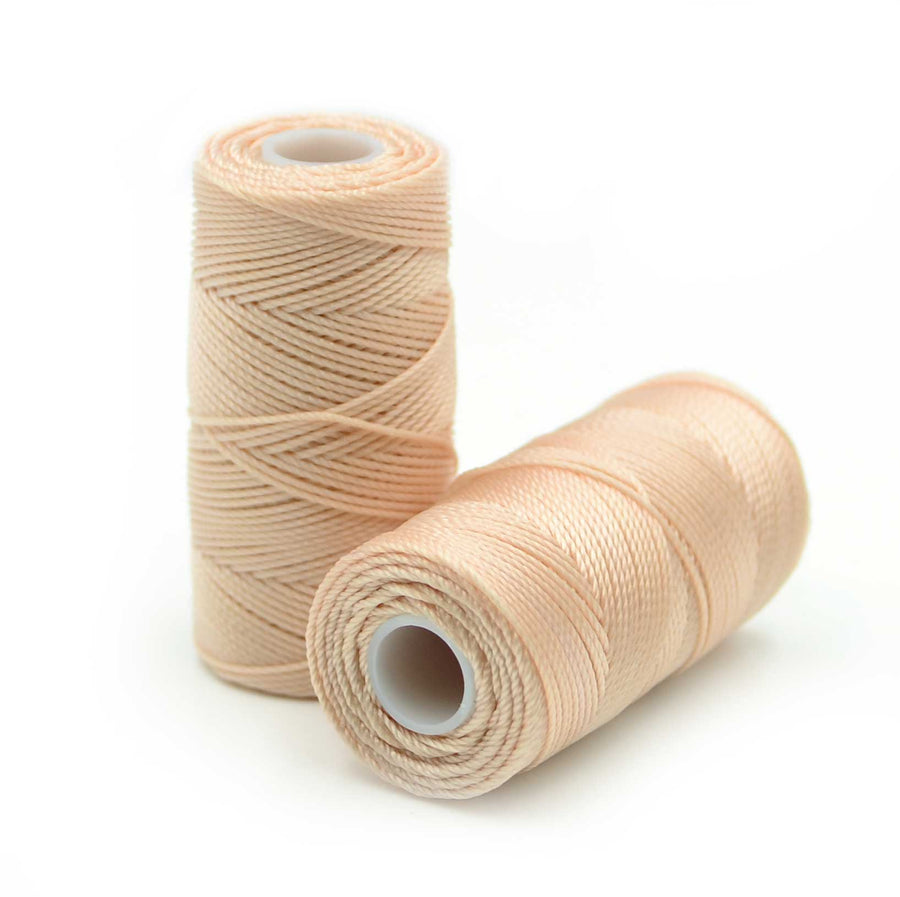
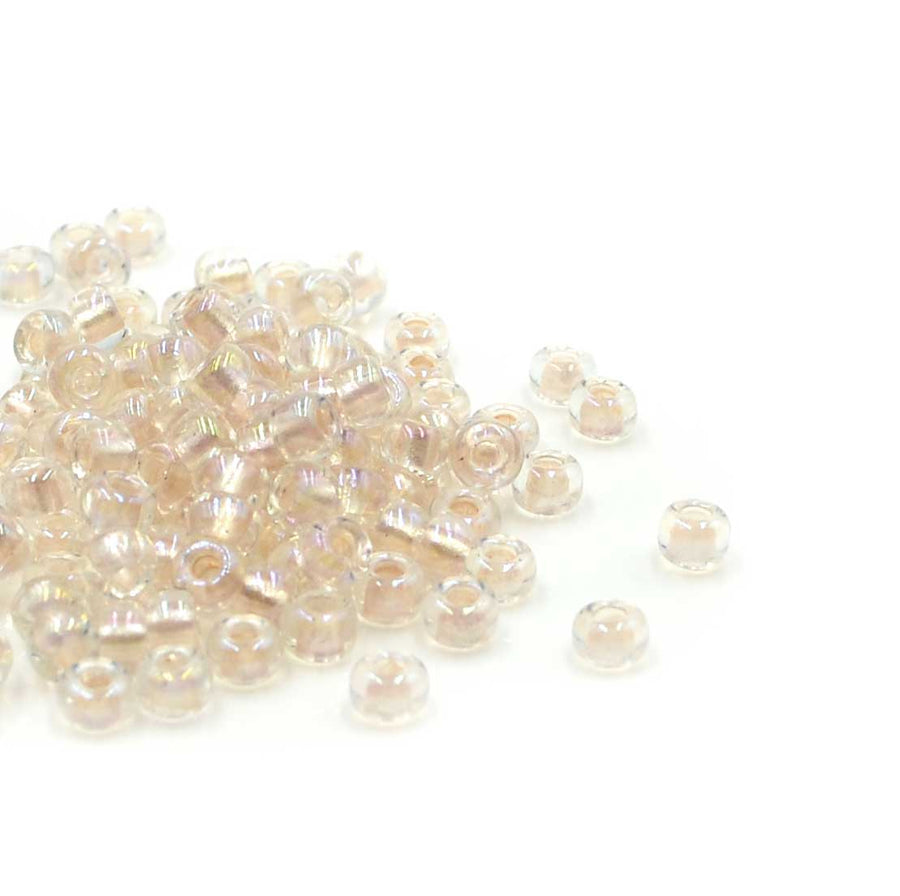
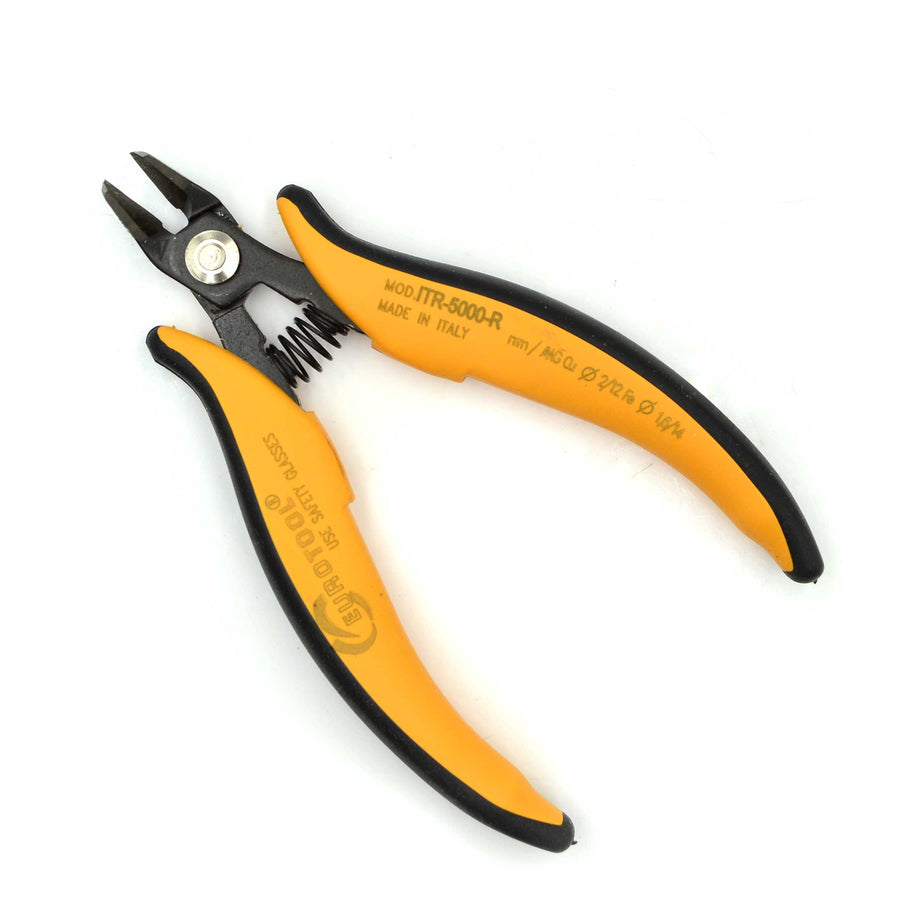
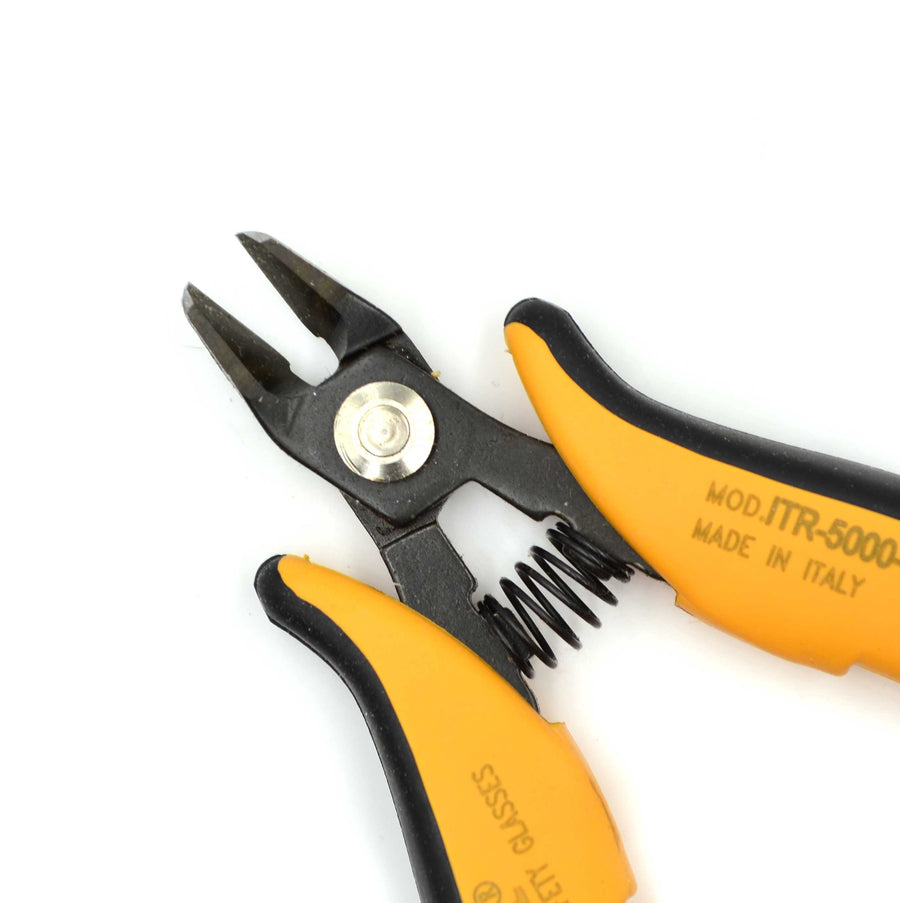
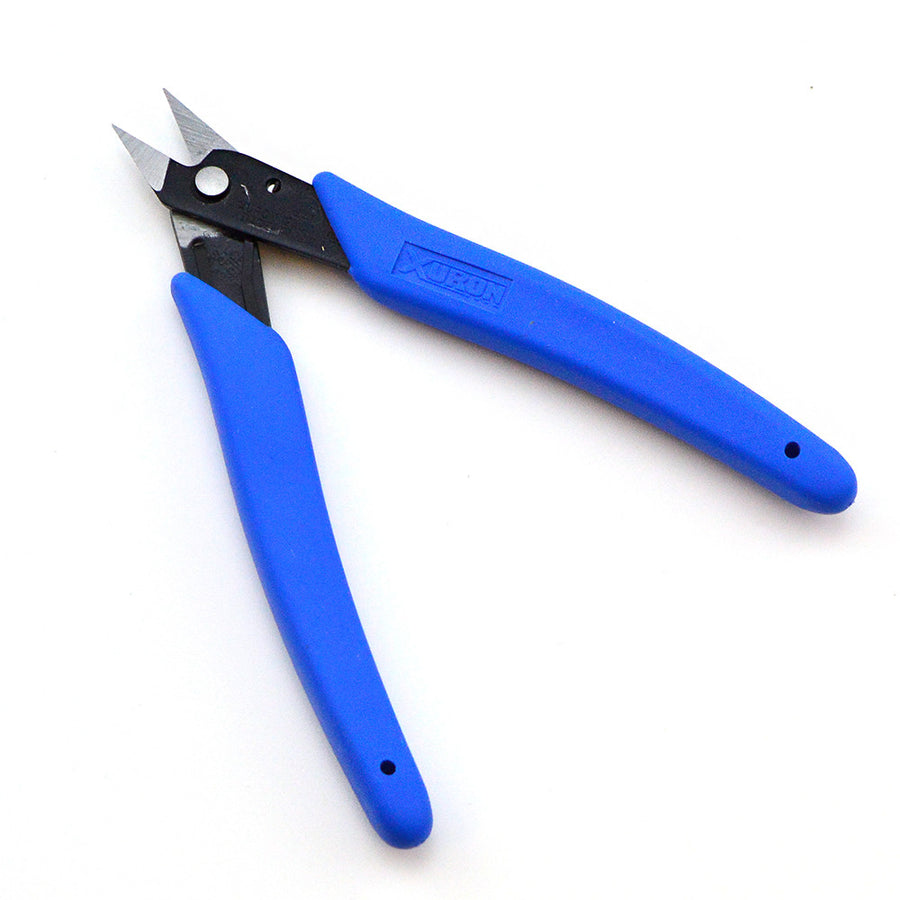
Kit Includes
Kit Includes
Level: Beginner
Estimated time: 3+ Hours
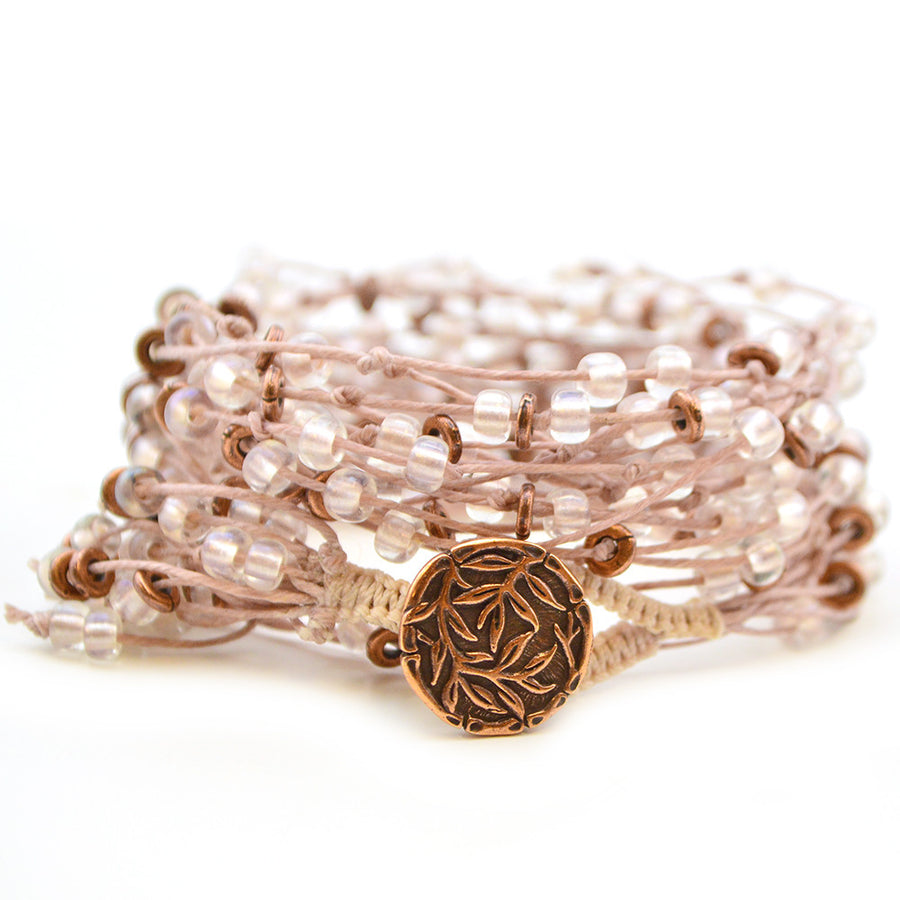
Named “Lydia” in honor of Janice’s mom, who was our fearless founder and, according to Janice, “the most wickedly wonderful mom on the planet.” And although Lydia passed away in 1991, she left her indelible mark on all of us, including her love for the color antique rose. This 8 strand Odyssey sample will make a great Mother’s Day gift to wear as a 3 wrap bracelet or multi-strand necklace.
Please review the Project Map below for specific tips. Then read through the PDF handout, which will guide you Step-by-Step.
Considered an All-Levels project, we think you can complete it in 3-4 hours.
Lydia


Project Map

The length of our sample is 23 inches from the tip of the button loop to the button shank. It will fit a 6-1/2 inch wrist. If you’re making this as a gift and you have to guesstimate the wrist size of the recipient, here is a general size chart for wrists/bracelet sizes:
Petite: 6 to 7”
Medium: 7 to 1/4-8”
Large: 8 to 8-1/2”
Plus: 8-3/4 to 9-1/4”
10 yards of linen is plenty; you can adapt the design to wrist sizes from Petite to Plus. To help calculate the total length for your piece, add one inch to the wrist measurement and multiply that number by 3 (the number of times this bracelet is intended to wrap around). That final number is your approximate finished length. We are still encouraging you to try it on several times during the process to make sure you’ve calculated correctly. It is very difficult to take knots out of waxed linen, so you don’t want to overshoot your finished length.
Be sure to read the PDF Handout before beginning. Here are the specialized tips to help you make this sample.
- Cut 4 pieces of Linen 90 inches each. Line them up evenly and fold in half to find the center (at the 45 inch mark). Secure them together to a macramé or design board. (Steps 4-5 of PDF)
- Cut 1 yard of Fine C-Lon and macramé a button loop. (Steps 6-15)
- Tie C-Lon ends off by securing each to one strand of Linen with an overhand knot. (Steps 16-17)
- After separating all your beads into 8 fairly even piles (Step 19), pick a strand of linen and add beads and knots randomly. Keep in mind to space them out so you have enough to get to your goal length. String and knot your first strand and stop at about the 7 inch mark. Take a look at your first pile of beads….how many do you have left? Have you used up too many to make a 3-wrap bracelet? Don’t worry too much…you can add less beads on other strands across from this section, but do keep in mind you have to “pace” yourself. The holes on your beads may want to slide over the knots, so we recommend you don’t pull the knots really tight.
- Continue to knot that strand and also begin new ones. Don’t knot any of them to the finished length. Stop about 5 inches shy of your goal.
- As you get closer to finishing all your strands, be sure to try it on. Remember, the button and “neck” made by the macramé knots below the button add length. (Steps 24-26).
- Sometimes how much beeswax residue is on Linen is beyond our control. If you find it challenging to get all 8 strands of Linen through the shank of the button, we have two suggestions:
a. Try to remove some of the wax off the linen by gently running the edge of a spoon along each strand of linen. Then try threading them again through the button shank.
b. If that fails, we suggest tying two strands of linen together with an overhand knot. Make sure the knot is secure and cut away one of the Linen tails. Then try threading the strands again through the button shank.
- Because the holes on the 6/0 Seed Beads are quite large, we recommend the final knots on the tassel ends (Step 27) be double overhand knots to keep any beads from slipping off. The double overhand is a knot where you go through the same knot twice.
We hope you have enjoyed this project. Please share with us any questions or comments at info@beadshop.com. We would love to hear from you and see what you’re making. Happy beading!