


Project Info:
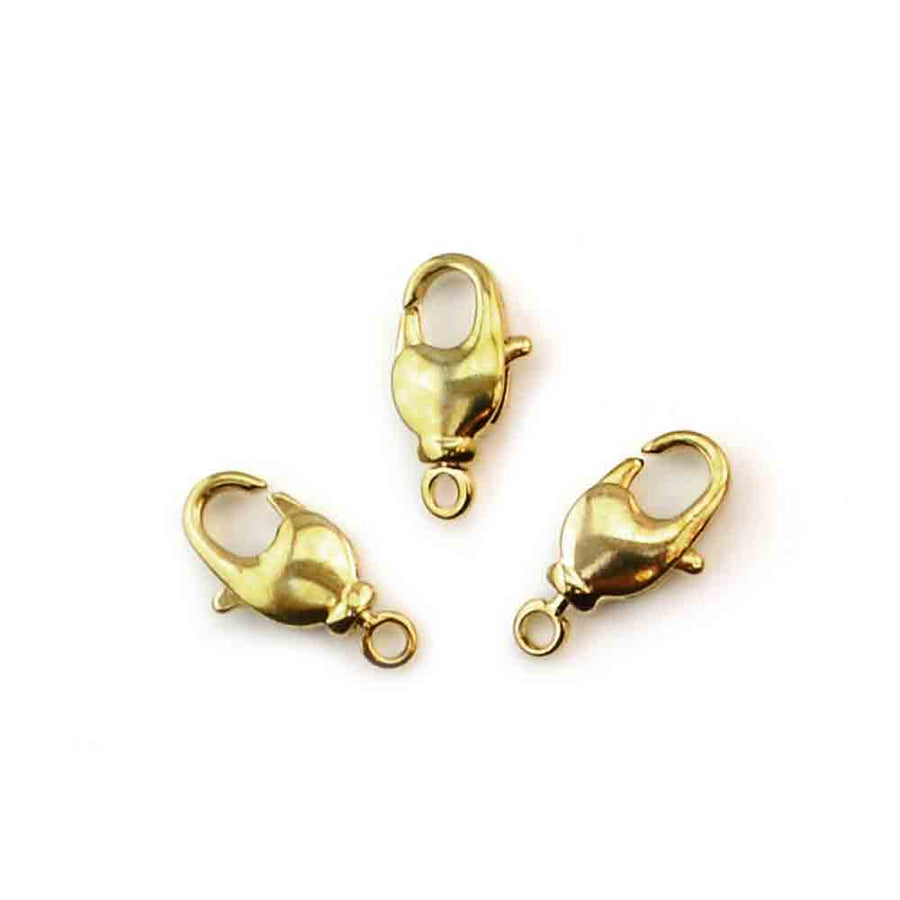
Ingredients list: Quantities Needed For Project: - 1 Lobster Claw Clasp
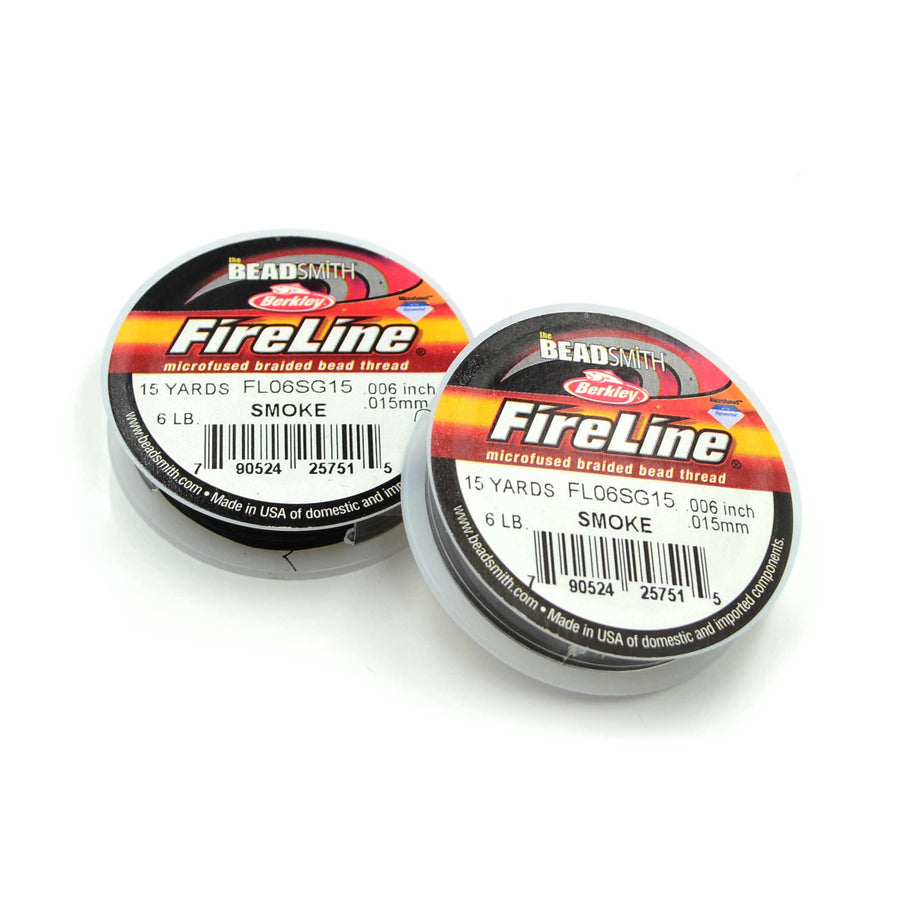
- 1 Spool 6lb FireLine
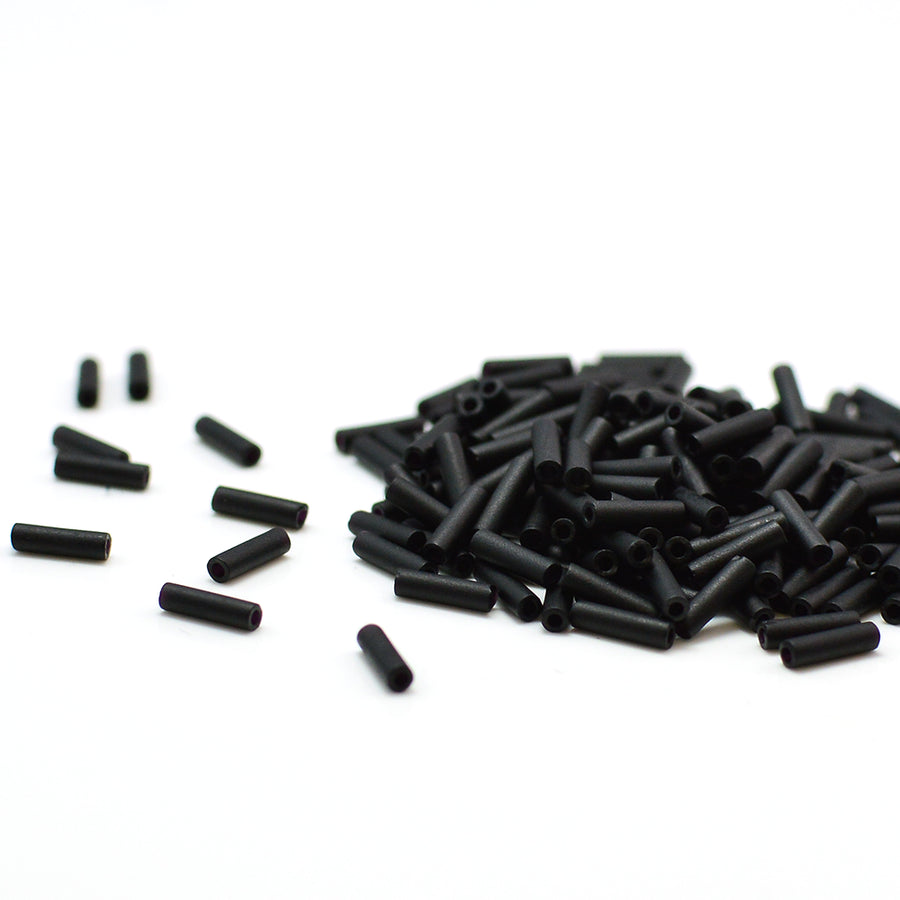
- 1 Tube 6mm Bugles
- 1 Tube 8/0 Round Rocailles
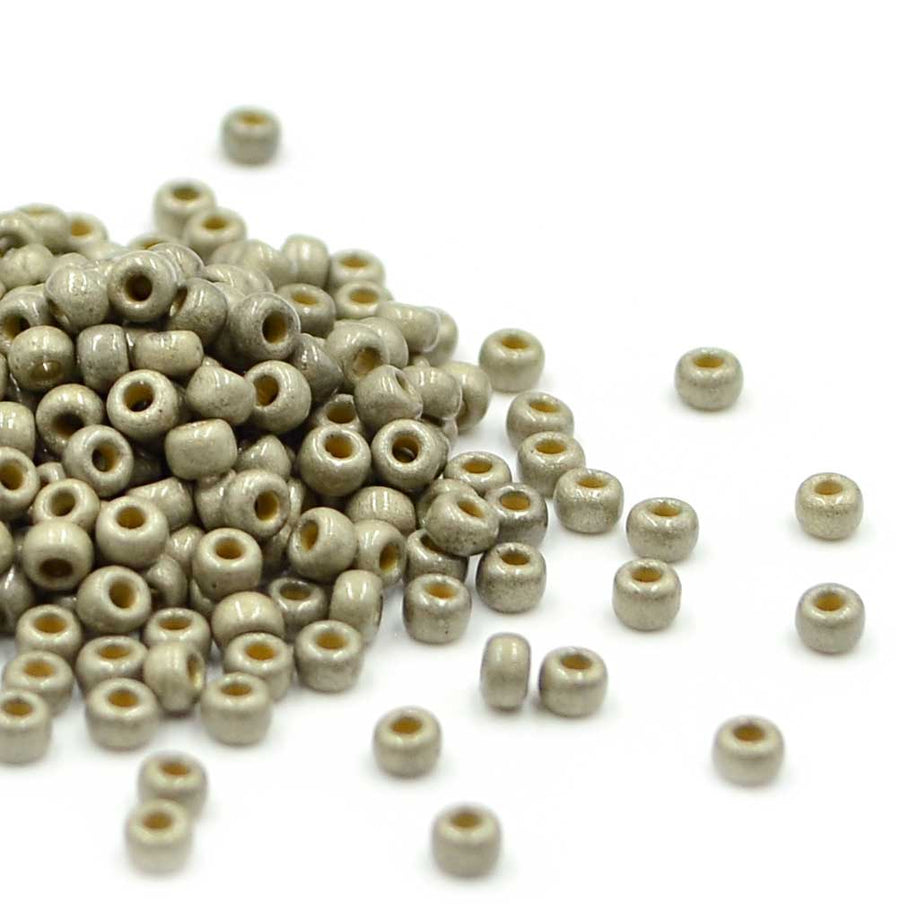
- 1 Tube 11/0 Round Rocailles
- 1 Tube 15/0 Round Rocailles
- 1 Strand 3mm Czech Fire Polish
- 2 Cymbal Soros Tila Bead Endings
- 1 Ft Chain
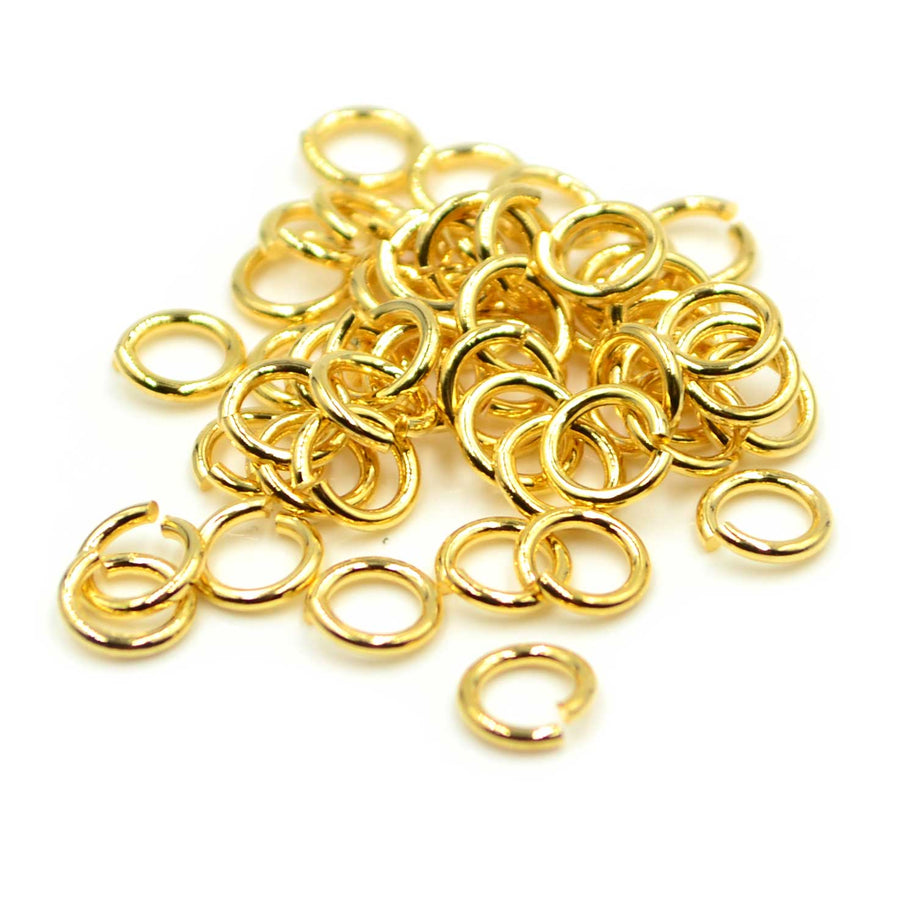
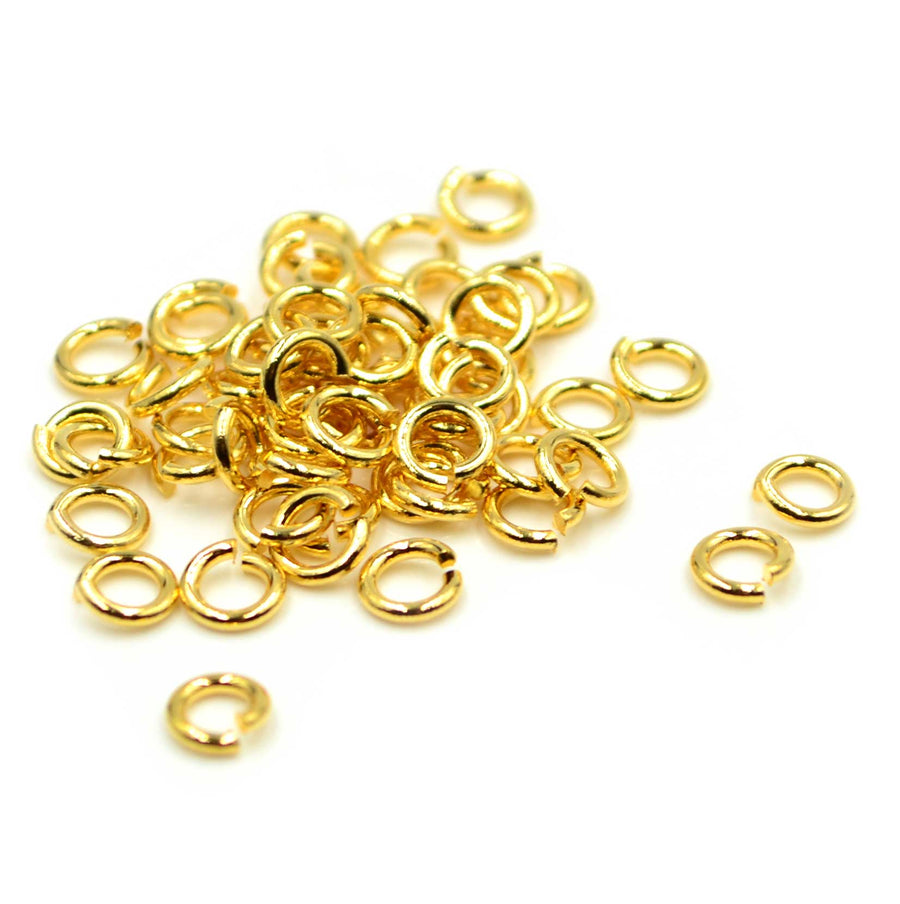
- 1 Pkg 5mm Jump Rings
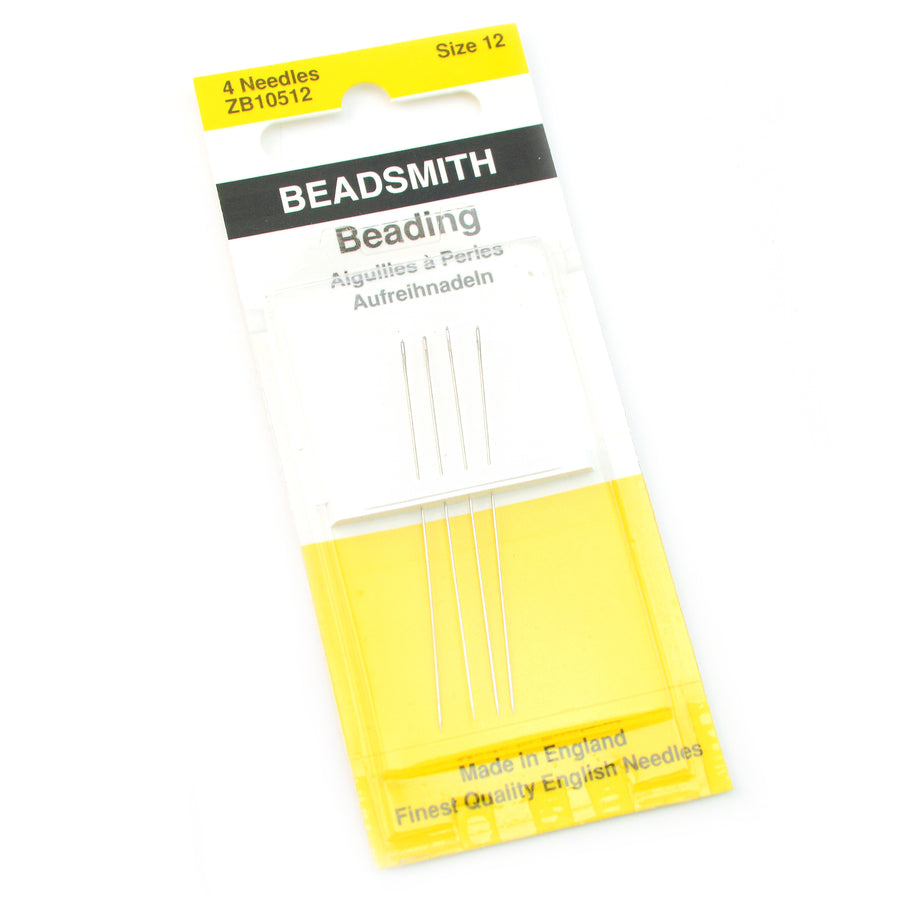
- 1 Pkg Size 12 Beading Needles
- 1 Lobster Claw Clasp
- 1 Spool 6lb FireLine
- 1 Tube 6mm Bugles
- 1 Tube 8/0 Round Rocailles
- 1 Tube 11/0 Round Rocailles
- 1 Tube 15/0 Round Rocailles
- 1 Strand 3mm Czech Fire Polish
- 2 Cymbal Soros Tila Bead Endings
- 1 Ft Chain
- 1 Pkg 5mm Jump Rings
- 1 Pkg Size 12 Beading Needles
Level: Beginner
Estimated time: 3-4 Hours
Camille


Project Map
Project and Sample by Kate Richbourg
Inspired by the bracelet Kate's mother wore on Christmas Day (a years-old Kate piece!). This update to a classic design has us dreaming of bugles...a great way to add texture and color to a seed bead project! Kate has made this piece on-air once before, but she was feeling like we needed to get to work on something festive! Check out her other sample... Simone.

Step 1: Ladder stitch the bugles in segments of 5 beads
Step 2: Add the X‑motif
- Put on in this order: 1, 15/0; 1, 11/0; 1, 8/0; 1, 11/0; 1, 15/0
- Go back through all beads
- Then add: 2, 15/0; 1, 11/0. Go through the 8/0. Add 1, 11/0; 2, 15/0.
- Back through the first 15/0 and 11/0 to the center 8/0 and up through the 11/0 and through the 15/0, on the opposite side.
- Continue with the ladder stitch. Make as many segments as needed to go around your wrist. Make this your base row
Step 3: Brick stitch double row of 11/0 4 times over each bugle segment.
Add a bugle so it lays like a bridge over the x and creates a negative space.
Continue with this step for both sides.
Step 4: The last step is the scallop between each bridge bugle section.
Put on in this order: 1, 15/0; 1, 8/0; 1, 15/0; 3mm fire polish 1, 15/0; 1, 8/0; 1, 15/0 and through the next bugle
Continue until all scallops are complete. Stitch the Soros clasp ends on each end.
Please join us as our worldwide community gathers on Facebook and YouTube at 10:30am Pacific Time on 10.15.25. It’s so much fun to go live with us and bead together! After the live broadcast the video will be available above.
Like what you see? Sign up for our Newsletter to learn about all our new projects, as well as updates on LIVE broadcasts, new product, and of course…SALES!