


Boho Bracelets


Project Map

1.Open about 130 jump rings. Start your chain maille “spine” by linking rings two-by-two until you have reached the desired length. The first and last rings on both sides need to lie perpendicular to the table (as seen in Step 1 photograph).
2.Lay out your chain and attach two rings on both sides of the spine that lie parallel with your work surface (the rings that you can look down into). This addition is called the chain maille “back bone.” Repeat the double rings the full length of the spine. For a finished bracelet length of 8 inches, your chain maille spine will measure about 5-3/4”. The hoop (seen in Step 3) is not included in the 5-3/4” measurement.
3.On both ends, open the last double rings of your chain maille spine and attach an Encircle ring or other larger ring component. Close them securely. The Encircle rings will be used to feed your suede trim through to secure your button. Make sure they also will lay parallel with your work surface. This is important because you don't want your bracelet twisting, which it can if both components aren't going in the same direction.
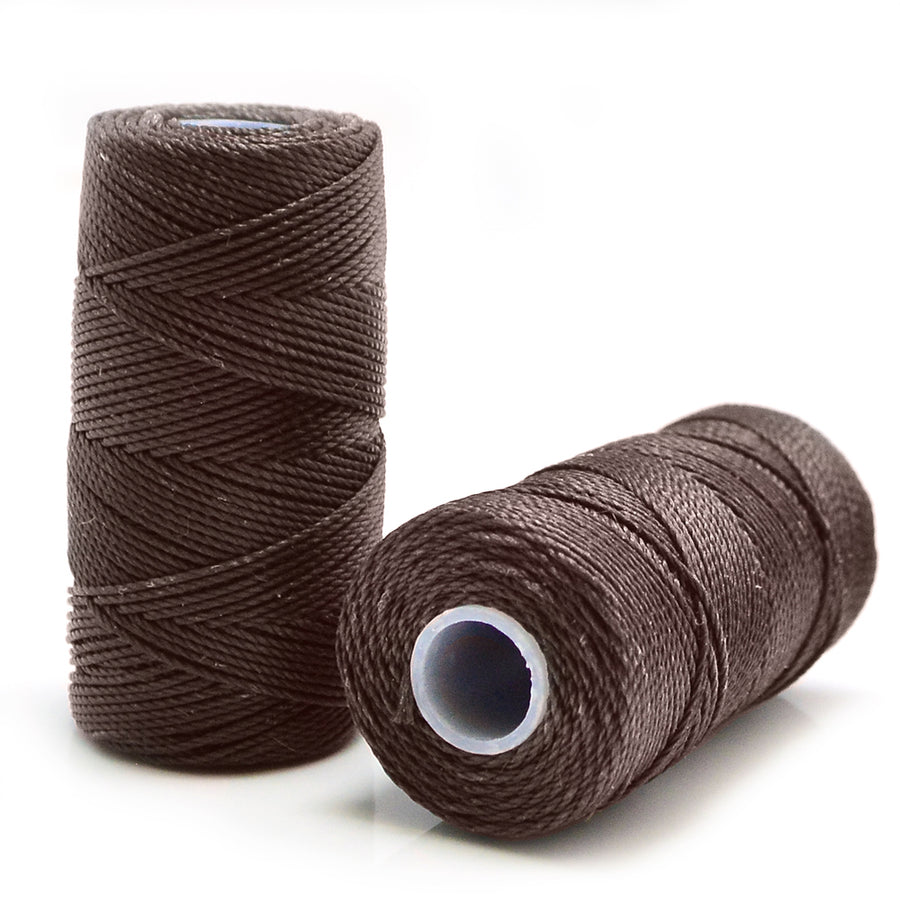
4. After adding a hoop component to each end, you are now ready to begin stringing your beads. Fold a taped flag over one end of your Fine C-Lon about 4” from the end.

5-8. Bring your Fine C-Lon through both jump rings on one end of the bracelet. Your bead selection for this project has two requirements: One kind of bead has to be small enough to fit inside your jump rings once they are woven together into the backbone and the other bead(s) must not fit through the jump rings. The larger beads lock the rings in place and keep the jump rings from wandering back and forth. String enough beads to make it to the first jump ring, making sure that a larger bead is closest to the jump ring. Bring your cord through the first set of perpendicular rings. Continue your pattern towards the other end, around the curve at the opposite end and back up to the beginning.

9-12. Remove the tape positioned on C-Lon and tie a square knot with both ends (Right over left, gently pull it tight. Left over Right, gently pull it tight). Your thread tension should be secure but not overly stressed. Remember, your bracelet is going to curve around your wrist, so it needs some stretch-ability. Add a drop of Hypo-Tube cement to the square knot and allow it to rest for a few minutes. To secure and hide the tails inside nearby beads, take one tail at a time and feed it back through 2-3 beads going in the opposite direction. Before feeding each cord through the 3 beads, apply a little glue to the portion that will rest inside the 2-3 beads. Let the glue set for a few minutes. Use a thread burner or thread snips to cut the excess tails.

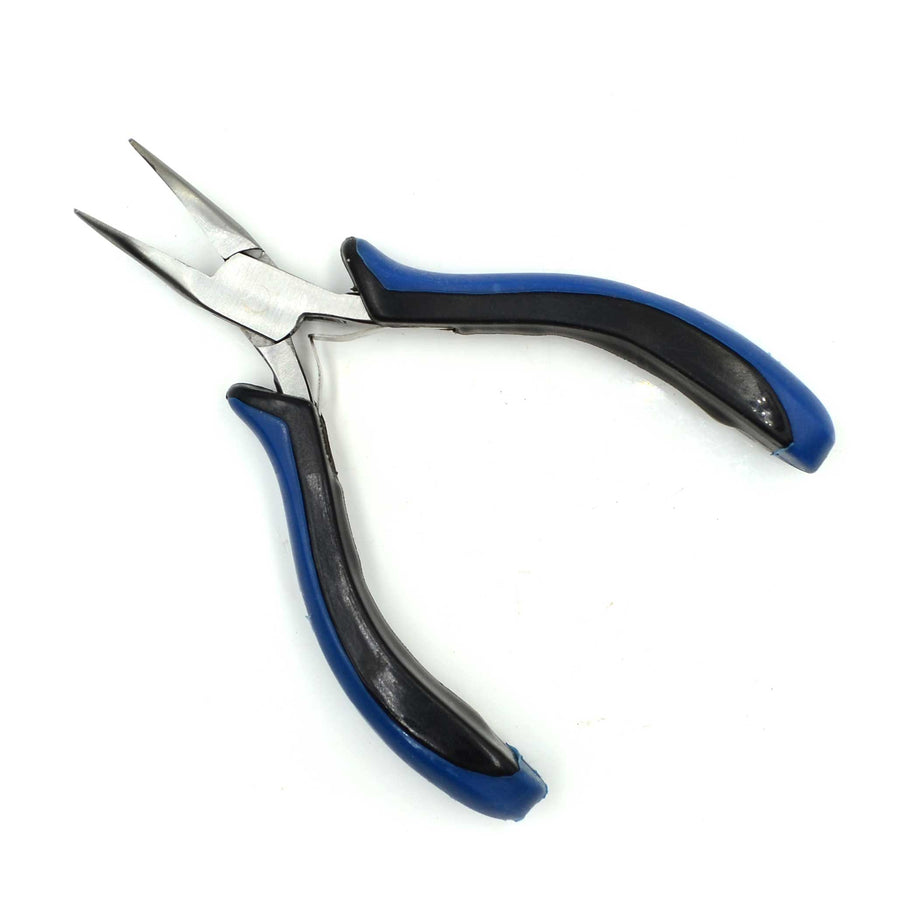
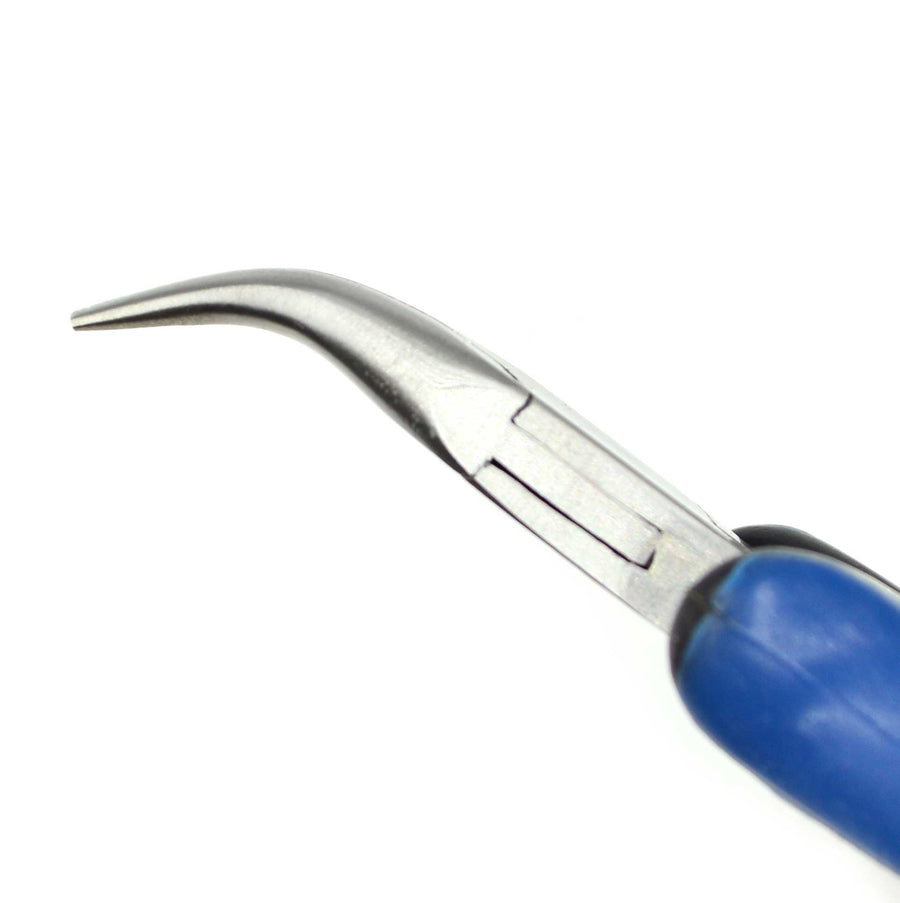
13-15.Take a small piece of wire - an inch will do fine, and feed it through the holes of the hoop component on one end. Using pliers or your fingers, bend both ends in the same direction and cut the tails sticking out from the side leaving only a small amount of wire bent over. Use a file or emery board to buff out rough edges. You have now made a buckle! Repeat steps on the second side.
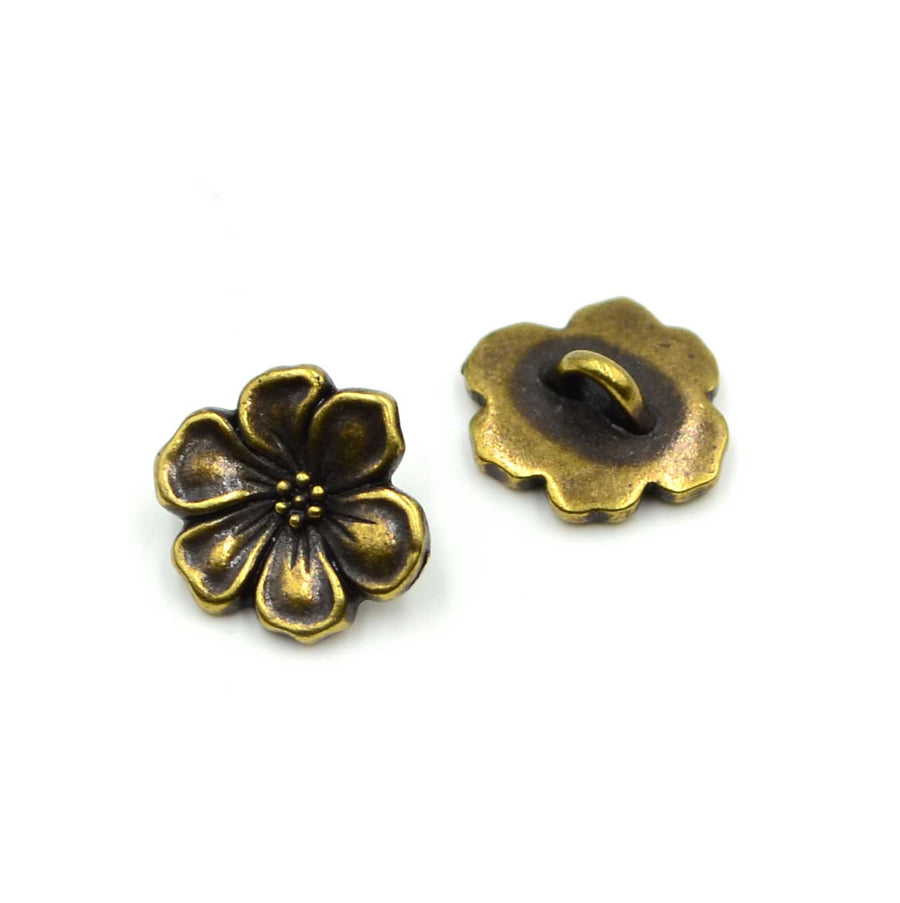
16. Cut a strip of UltraSuede about 3-1/2” long and 3/8” wide. Angle cut one end so it will be easier to thread it in and out of the loops that form the buckle when you're taking it off and on to wear. Measure the approximate length of your button. To allow your button to pass through the suede, cut a small, centered slit with scissors or thread snips on the angled end of your suede. We started ours about 5/8” from the point of the angle. Don't cut this slit too close to the angled end because it can tear or wear out more easily. Have your button handy so you can test fit to make sure the opening is just right.

17.Feed the squared end of your suede through one of your buckle loops, over the wire (as pictured), and fold a small section back. Before permanently sewing your button on, loop the tapered end through the other side and find a nice balance of where the button should permanently rest. For a 7” bracelet, this section, including the buckle parts, measured about 1-3/4” when closed but don't forget to try it on yourself before you sew! Ideally, the button will “live” in the center of the suede trim when worn. You may need to do some trial and error work to get it just right, but it is worth the effort.
18.Sew your button on using an English beading needle or regular sewing needle. Cut about 12” of nylon sewing thread or Micro C-Lon in a color complimentary to your suede and double it through the needle. Knot the ends of the thread together and bring the needle up and back through the suede and the shank of the button. This should be repeated 6-9 times before securely ending the thread with two over hand kots. Once your button is sewn on, reinforce the knot several times and cut off excess thread. Add a drop of Hypo Cement to the thread knot and also inside the sewn end of the looped suede for reinforcement.

The possibilities are endless....including the length. You can make it more adjustable, if it's a gift, by using a longer strip of suede trim and adding a second button hole. Boho is wonderful with tribal beads, but you can also adapt it to seed beads and pony beads, which have more consistent sizing and holes....we happen to love the variations in beads that are more than 500 years old....but it's personal taste. Call a beading friend and try a project in collaboration. Watch how the results blossom when you're creating in a team. Enjoy!