


Project Info:
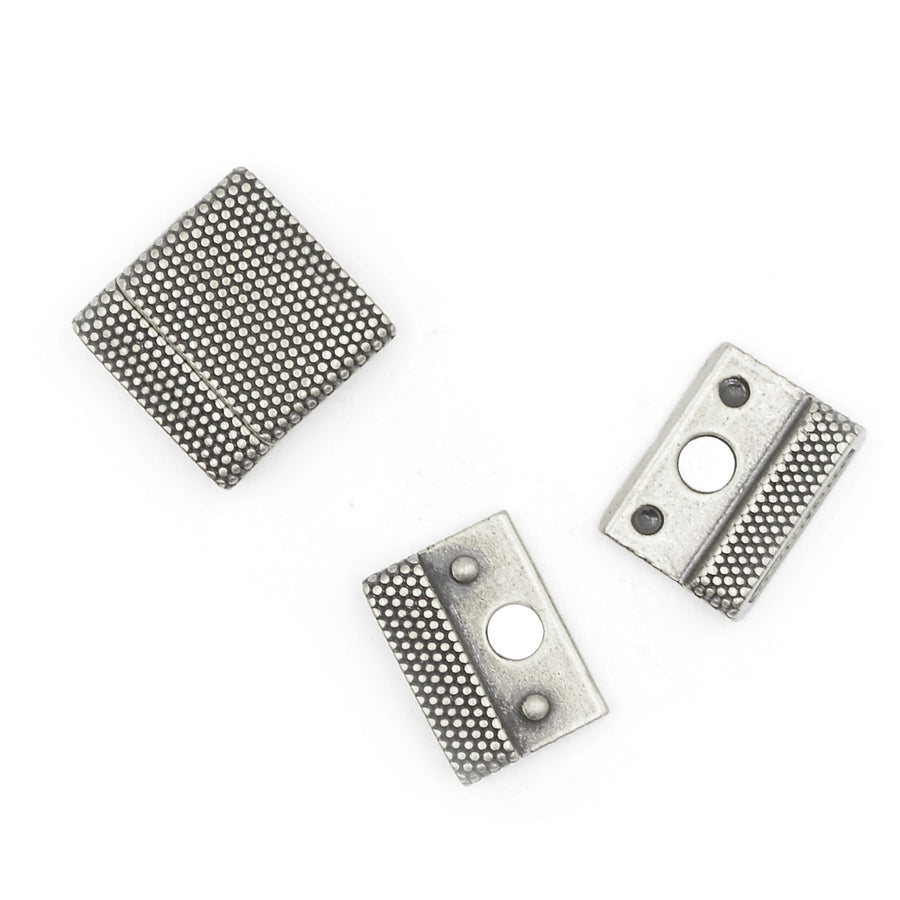
- 1 20mm Magnetic Clasp
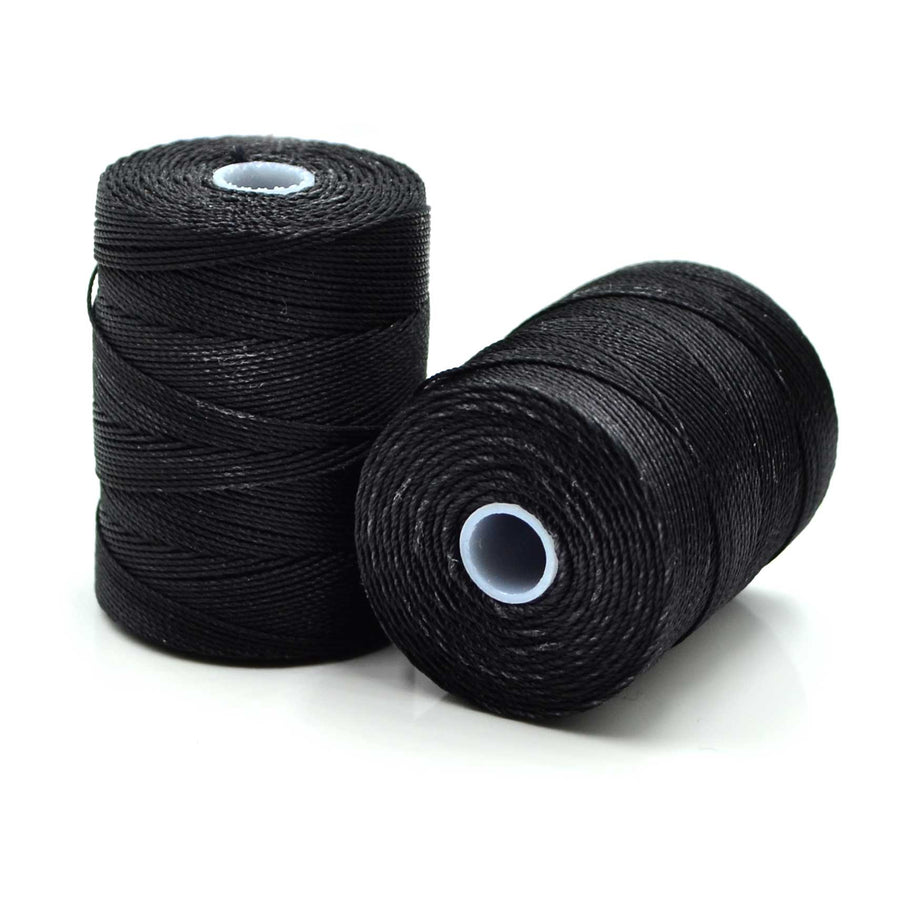
- 1 Spool Black - Micro C-Lon
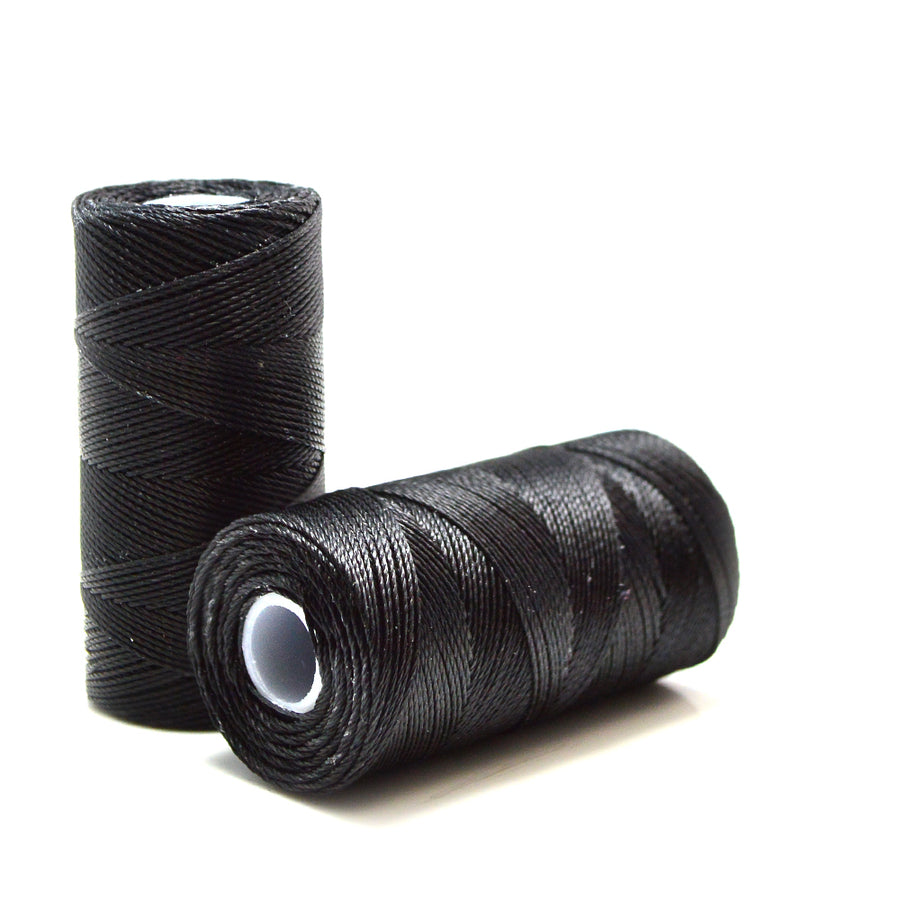
- 1 Spool Black - Fine C-Lon
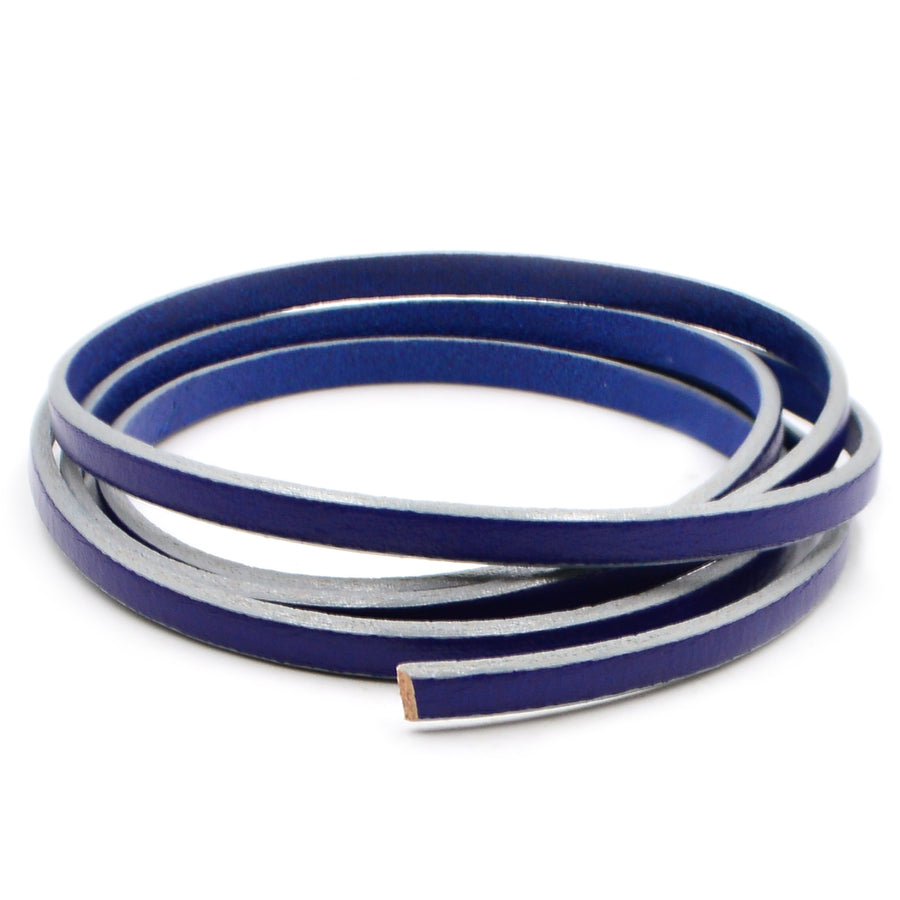
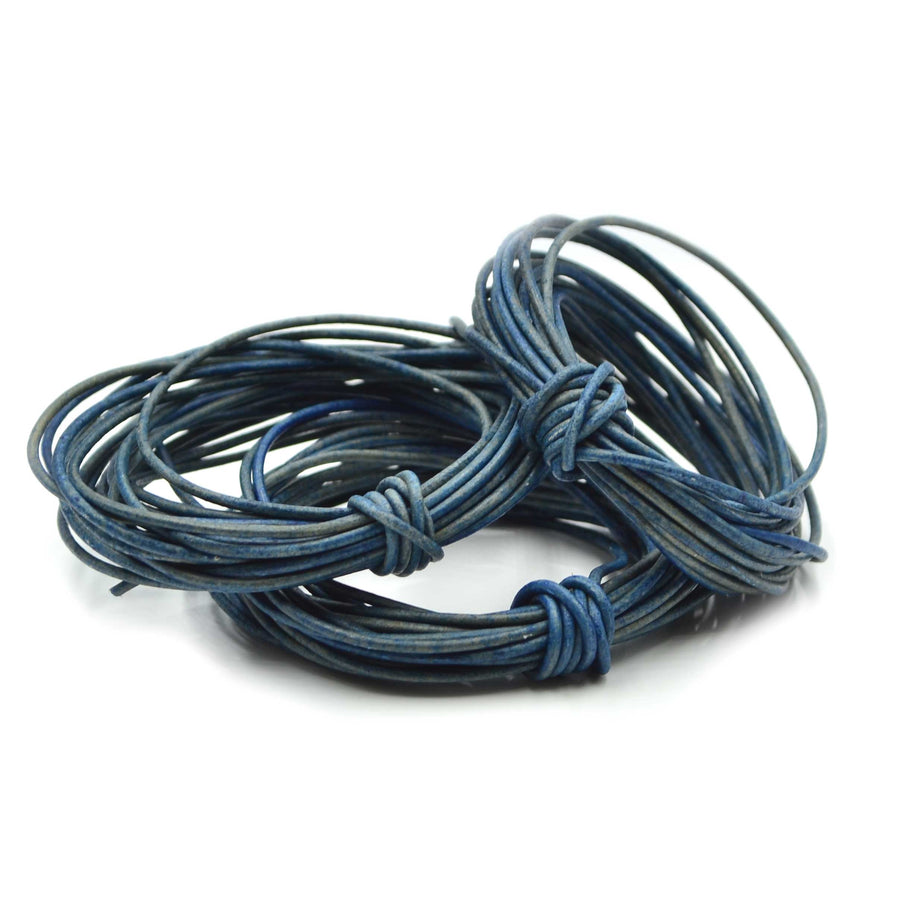
- 1 Yard 5mm Strap Leather OR Braid Your Own 1.5mm Leather
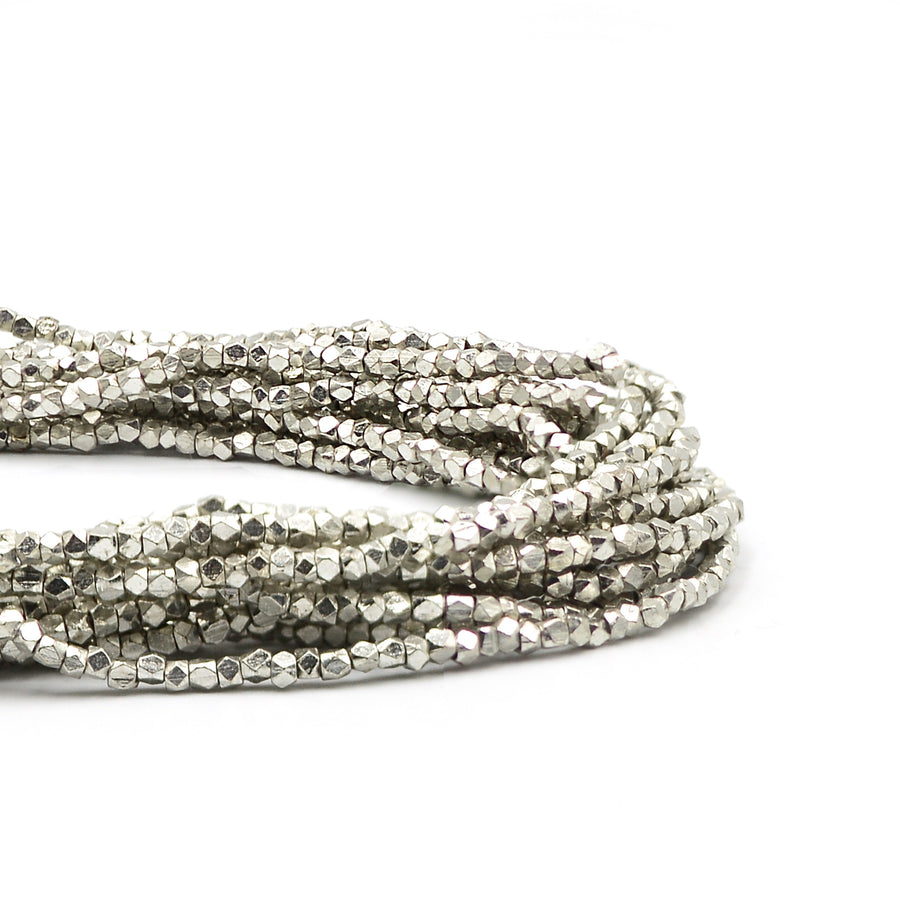
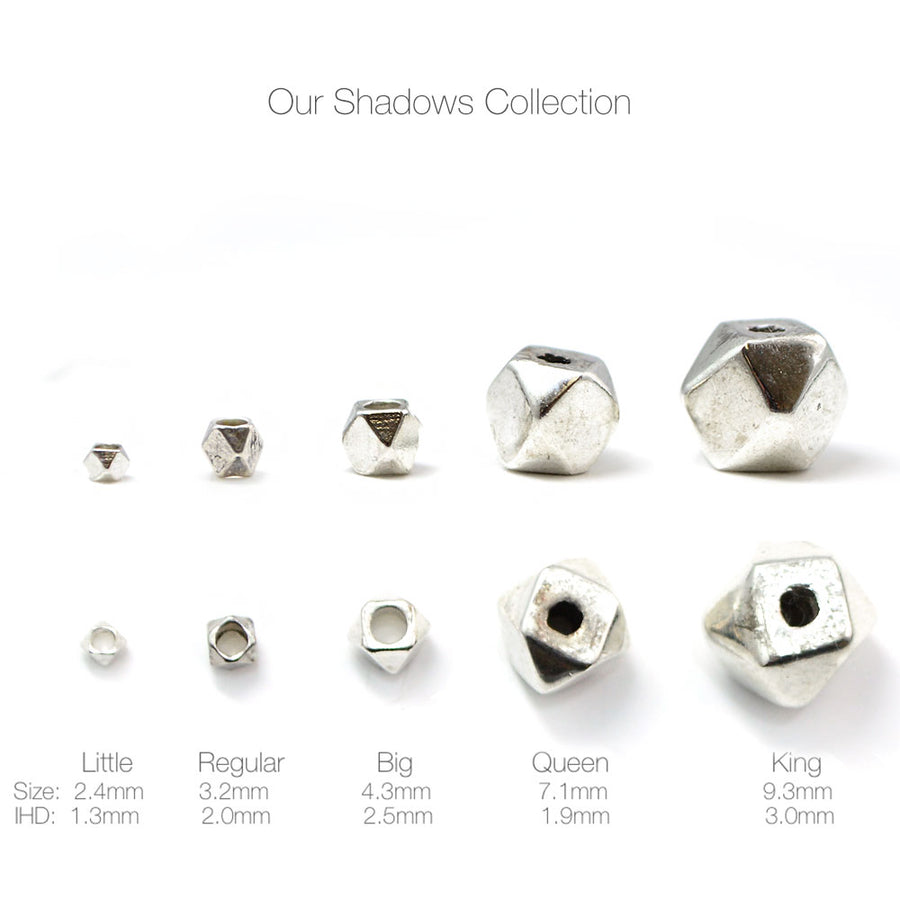
- 1 Strand Little Shadows - Silver Plate
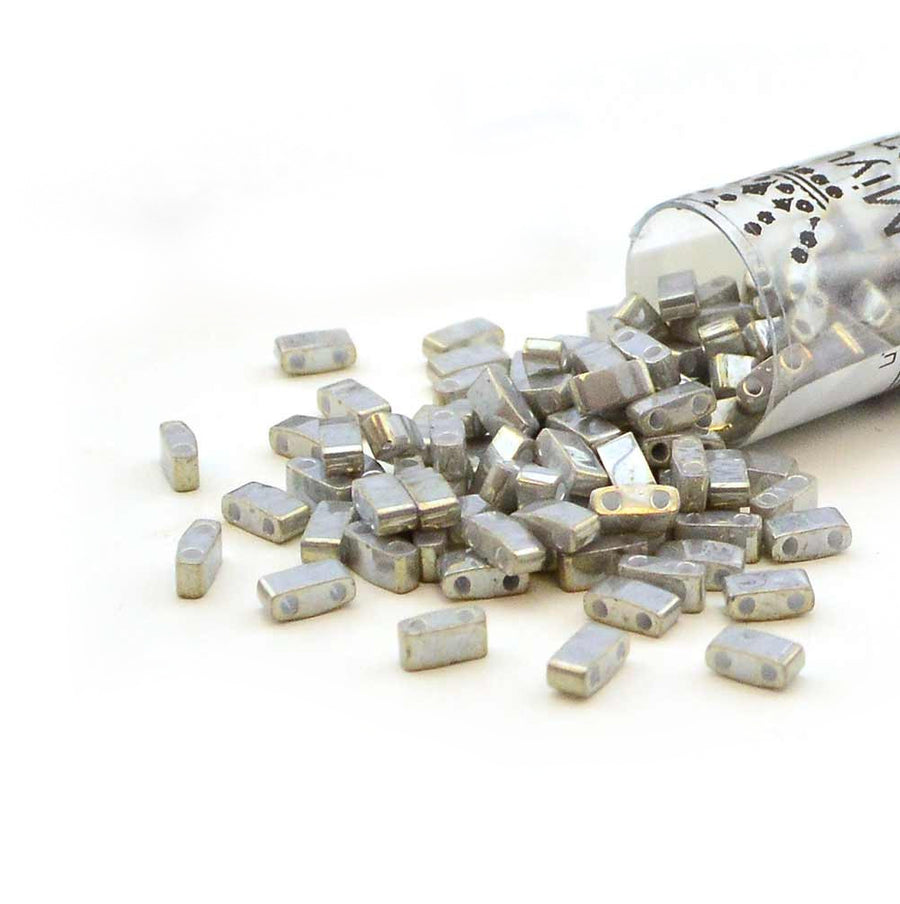
- 1 Tube Half Tila TLH1865- Galvanized Grey Luster
- 1 Tube 8-451- Gunmetal Miyuki Seed Beads
- 1 Pkg Jewel Loom Needles
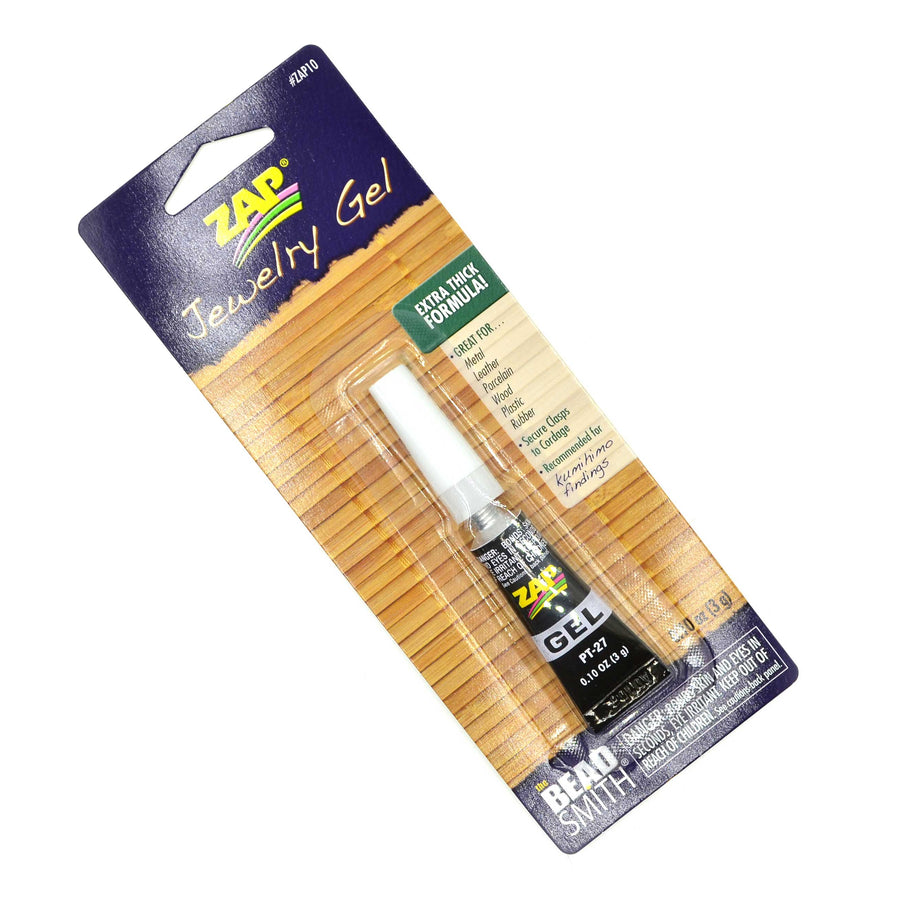
- 1 Tube Zap Jewelry Gel
Additional Learning:
- 1 20mm Magnetic Clasp
- 1 Spool Black - Micro C-Lon
- 1 Spool Black - Fine C-Lon
- 1 Yard 5mm Strap Leather OR Braid Your Own 1.5mm Leather
- 1 Strand Little Shadows - Silver Plate
- 1 Tube Half Tila TLH1865- Galvanized Grey Luster
- 1 Tube 8-451- Gunmetal Miyuki Seed Beads
- 1 Pkg Jewel Loom Needles
- 1 Tube Zap Jewelry Gel
Level: Intermediate
Estimated time: 6-8 Hours
Spurs


Project Map
Project by Kate Richbourg, Sample by Karen Marshall

When Karen saw Kate’s Copper Mine project, she was immediately inspired to put her own stamp on this design. An added bonus… this design is reversible! The braided leather looks great on either side- dark or light. Lasso is definitely a design that is home on the range…or your wrist!
To learn the techniques used in this project, click on the triangular video play button above to watch the video on warping and weaving on the Jewel Loom and our YouTube video on Tricks to Looming and Bead Weaving for additional tips and techniques. You can also watch our Facebook LIVE broadcast on our YouTube Channel on working with the Jewel Loom and tips on measuring, finishing, and gluing a loomed project into a clasp. The original clasp used is no longer available, but we have other 20mm clasps to offer!
The loomed section of this project is three rows across. Use the Fine C-Lon for warp, and the Micro C-Lon for weft. Since Half Tilas have two holes treat each bead like it is two separate beads: string on as many Half Tilas as you need to complete the row, push into place in from underneath the warp threads and pass the needle back on top to lock the beads in place. Repeat with the second hole: push the beads down, so the holes are below the warp and thread the needle through. Push the beads up from underneath and pass the needle back through the holes on top to lock the threads in place.
The loomed section is finished and glued in the clasp like our Tapestry project. Consult page 8 of the Tapestry PDF Project Handout for instructions.
The finished length of the loomed section is 6¾” including the woven ends inside the clasp. The finished length including the clasp is 7¼”. For more tips on measuring, finishing and gluing a loomed project into a clasp watch our Facebook LIVE video on our YouTube Channel.
The loomed section of this project is three rows across. Use the Fine C-Lon for warp, and the Micro C-Lon for weft. Since Half Tilas have two holes they take up two rows to every one row of 8/0s and Little Shadows. Treat looming with a Half Tila bead like it is two separate beads: string on as many Half Tilas as you need to complete the row, push into place in from underneath the warp threads and pass the needle back on top to lock the beads in place.
Repeat with the second hole: push the beads down, so the holes are below the warp and thread the needle through. Push the beads up from underneath and pass the needle back through the holes on top to lock the threads in place.
The finished length of the loomed section is 6 ¾” including the woven ends inside the clasp. The finished length including the clasp is 7 ¼”. For more tips on measuring, finishing and gluing a loomed project into a clasp watch our Facebook LIVE video on our YouTube Channel.