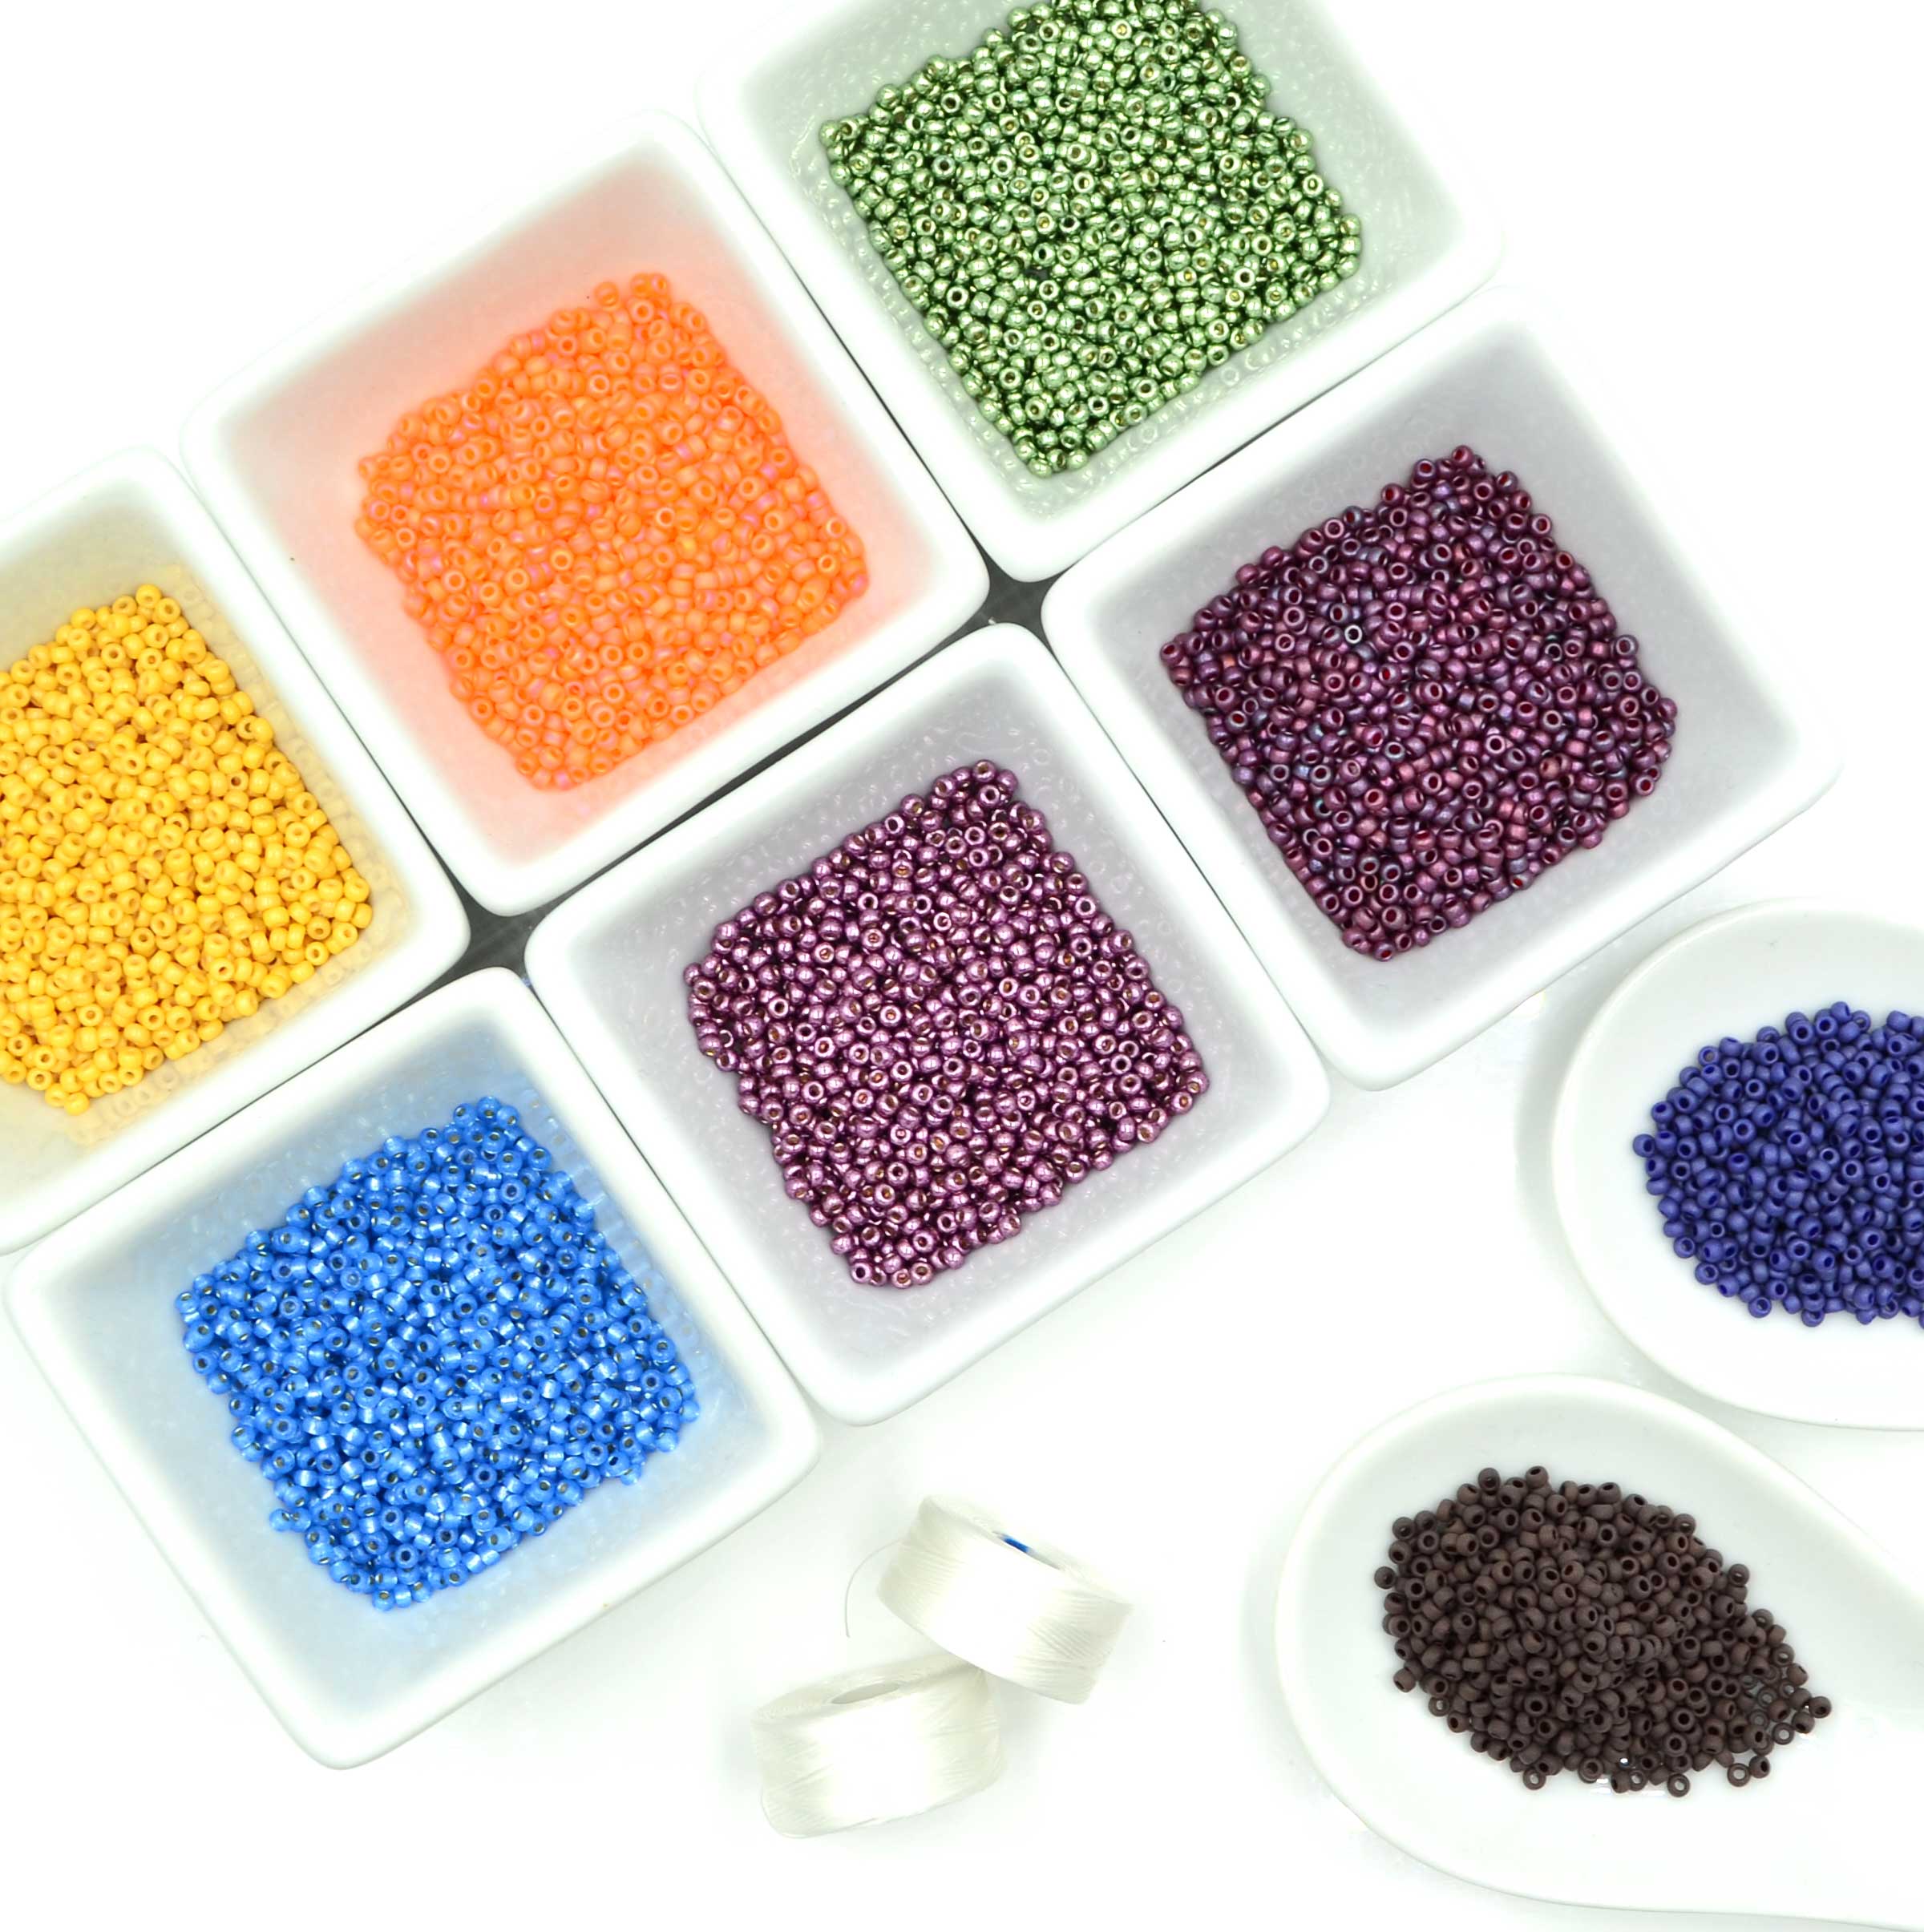
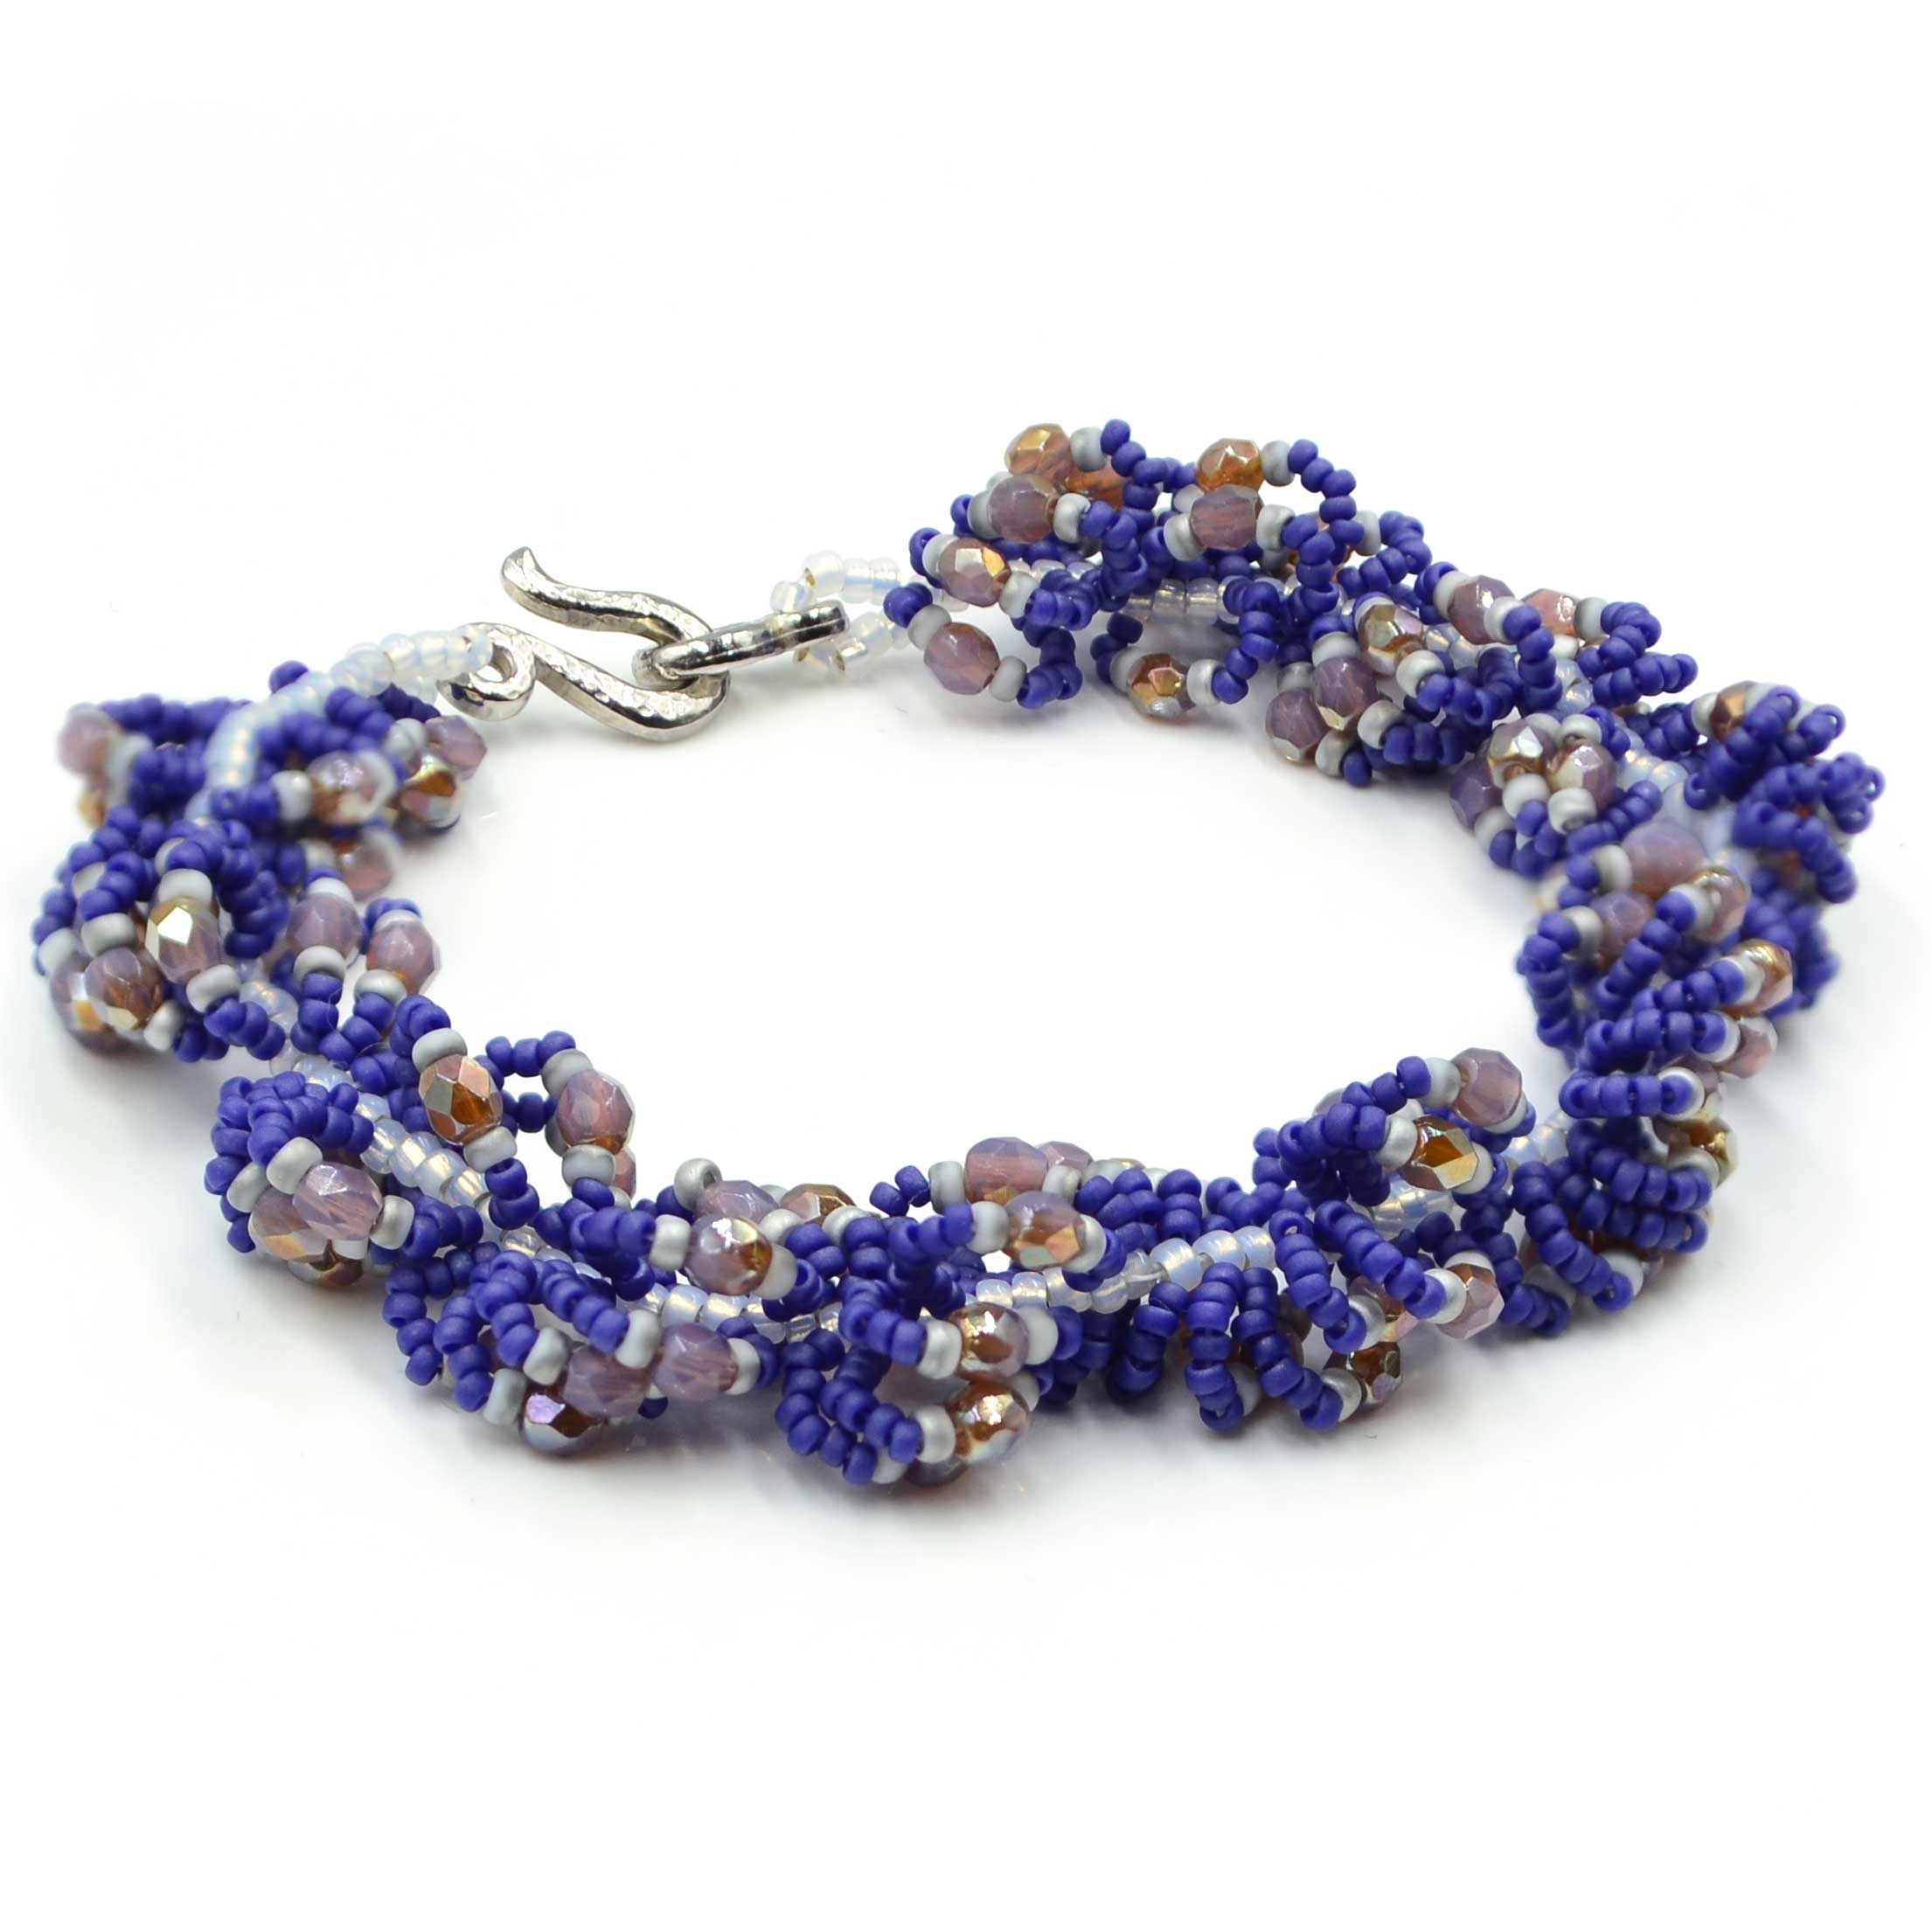
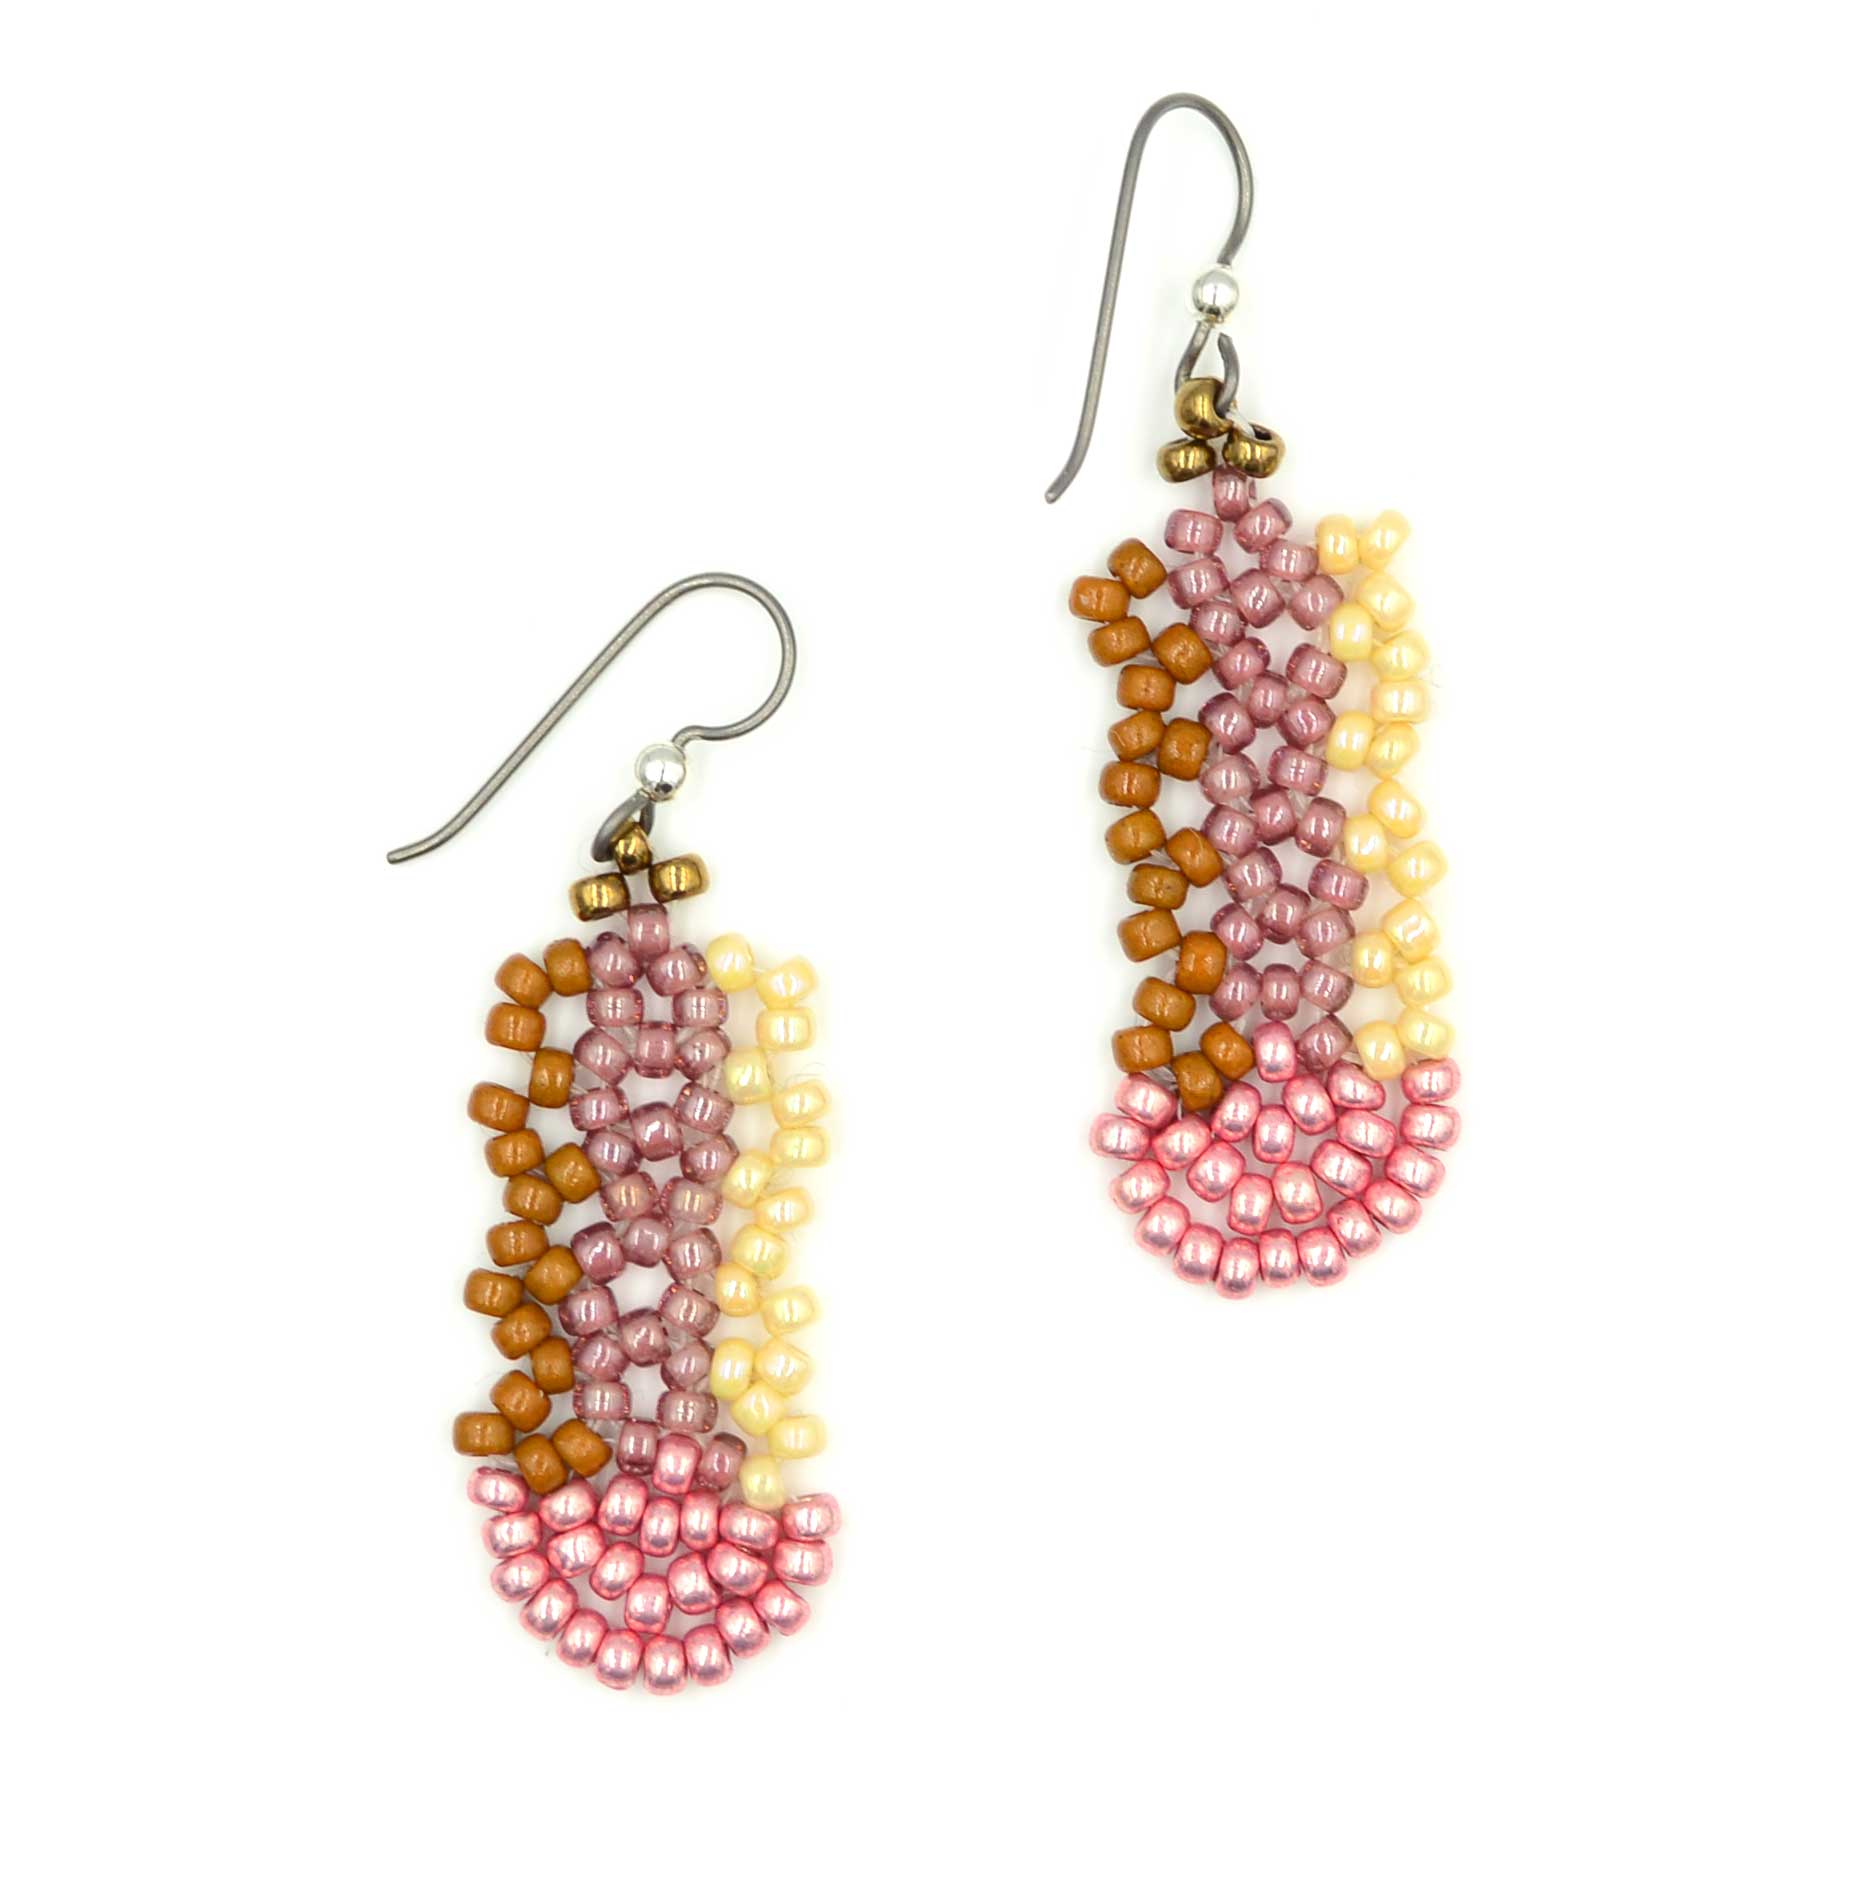
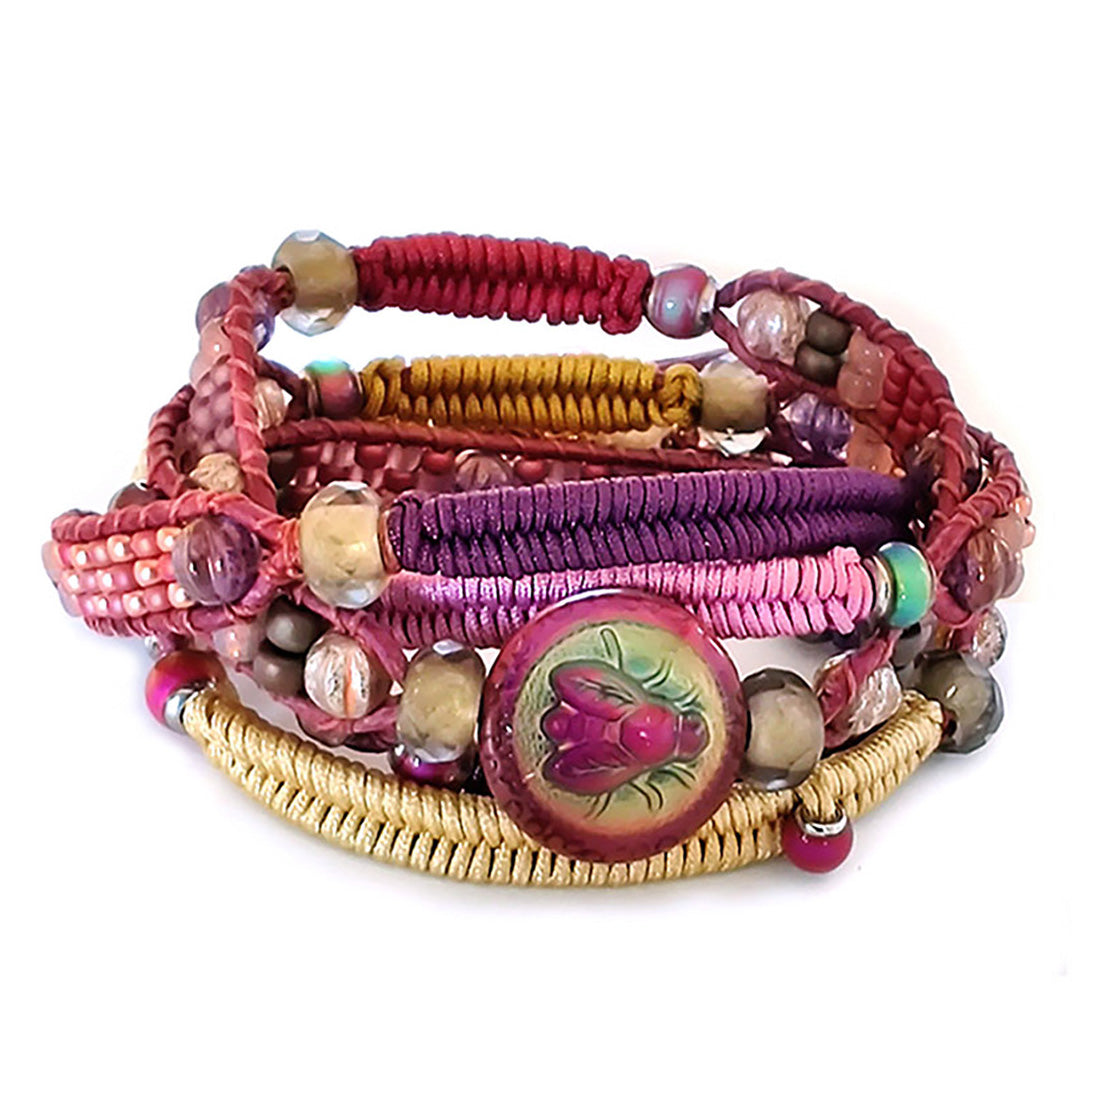
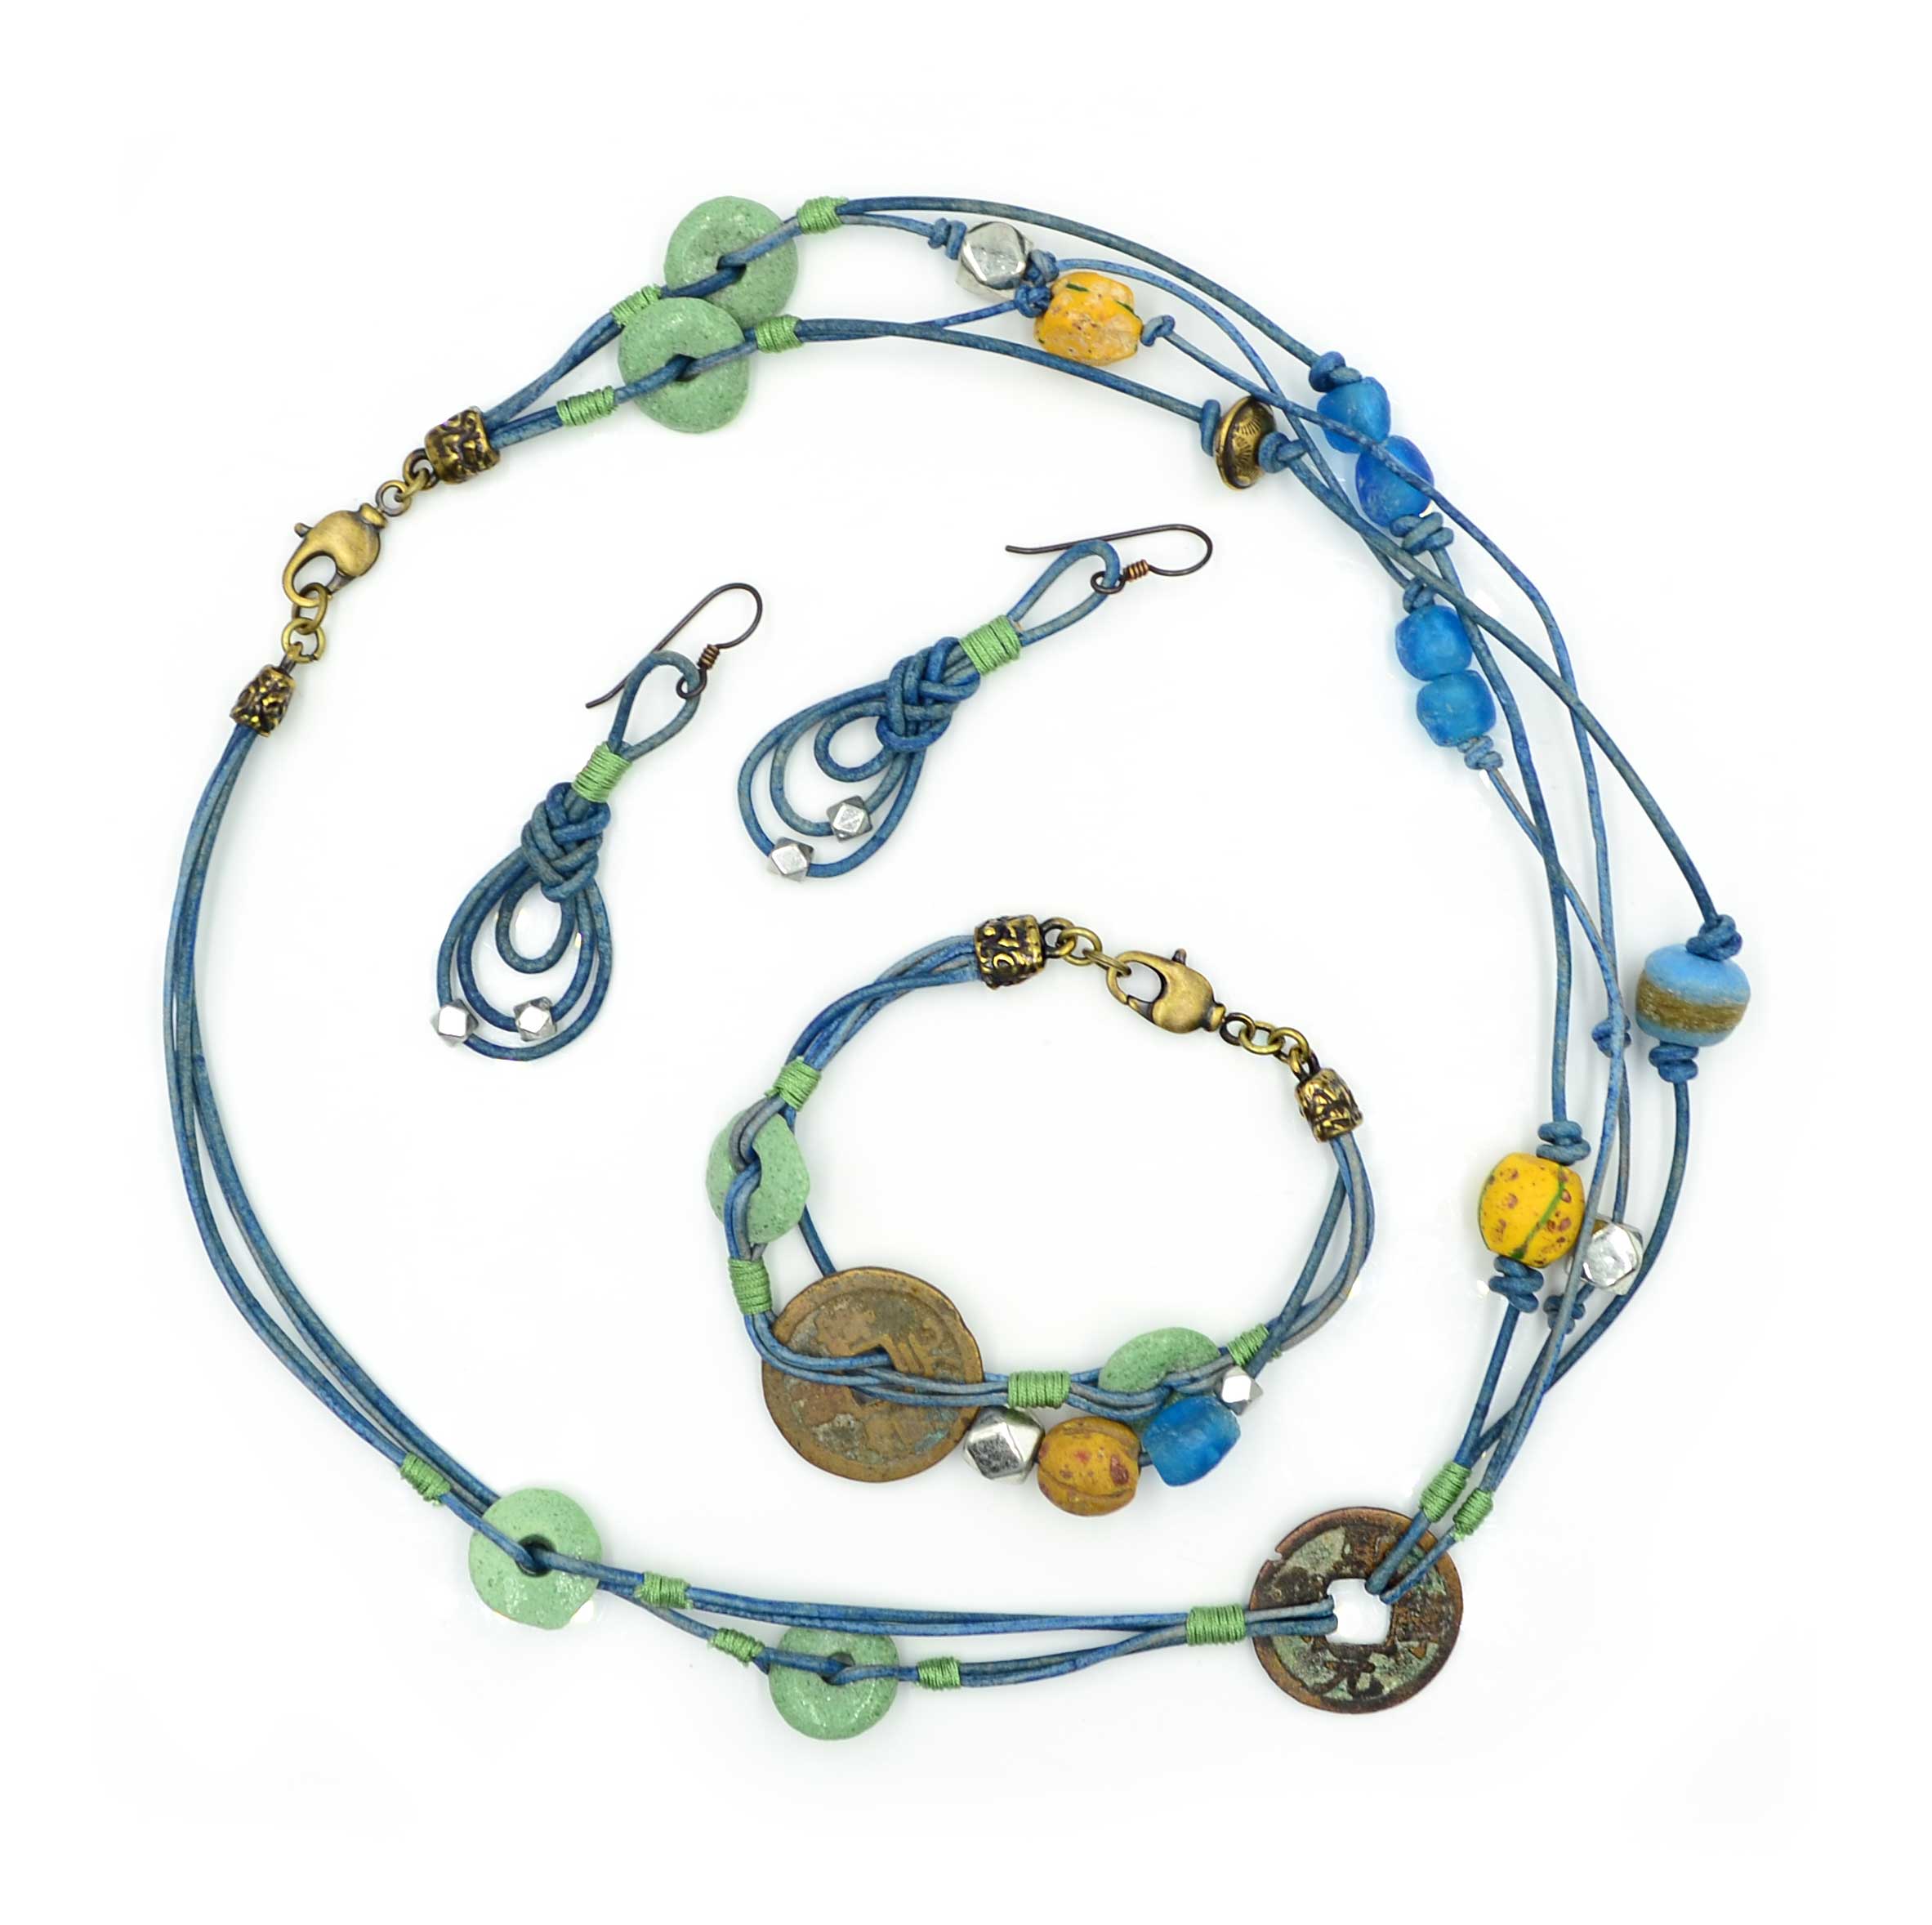
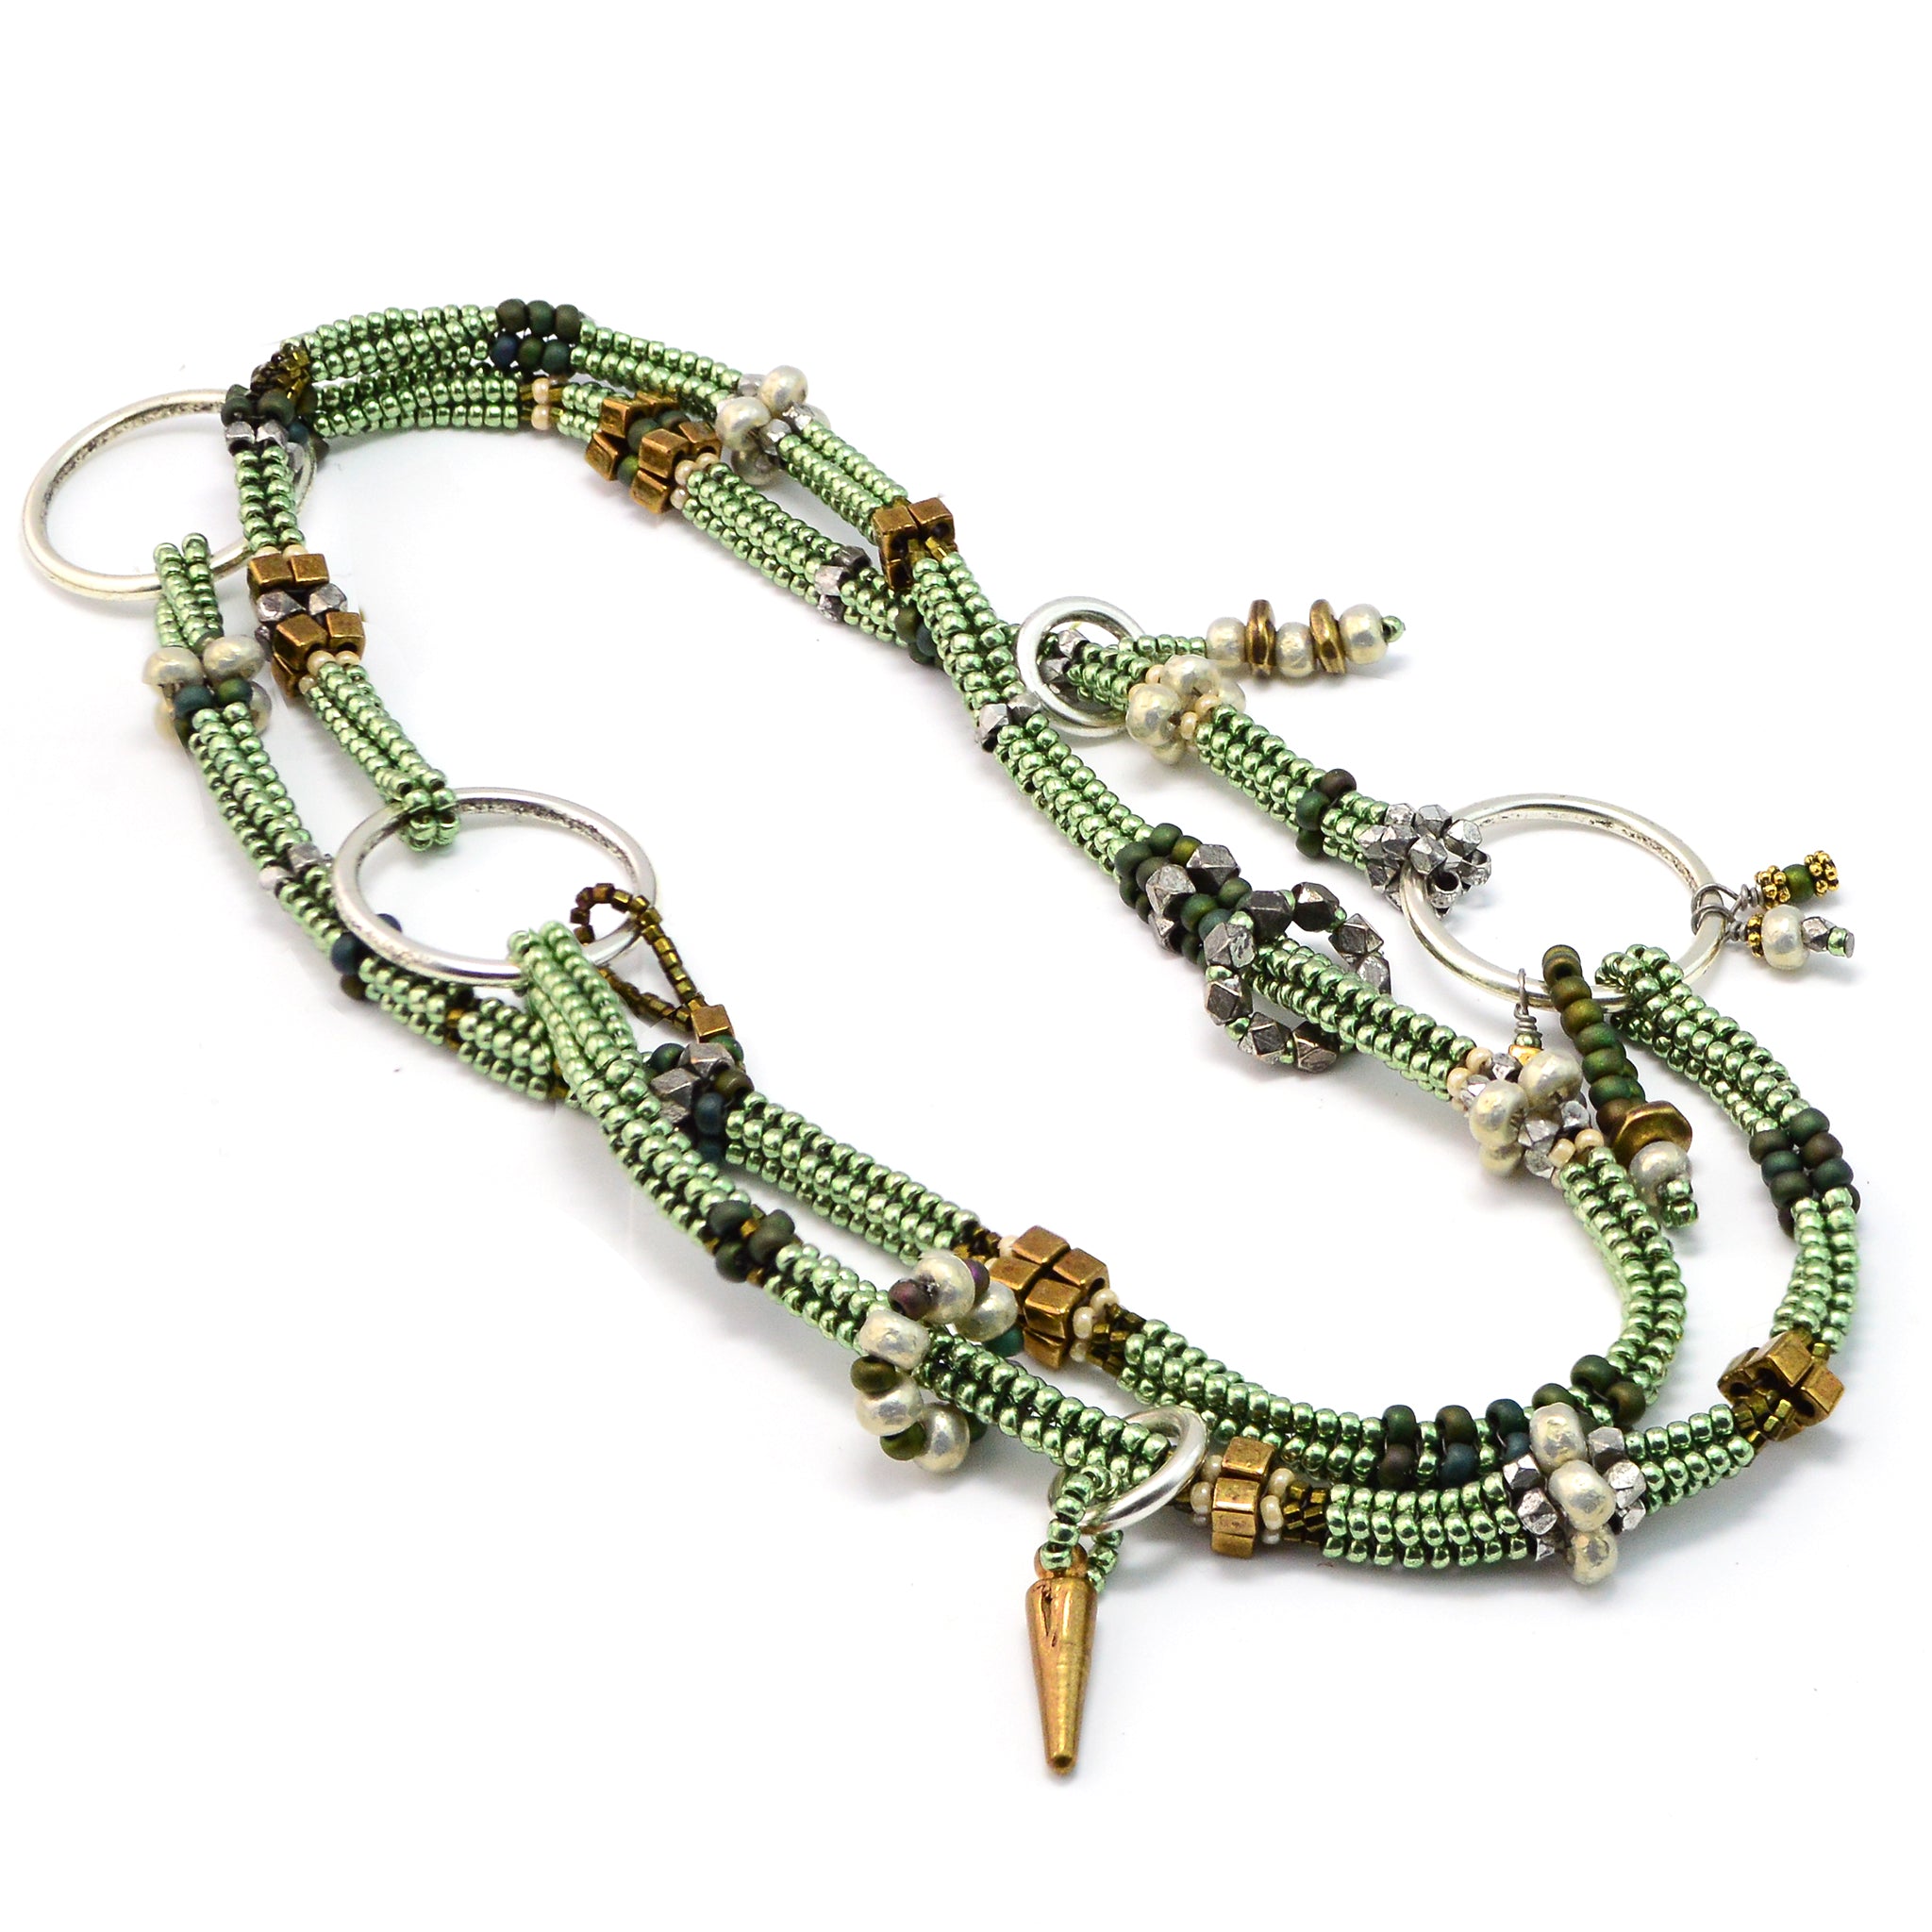
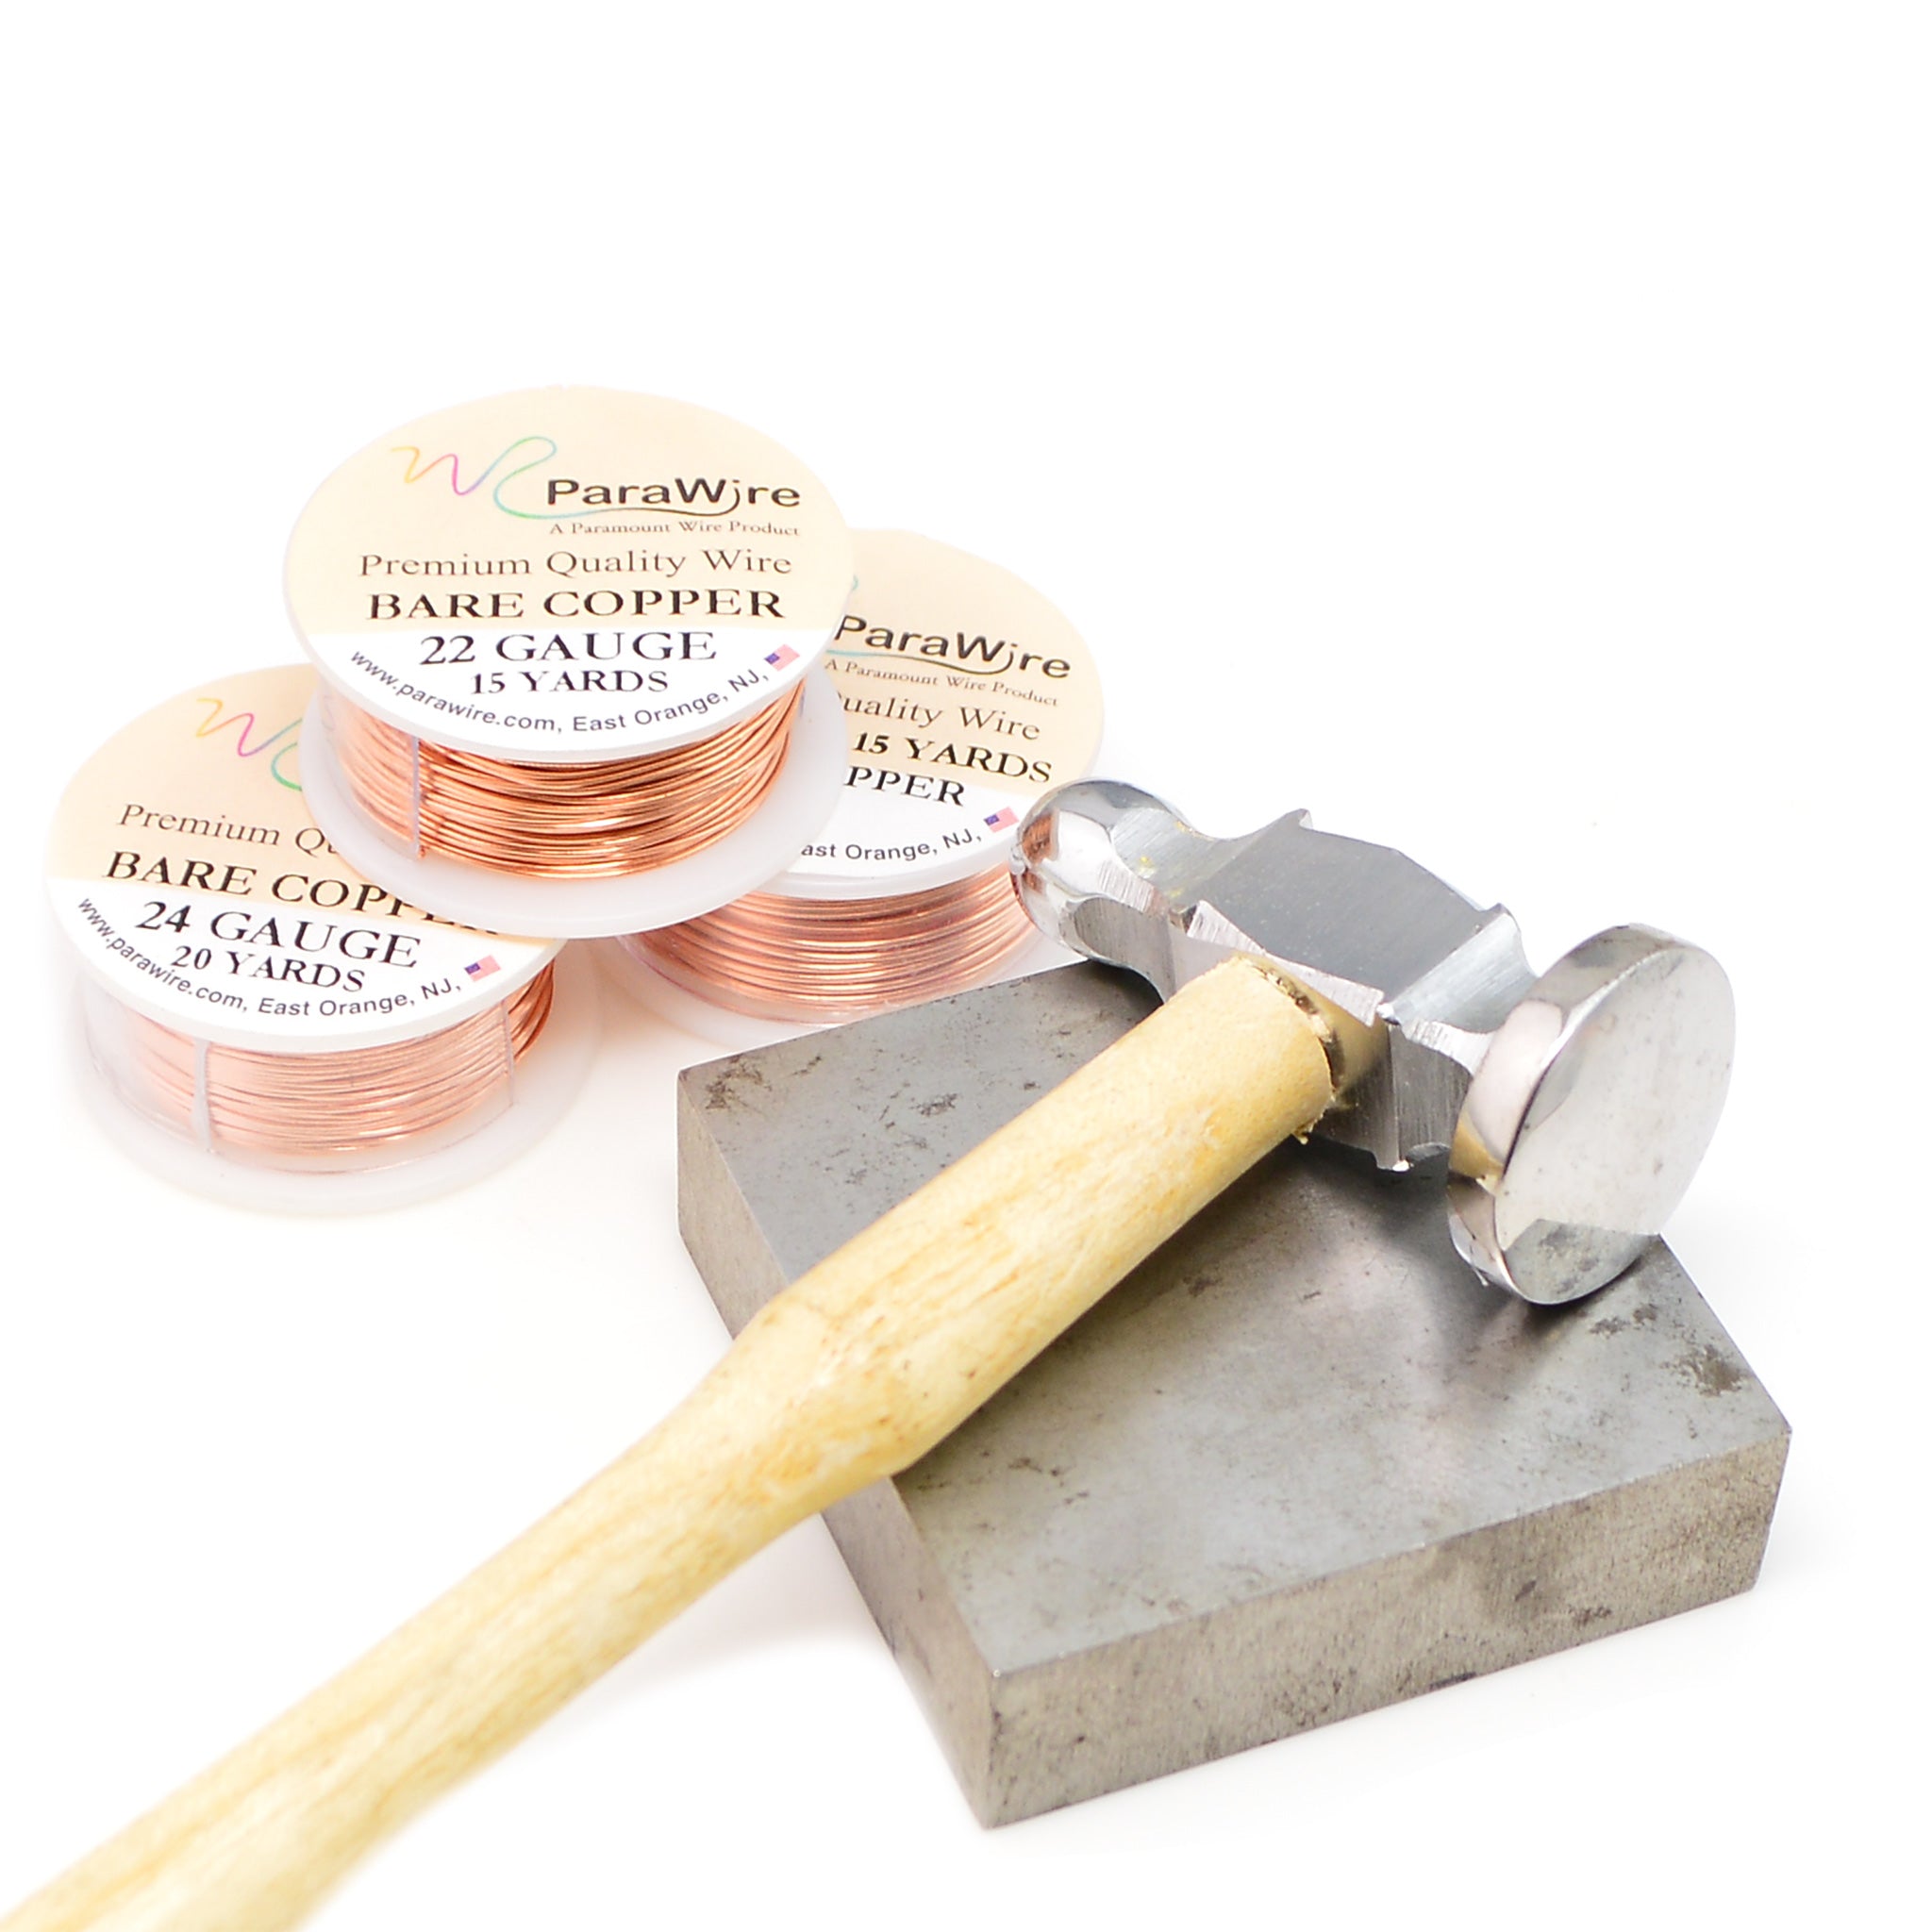
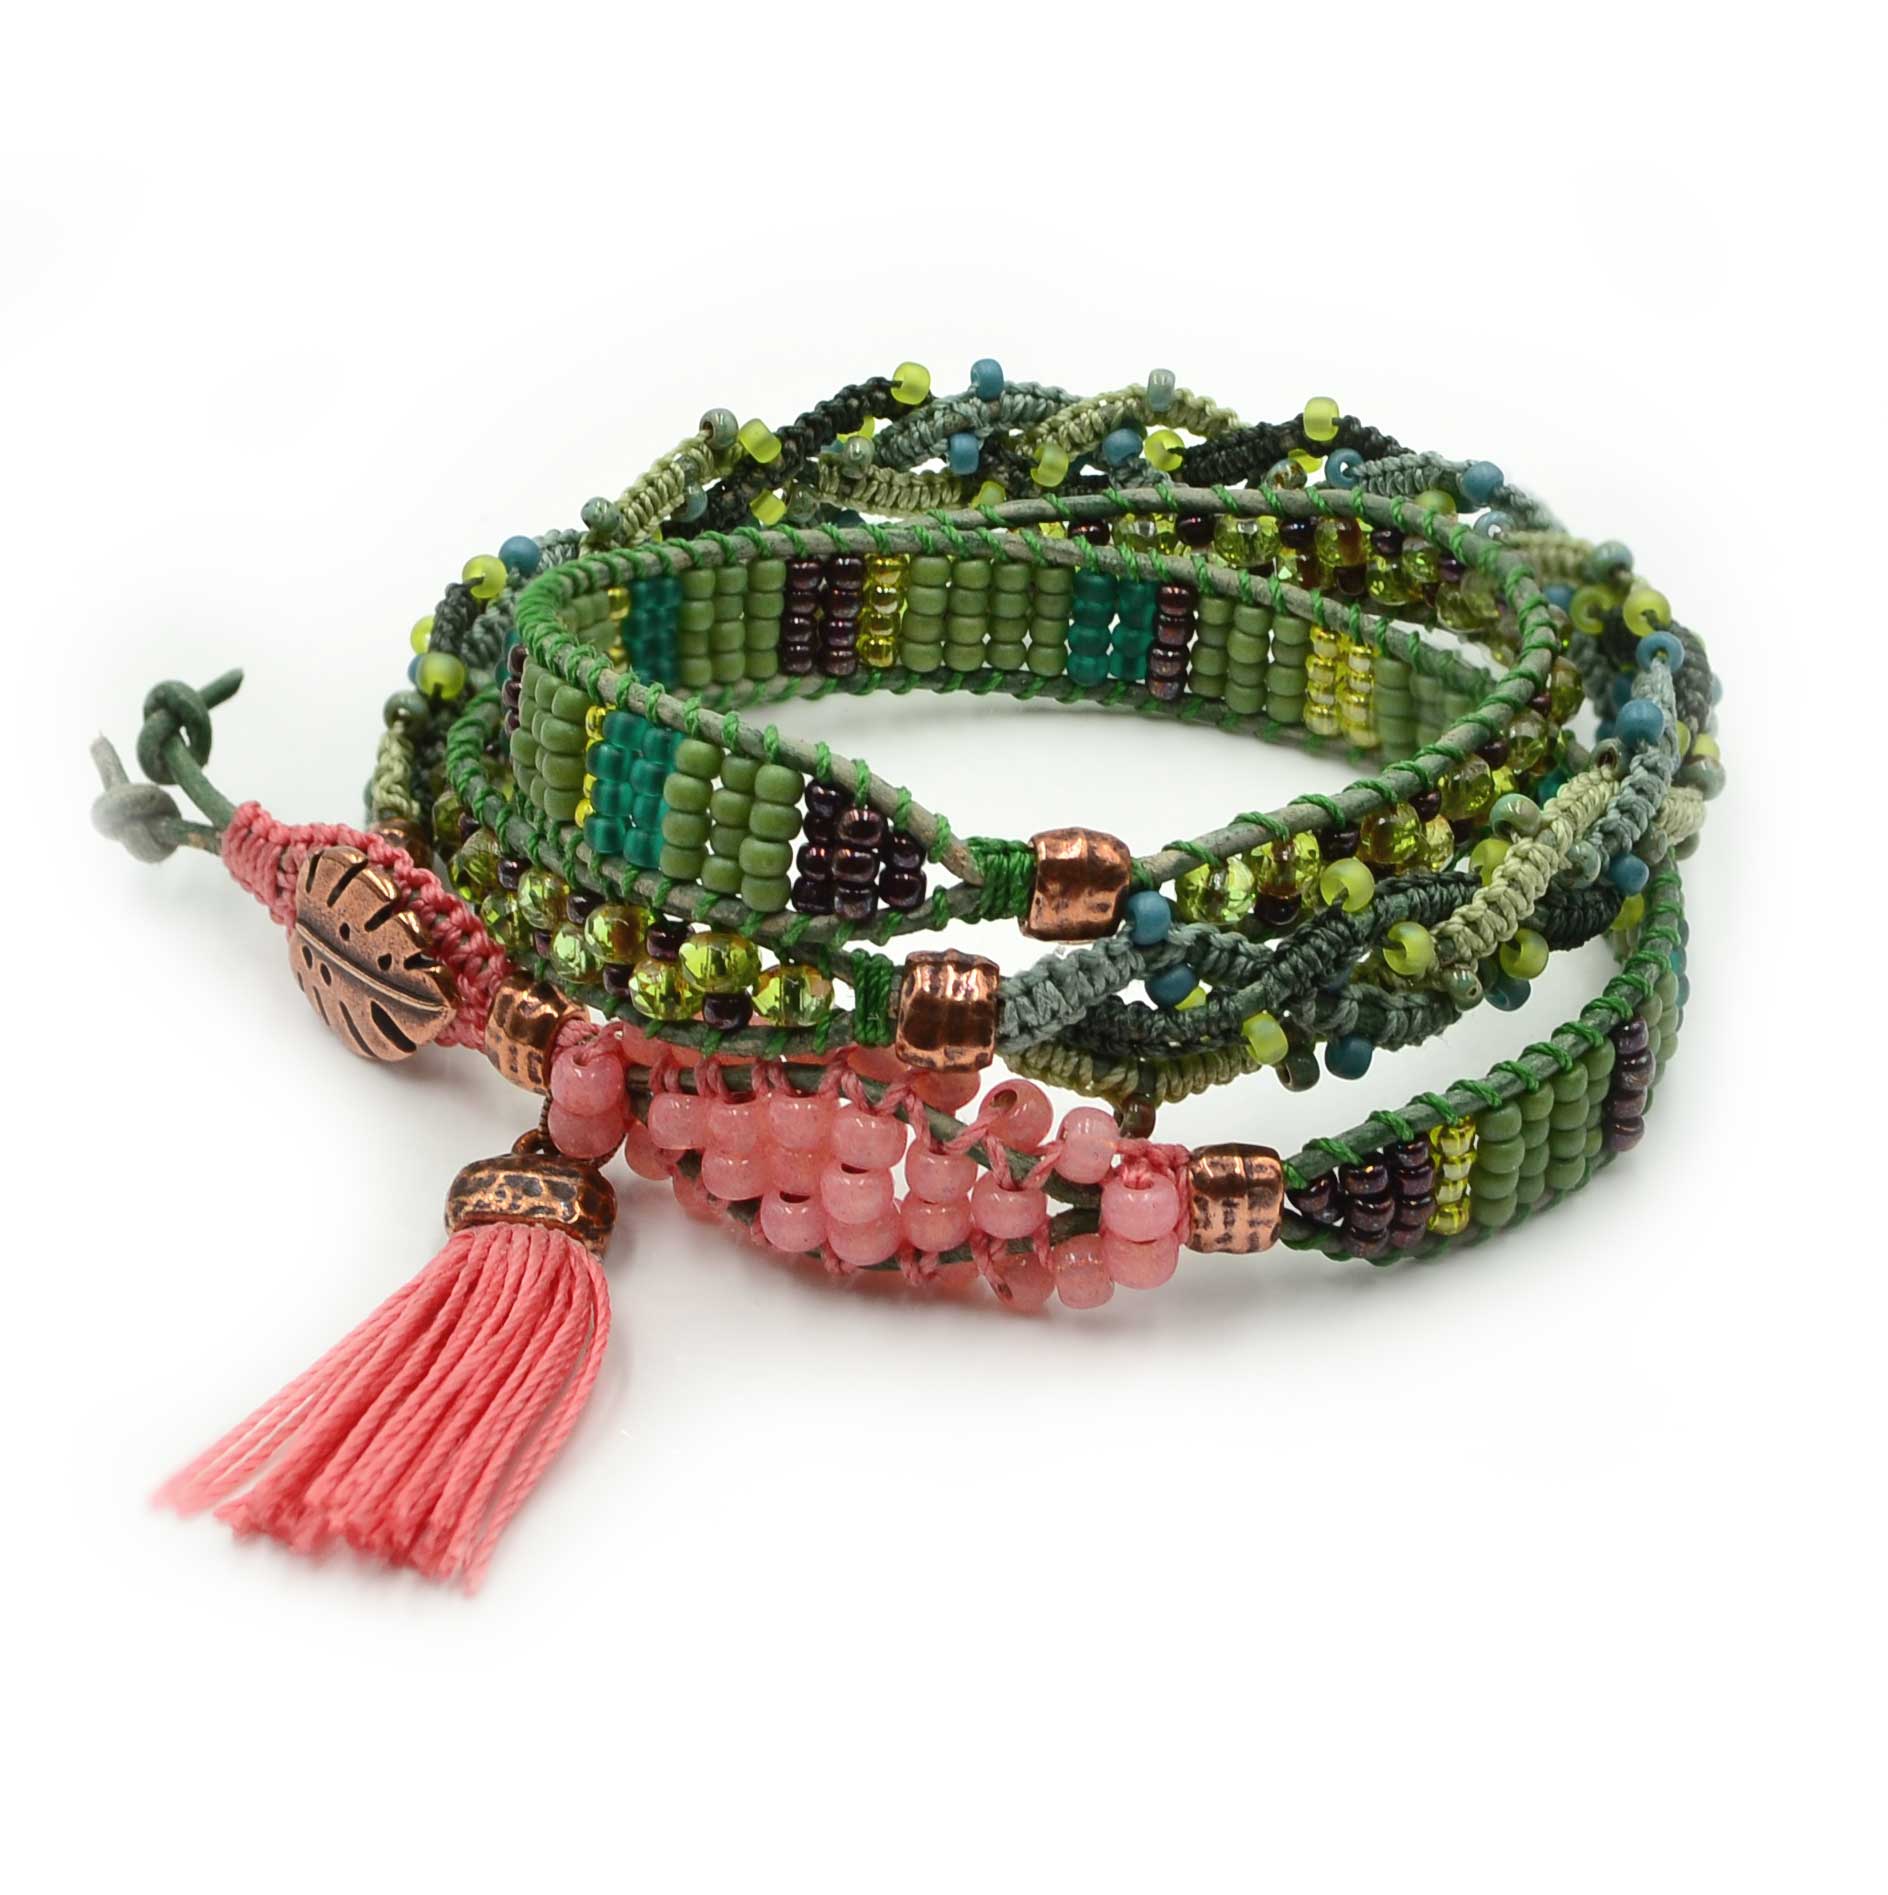
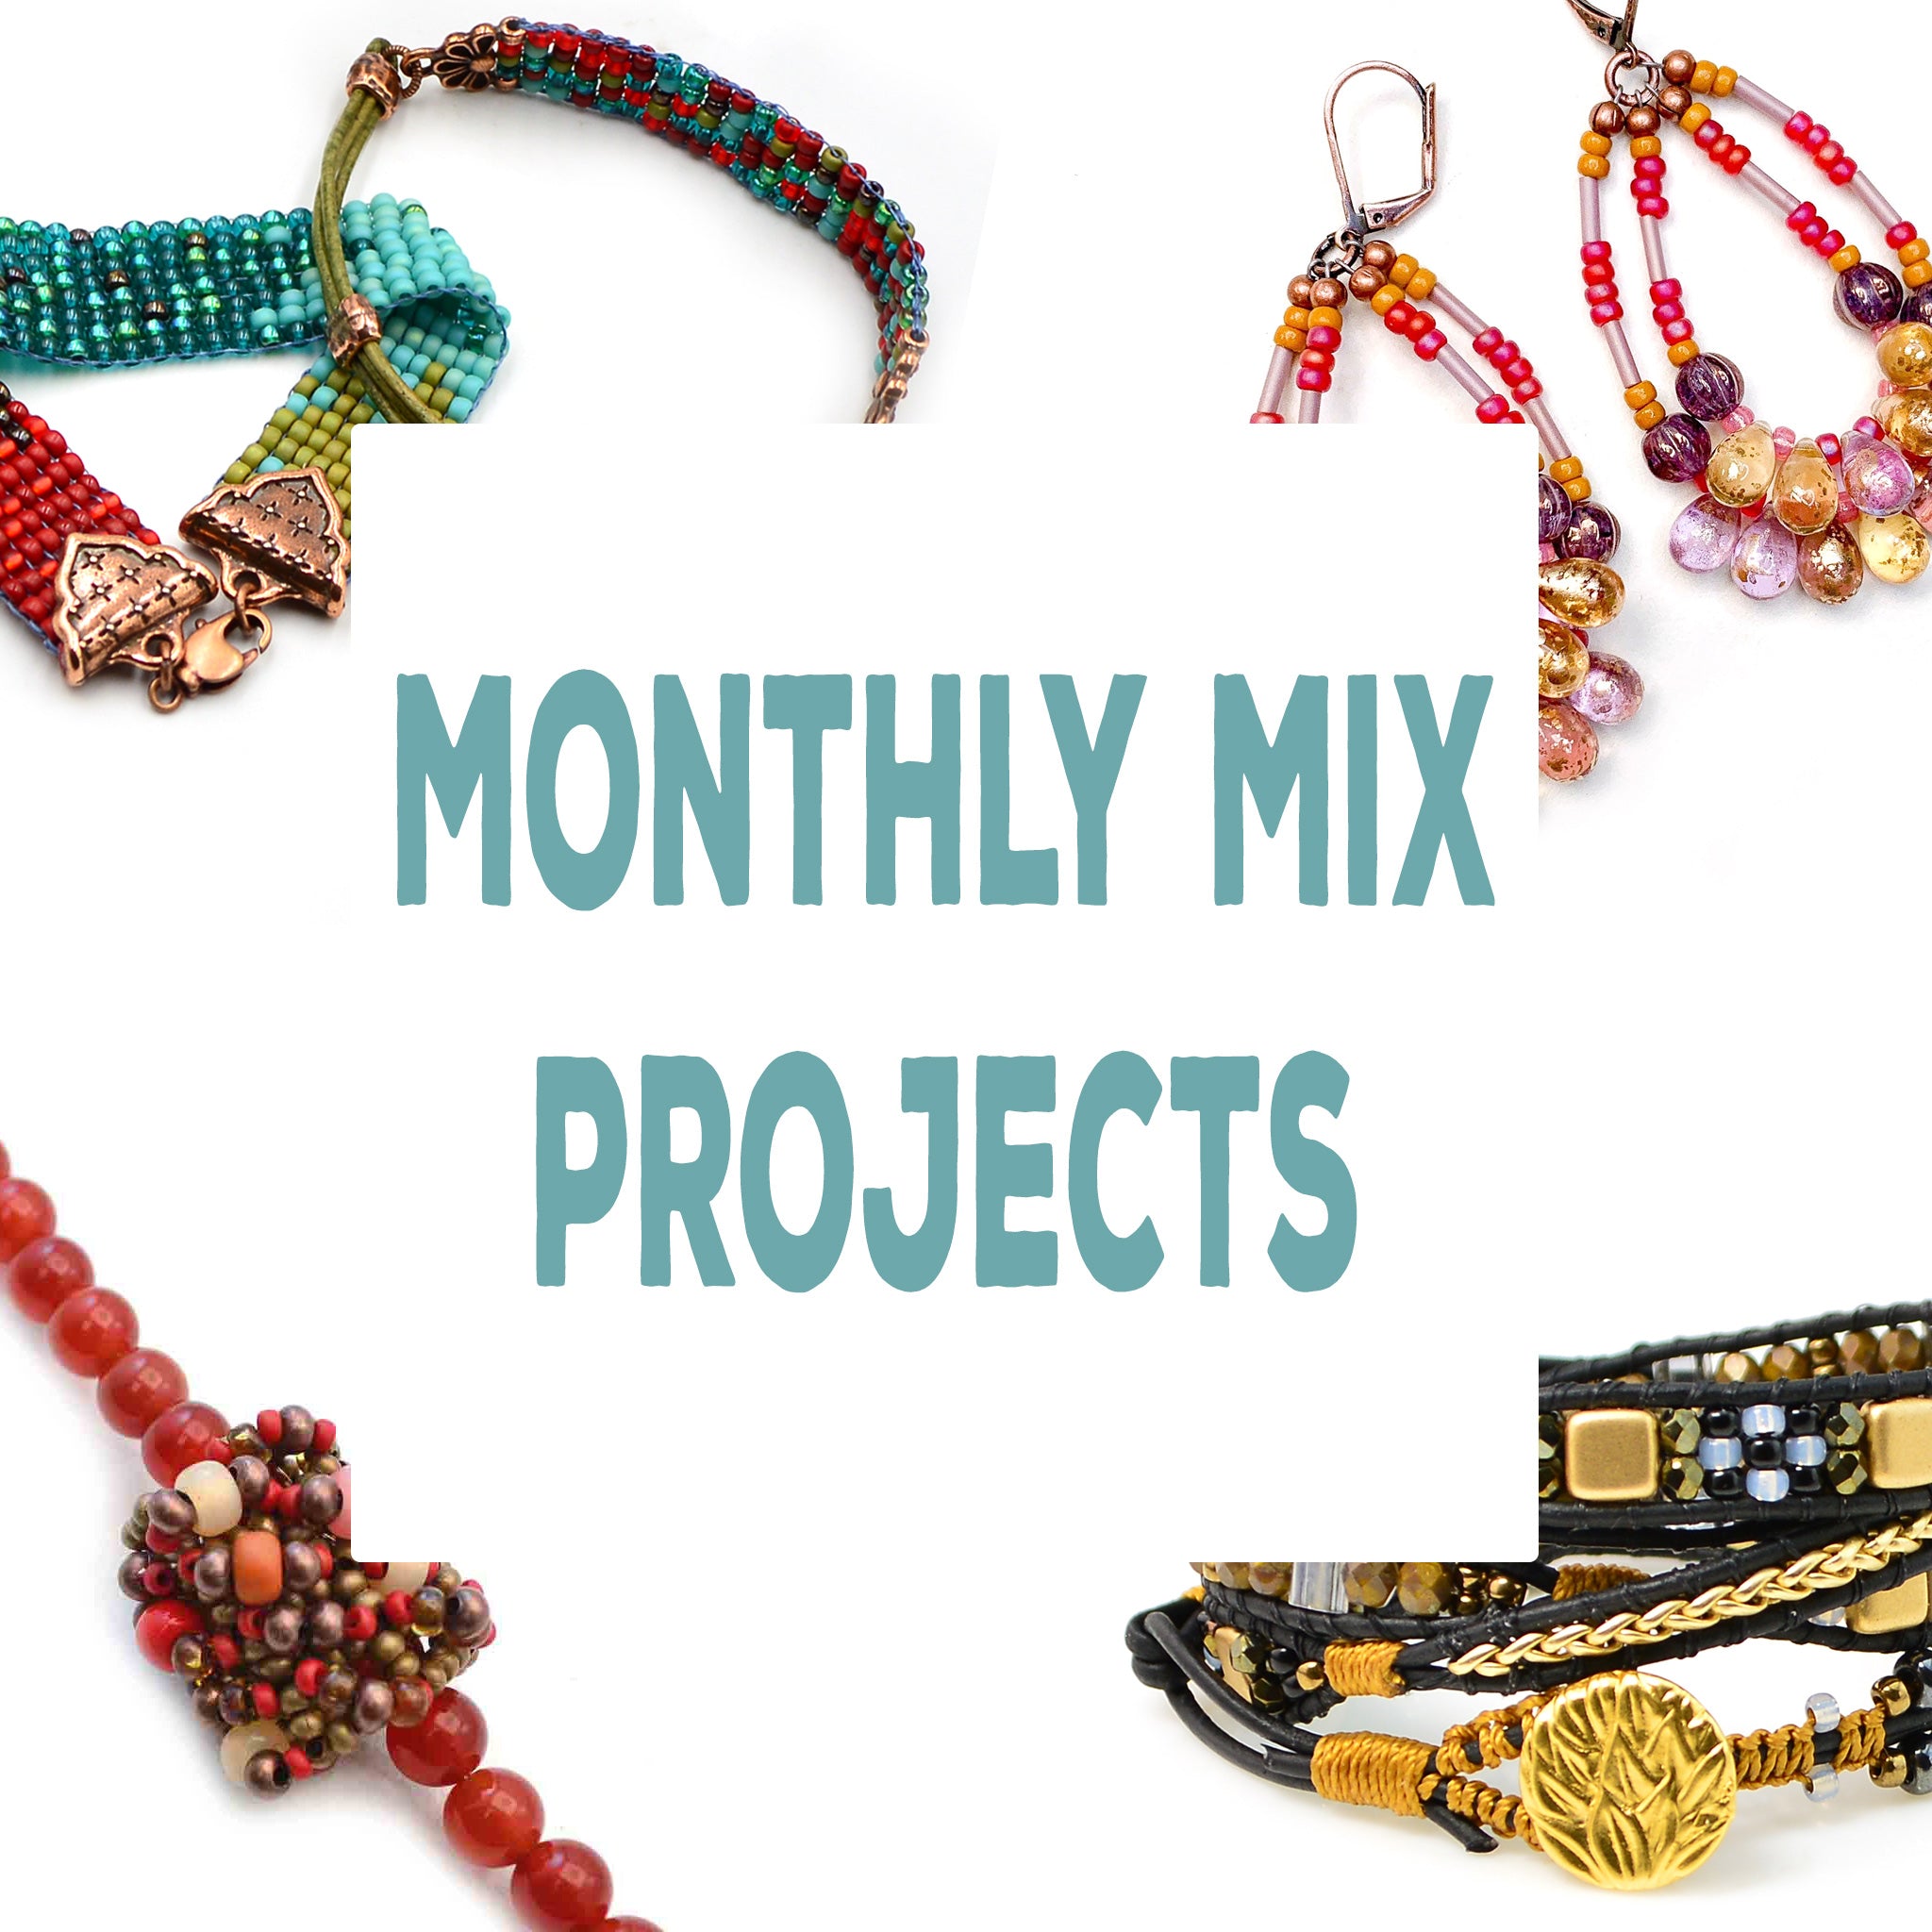
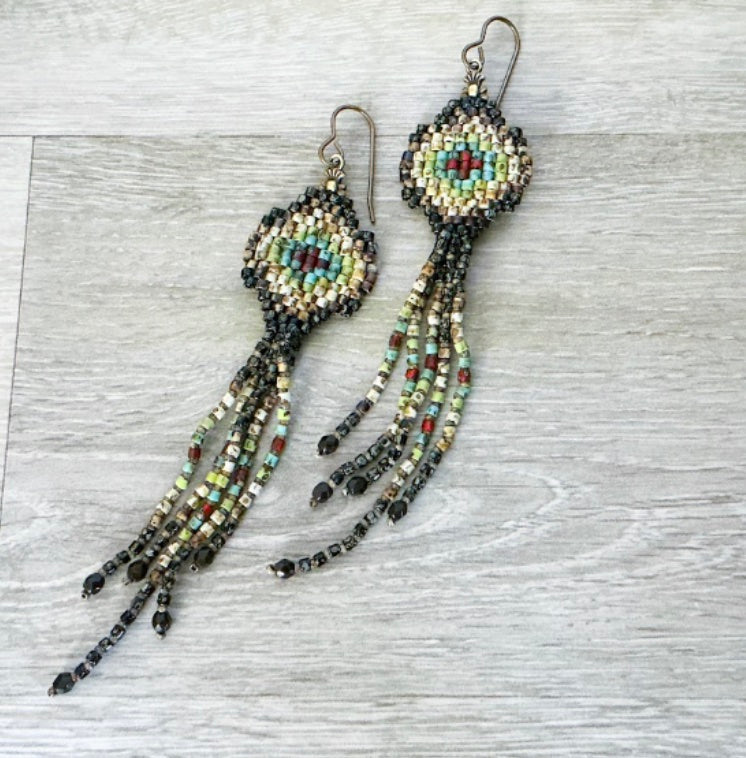
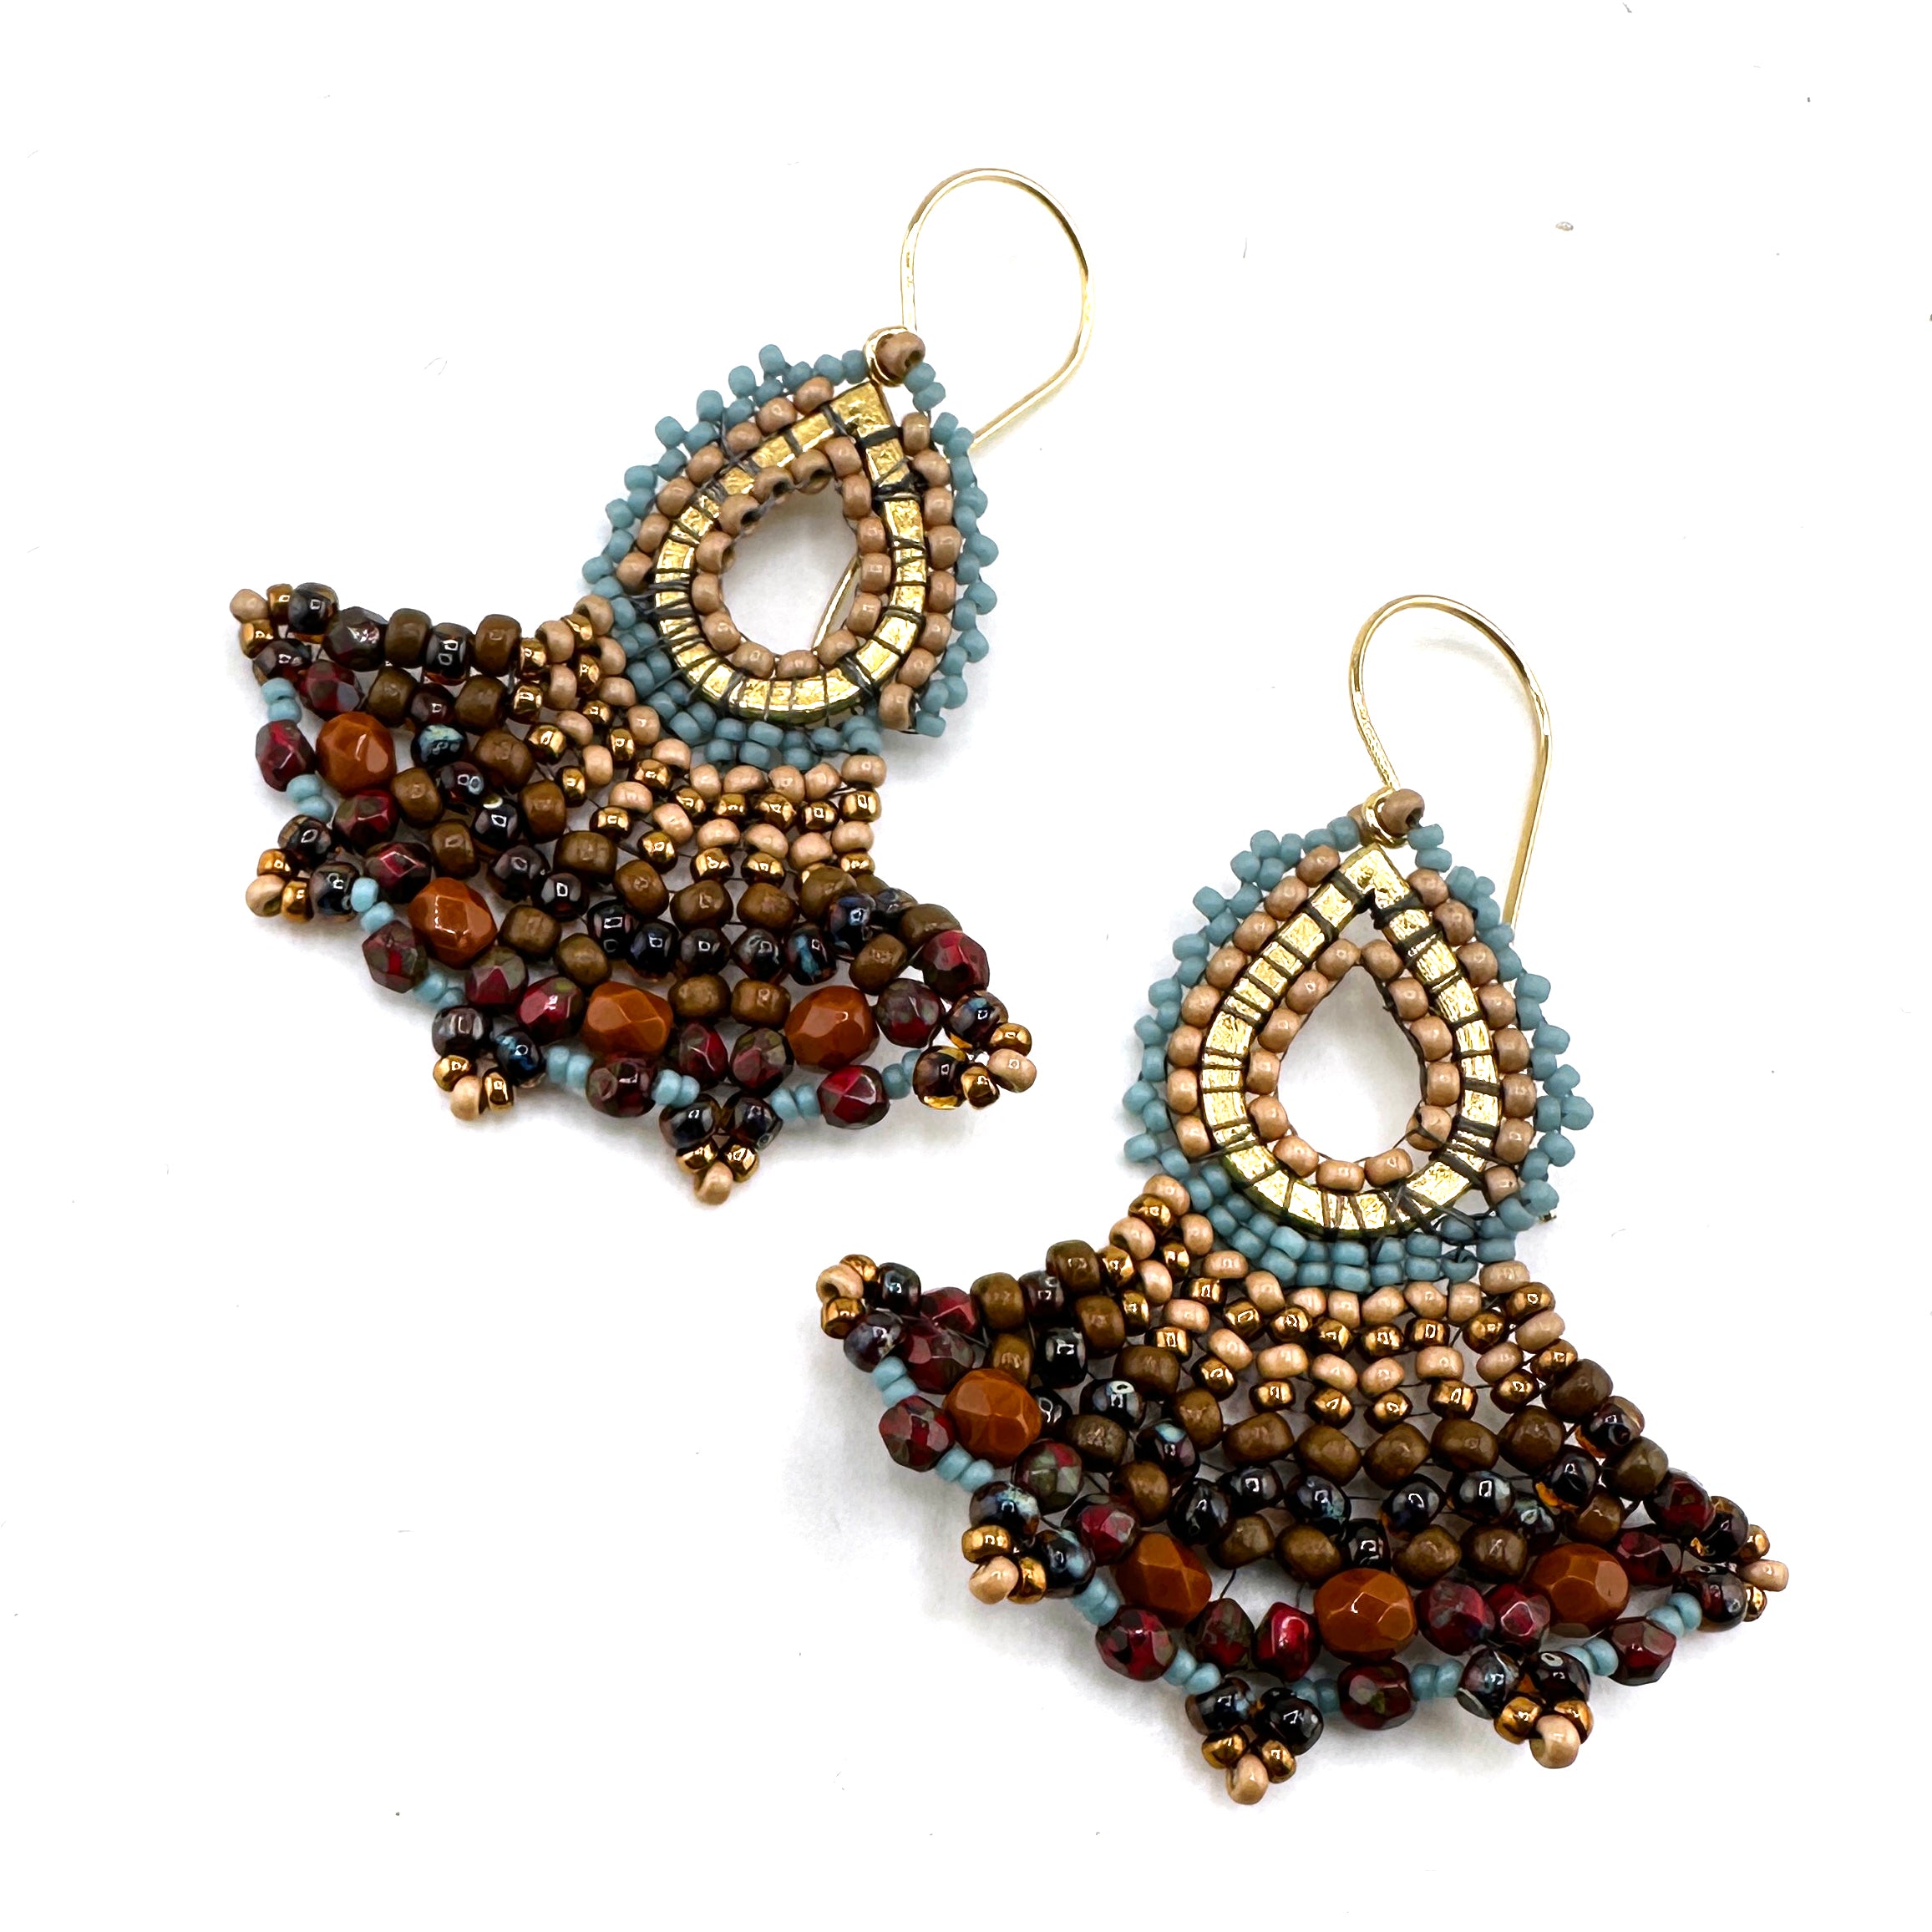
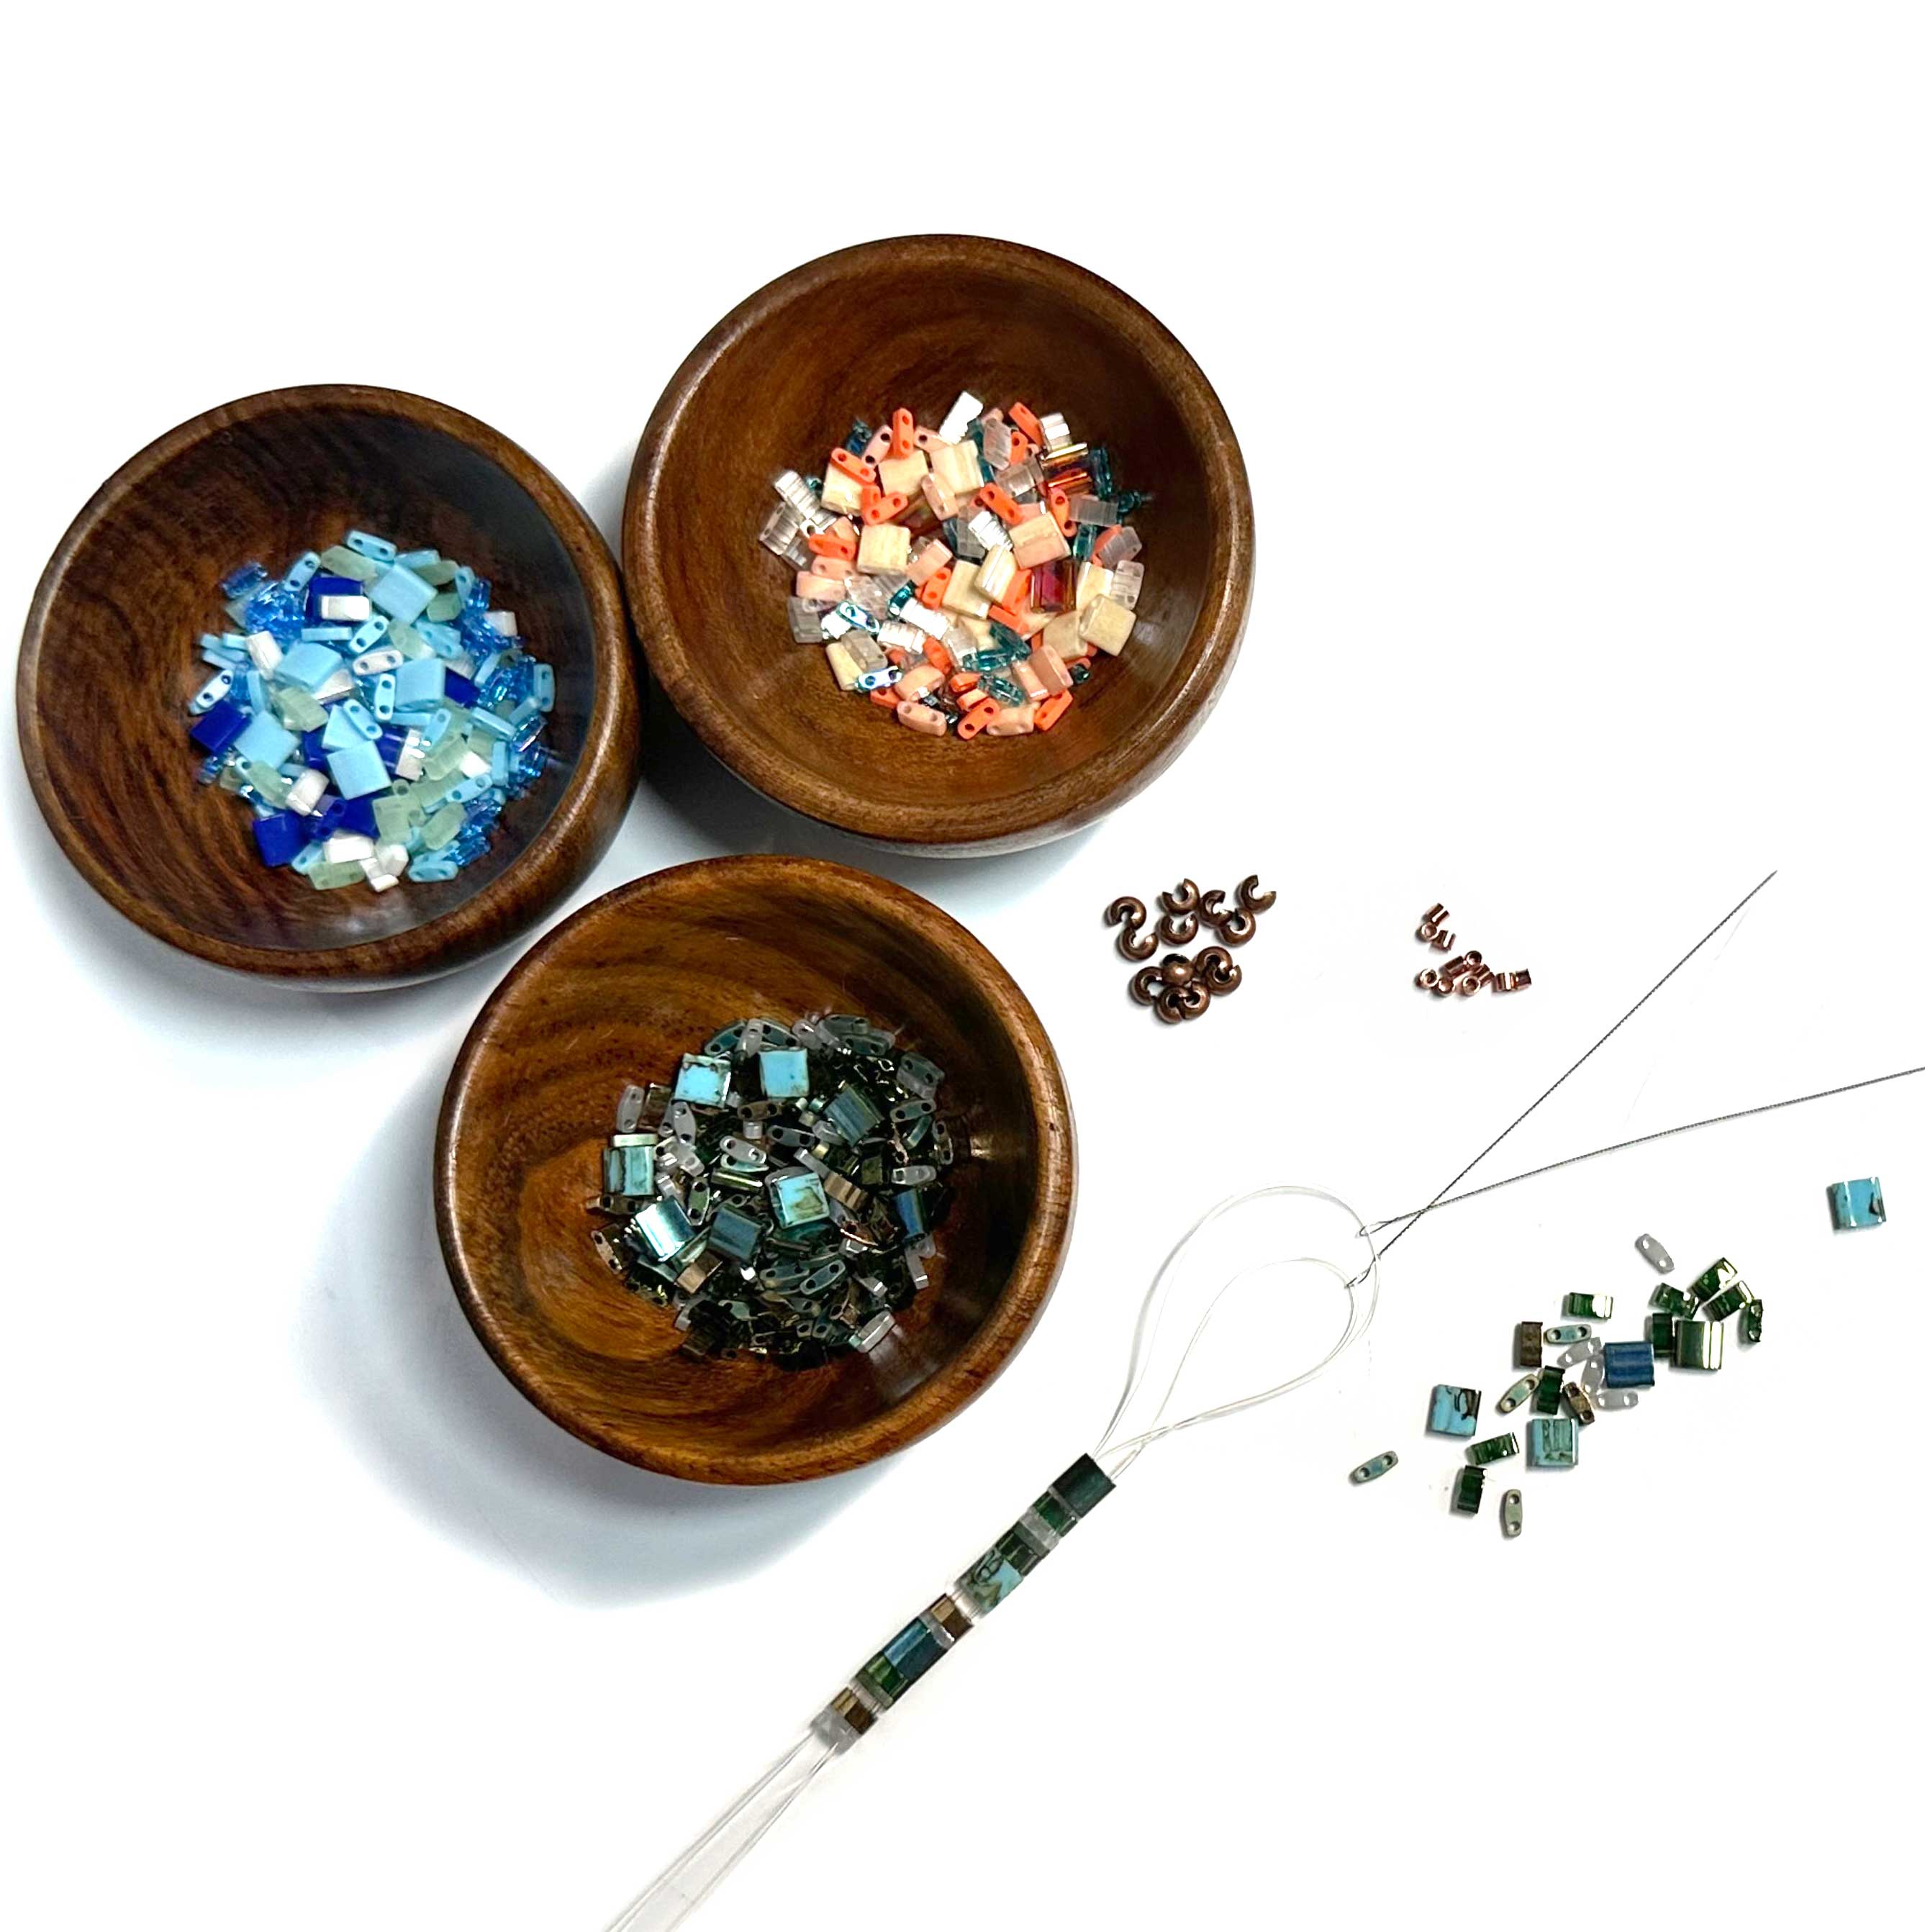
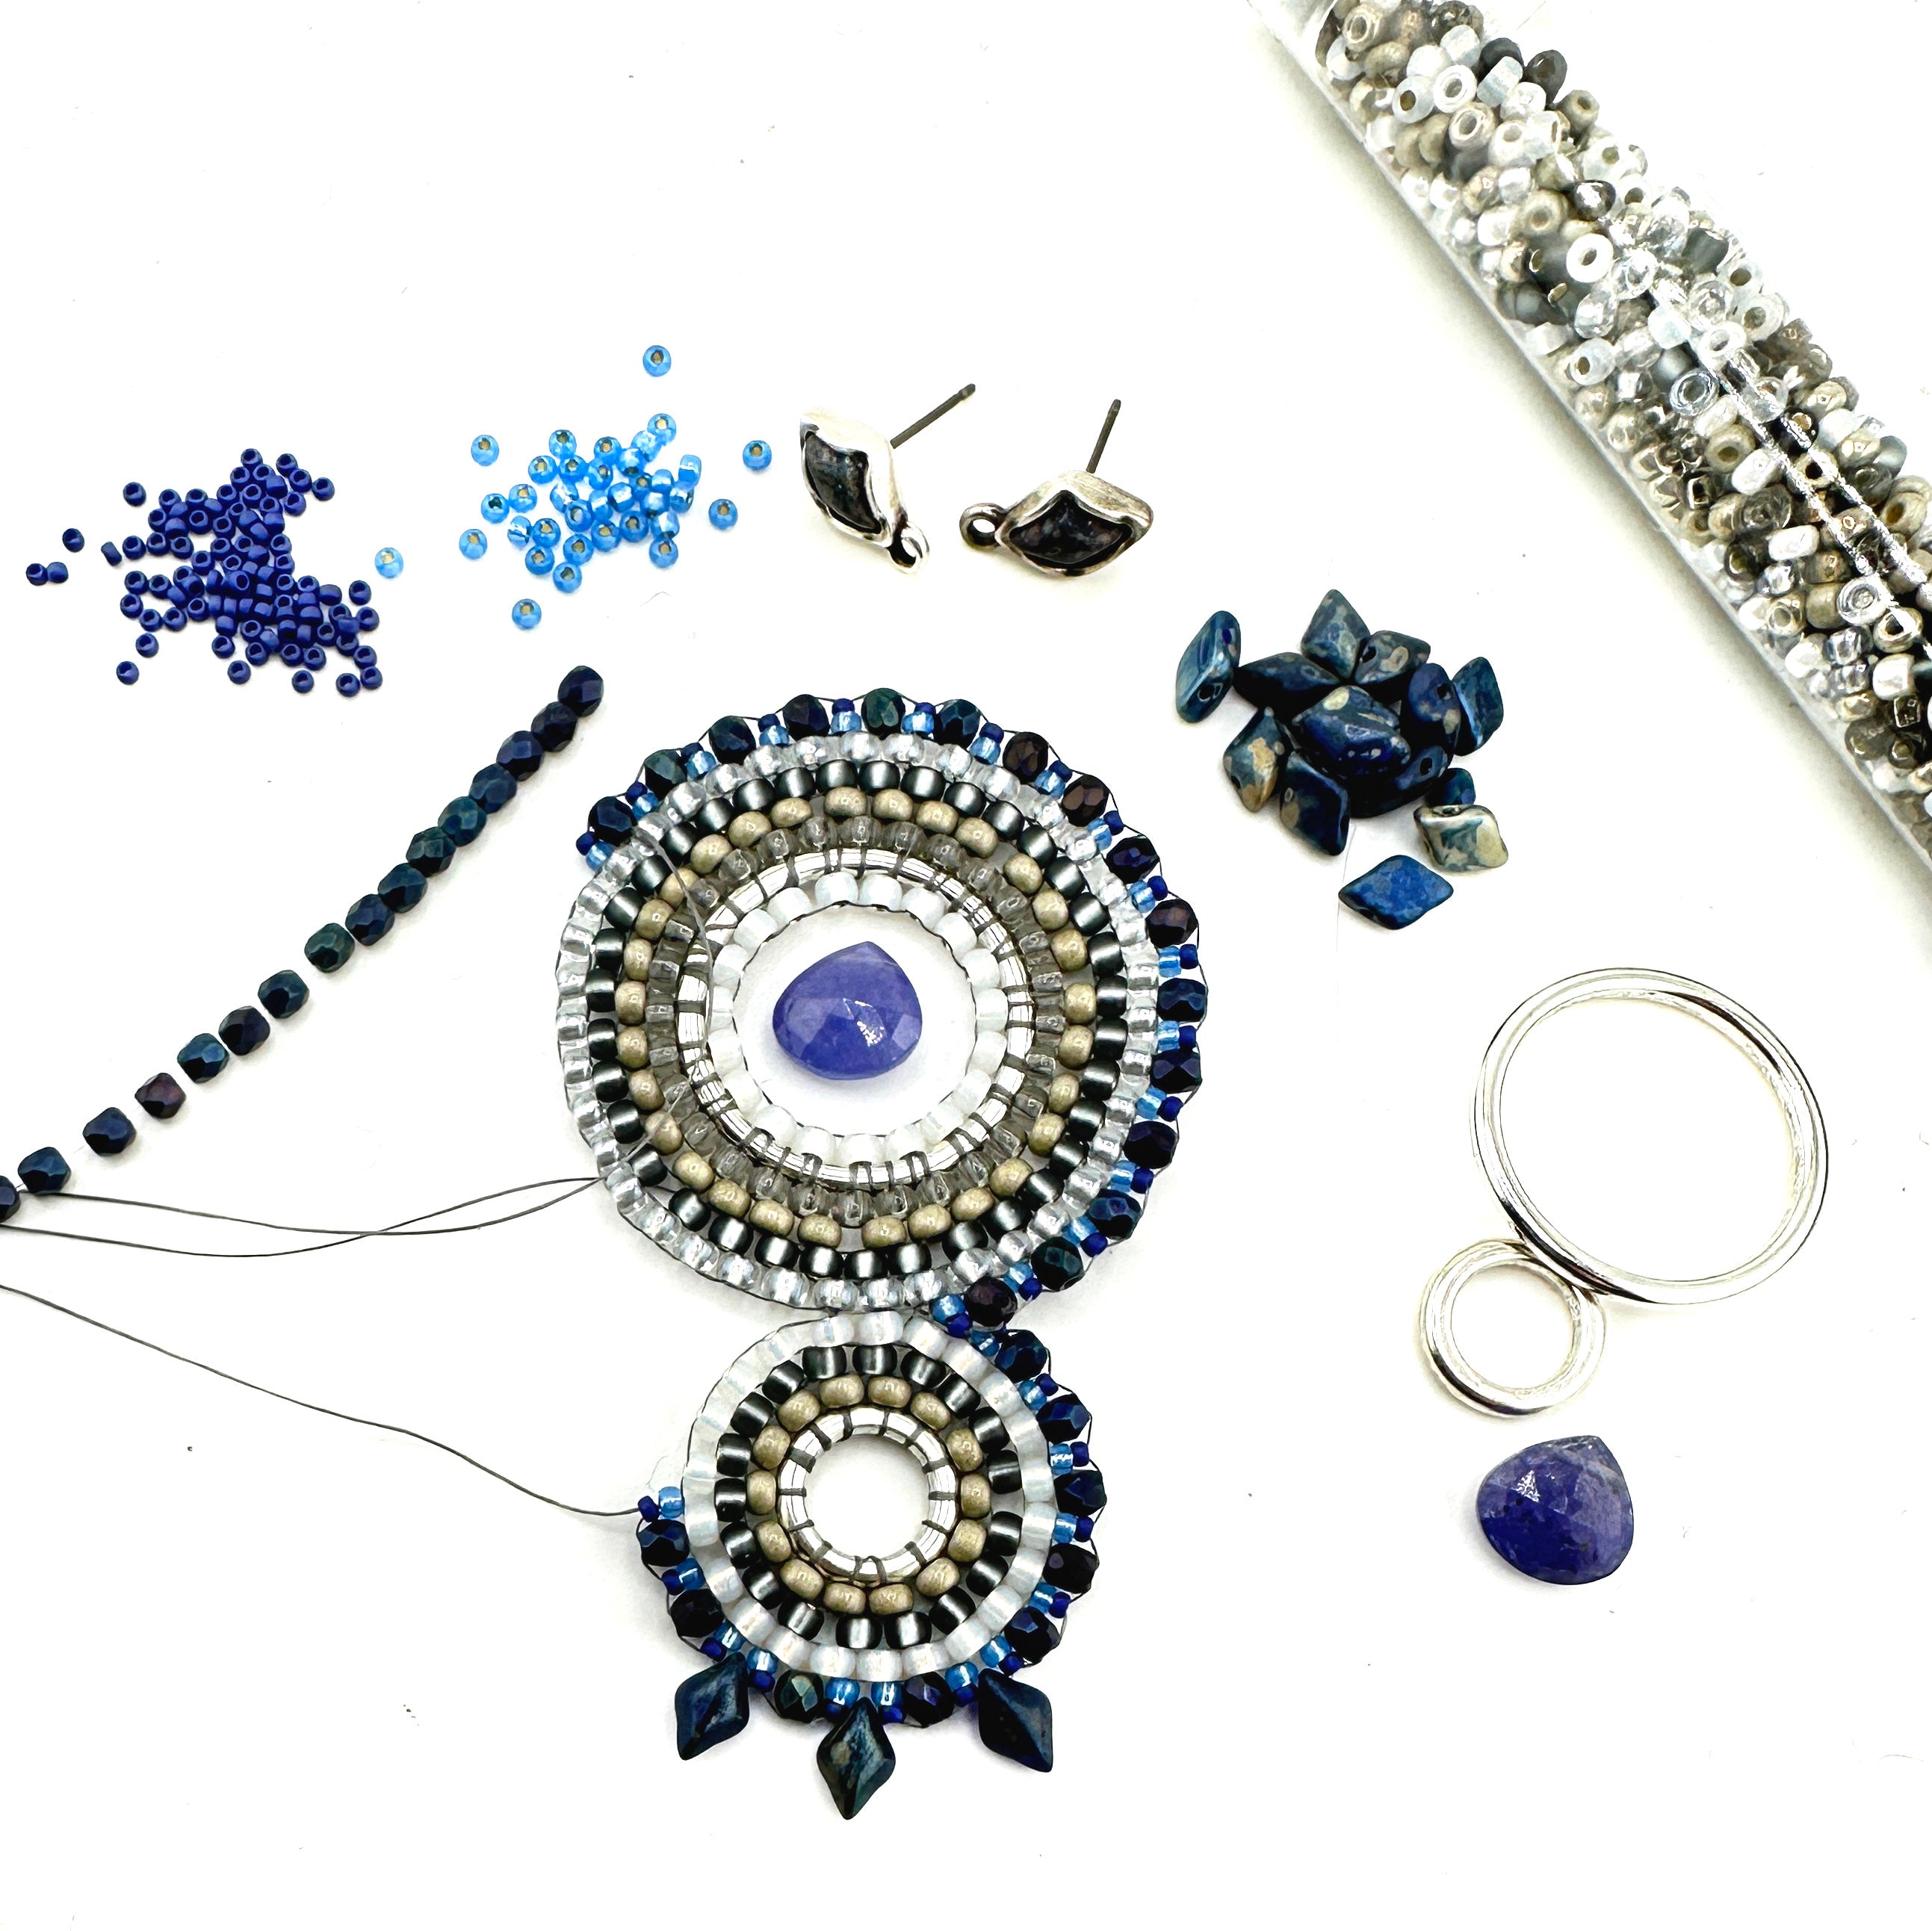
Janice Parsons
To most jewelry artists, silk wrapping is a mystery; we come across examples of it in museums where ancient and tribal jewelry is displayed. Rarely is this technique integrated by jewelry artisans today, but it is a wonderful skill to have in your tool box, especially with the present popularity of cord and fabric accessories. In this project, we will incorporate silk wrapping to create a soft and elegant fabric necklace you’ll find yourself wearing all the time. So, let’s get started. Scroll down to see our silk wrapping video!
Project Level: Beginner Time to Complete: 1 hour 30 min
Ingredients
- 36" Kimono Cord 8-9mm round
- This doubles over to make a two strand necklace 16-17” in length. If you want it longer, please allow more cord for your project.
- 1 medium button, toggle or a bead made into a toggle with wire (see sample on last video)
- 1 spool Superlon 18, Conso or upholstery thread for silk wrapping
- 1 spool Superlon D thread and 1 English beading needle (or needle and thread of your choice) for sewing on the button.
Studio Essentials
- Wire Cutters
- Thread Scissors
- 4-6 Straight Pins
- Pencil
- Tape Measure
Fold your cord in half and curve it like you would a necklace.The cords should lay next to each other with the cut ends touching. The “halfway point” on the loop side makes the inside cord about an inch shorter than the outside. The cord should not overlap or have gaps of space between them. Sample the placement in front of the mirror. Make any adjustments you need to get them close together but not overlapping. With one or two straight pins, bring the open ends together. Add another pin about 1-1/2” away from the loop on the other side to keep the cord placement stationery.
Calculate how much of an opening you need inside the loop for your button to slide through. You want the button to move through easily but you don’t want the loop overly large. Find the balance by taking the button and pinching the cords below it to see how much space you really need. Reposition the straight pin at the point you want to start your silk wrap.
Watch our YouTube Video demonstrating silk wrapping. You can practice wrapping on your pencil.
Remember:
- The longer tail wraps over the short
- Wrap in direction of your thread loop
- After last wrap, thread the end through the loop
- Pull on the tail left at the beginning of the wrap until your loop rests inside the middle of the wrap
- Gently firm up wrap by pulling on both tails at once
- Cut the two tail ends with wire cutters
Unlike the video and practicing on your own, when you do the silk wrapping on the cord, you will be wrapping two cords together, rather than just one or a single pencil. It’s easier than you think...don’t worry! When you have completed the loop wrap on your real cord, it should look similar to this. Remember, the important factor is getting the loop end underneath the middle of the wrap to insure its securely placed.
On the unfinished ends, take your pencil or finger and push the cord stuffing and ends back inside. Your goal is to have both ends looking neat before you begin sewing them together into a continuous tube.
Cut 28” of Superlon D fine nylon. Thread your needle to sew using your thread doubled over. With the two ends facing each other, carefully hand sew the ends together to give you a continuous cord. Tie off your D thread by doing a double overhand knot; that means going through the same loop twice. Cut the excess thread with your wire cutters.
With the aid of straight pins, form your double cord on a flat surface to help you pinpoint the spot where your wrap will start. It should ideally be 1/3-1/2” from the folded end. Cut 24” of Superlon 18 and repeat steps to silk wrapping.
Using your beading needle and 28” of Superlon D, securely sew your button to the end of the cord.
When your sewing is completed, your button should look something like this.
Your finished button and loop project is really going to catch everyone’s eye and it’s so light and comfy. When you want to wash it, be gentle; use lingerie soap and only wash it by hand in cold water. Do not wring it out and allow it to dry flat.
Double it and wear it as a bracelet
Make it but don’t sew a button on and use it as an eye glass leash