Cart
...guiding and inspiring your with projects and products

Wire Wrapping a Briolette

Wire Wrapping a Briolette

Wire-wrapping briolettes will open so many new doors in your world of design. It is a great way to add embellishments to chain, earrings, components, thick cord, the list goes on and on. It is a technical skill and takes practice to perfect. If you find yourself getting frustrated, put it down and walk away for a little bit; then come back to it.

Project Level: Beginner     Time to Complete: Depends on Experience

Ingredients

- Briolettes (horizontally drilled)

- 24-28 gauge wire; 
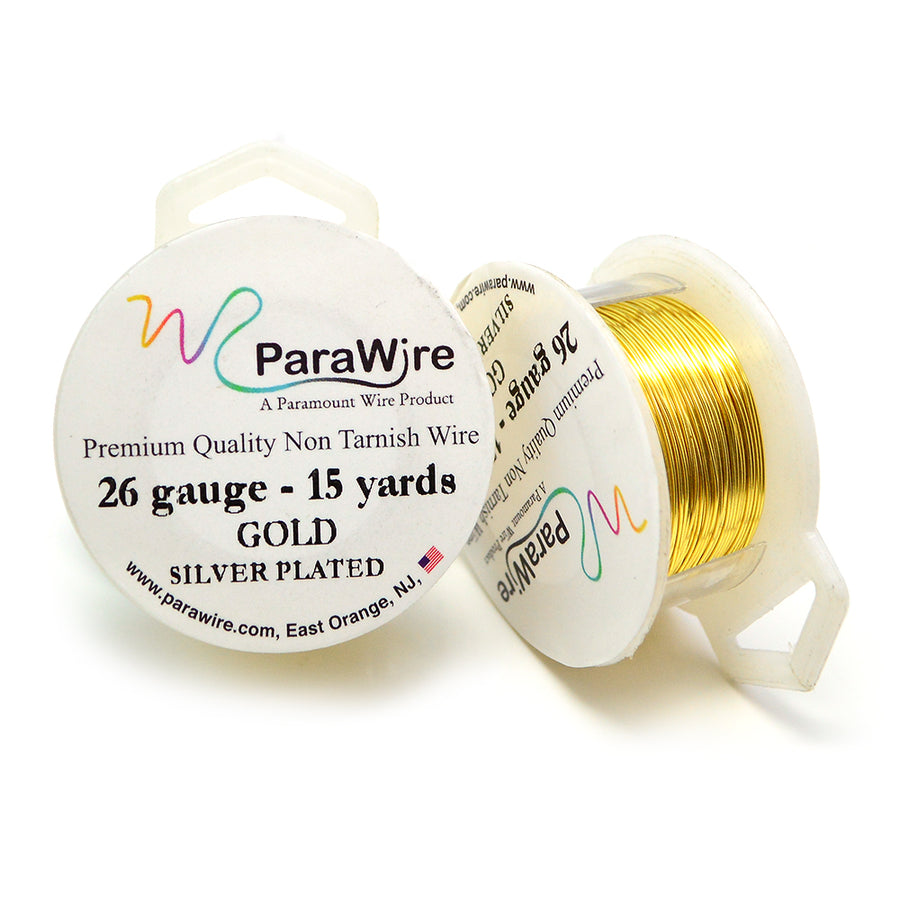
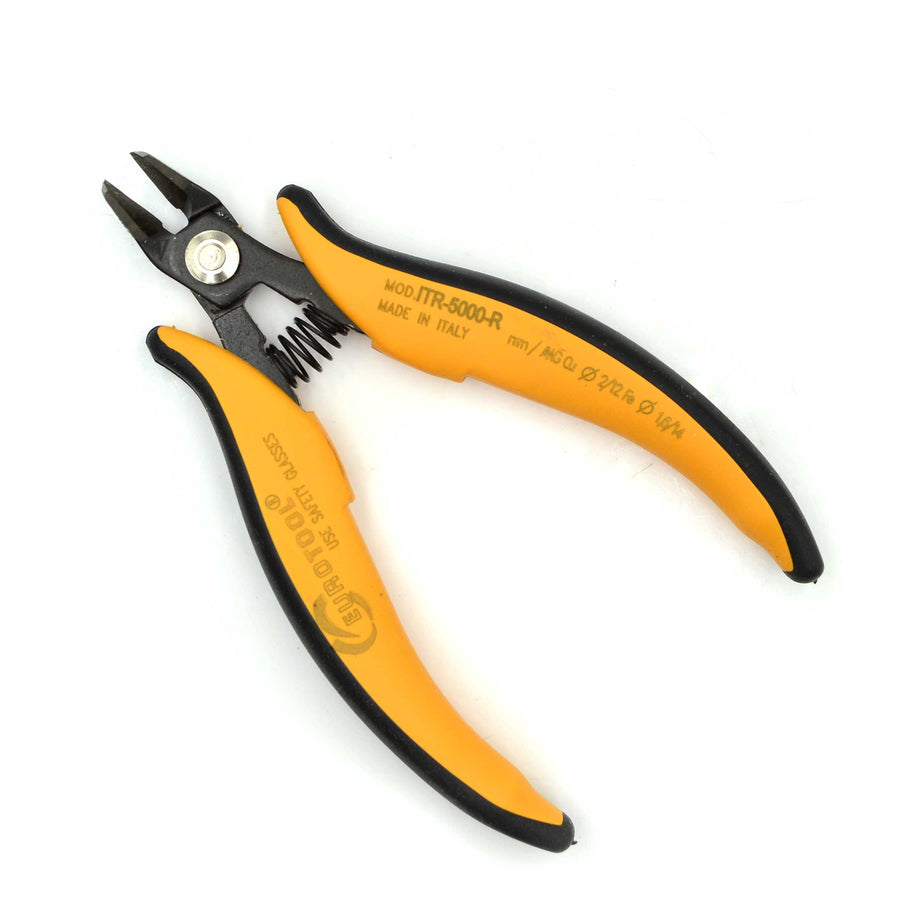
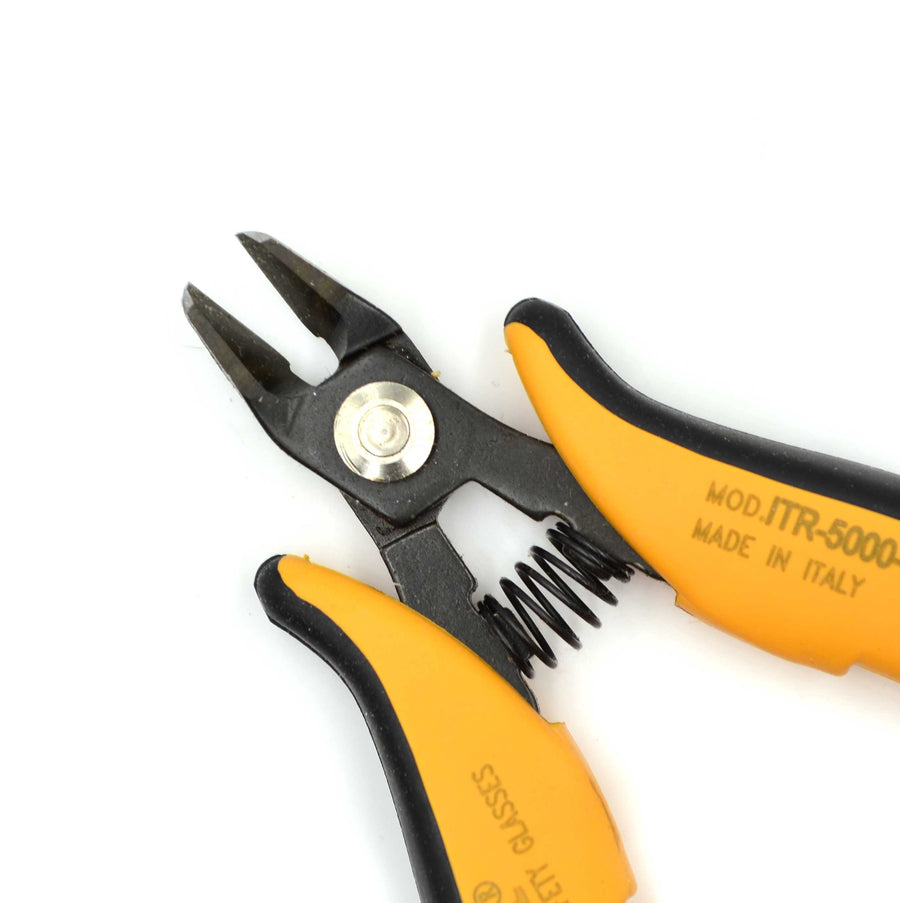
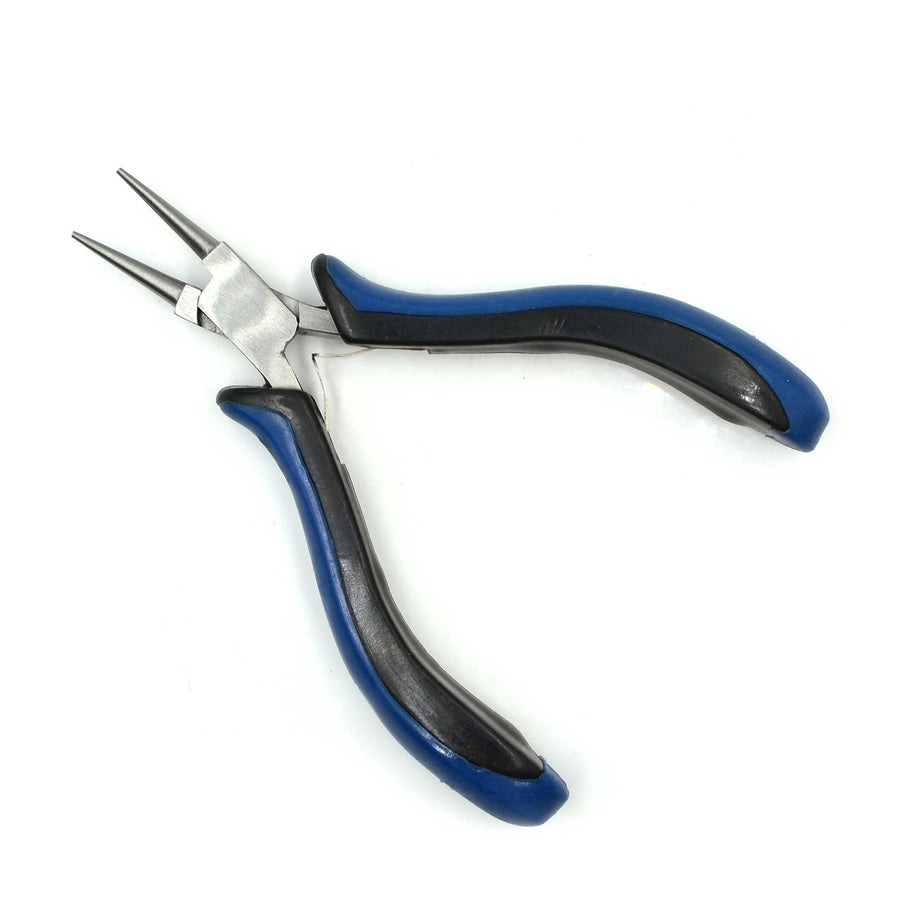
Test fit wire in all of the briolettes you intend on using.  Gemstones are not drilled the same, and wire may fit a few but not all.  If this is the case, use the next gauge up (smaller size wire) until you find one that fits most of your beads.  Do not exceed 28 gauge wire.

Studio Essentials

- Bent-nose chain pliers
- Needle-nose chain pliers
- Round-nose pliers
- Wire cutters

Step 1

Step 1

Slip a briolette onto the wire.  Leave 1/2" of the tail showing.

Step 2

Step 2

Pinch both wires at the top of the briolette to form the shape of a triangle.  Use your round-nose pliers if needed.

Step 3

Step 3

Confirm that the briolette is centered inside the triangle.

Step 4

Step 4

Using the needle-nose pliers, grab both wires above the triangle.

Step 5

Step 5

Bend the longer tail into a right angle.

Step 6

Step 6

Switch to the round-nose pliers.  Place the tips of the pliers above and below the longer wire, at the right angle.

Step 7

Step 7

Rotate the bottom plier tip to the top of the loop.

Step 8

Step 8

Continue bending the wire around the bottom plier tip.  When the circle is complete, center it above the briolette.

Step 9

Step 9

Hold the circle and the short wire together with the bent nose plier.

Step 10

Step 10

Starting at the base of the loop, begin wrapping the longer wire in the space between the loop and top of the wire triangle.

Step 11

Step 11

At this point you can cut the wire at the top of the briolette and skip down to Step 14, or cap the briolette by continuing onto Step 12. 

Step 12

Step 12

Continue to wrap until you have run out of wire or you are happy with the look.  Most prefer to wrap below the hole.

Step 13

Step 13

Cut the excess wire off to the side of the briolette.

Step 14

Step 14

Bend the short wire down to a right angle.

Step 15

Step 15

Cut the wire flush against the loop.