

Project Info:
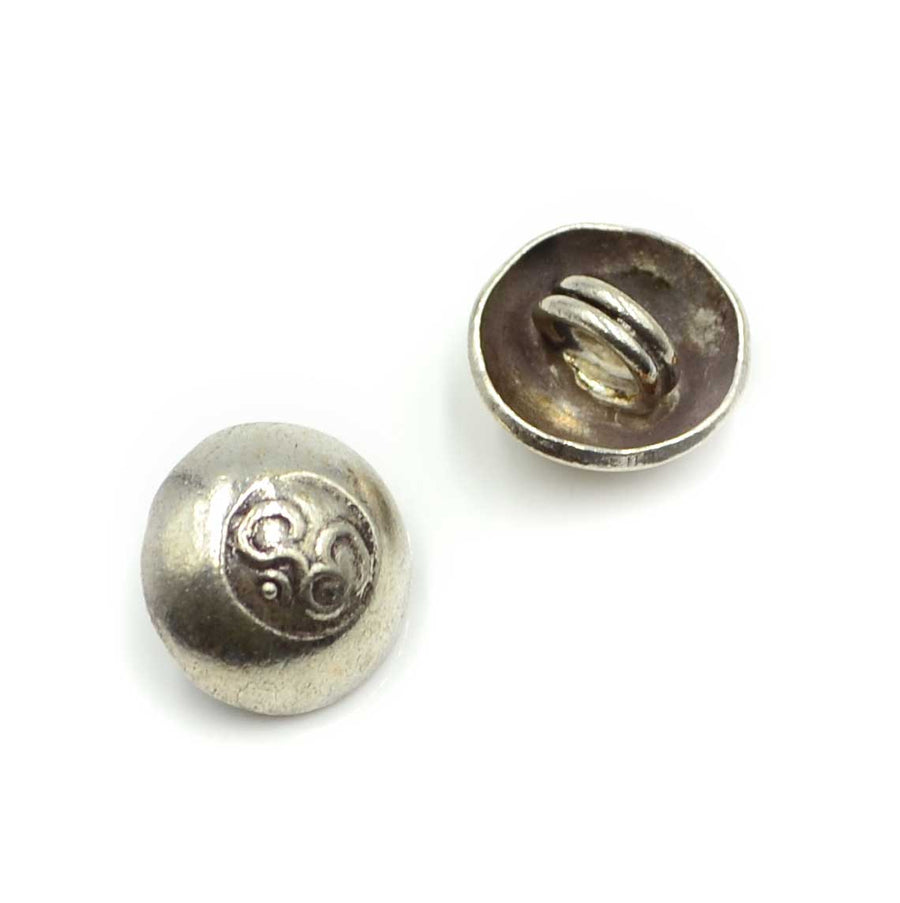
- 1 Passage to India Button
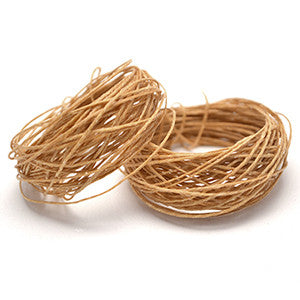
- 1 10 Yard Spool 4 Ply Butterscotch Irish Waxed Linen
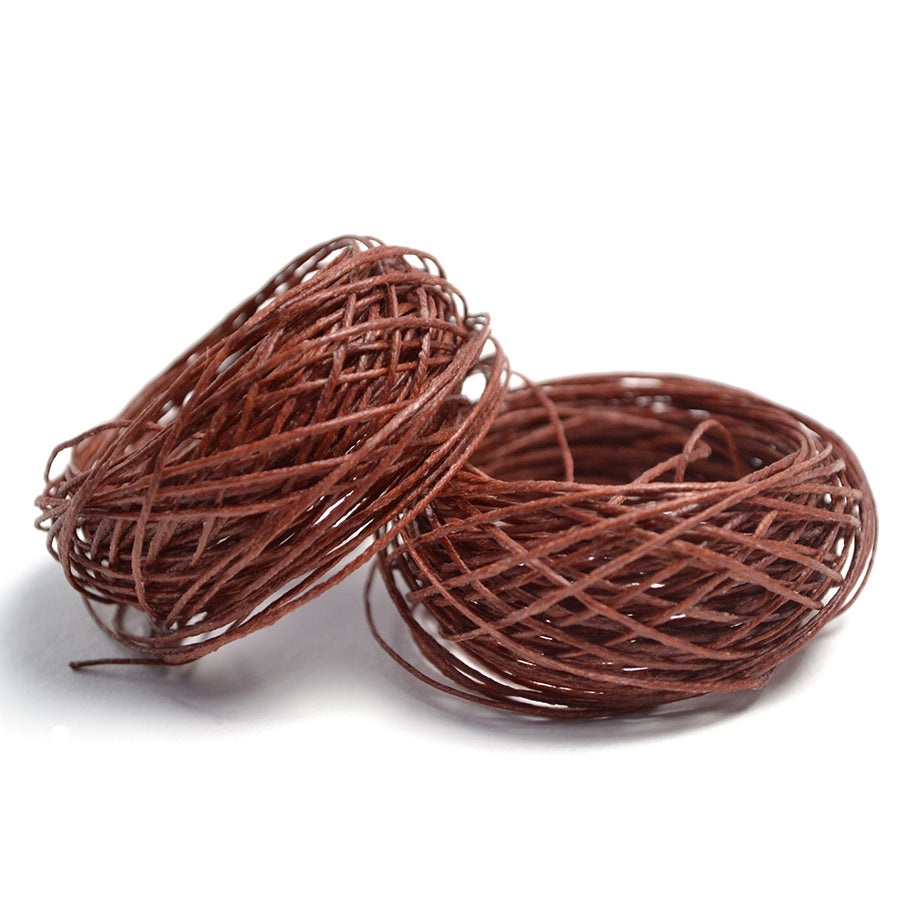
- 1 10 Yard Spool 4 Ply Brick Irish Waxed Linen
- 1 10 Yard Spool of 4 Ply Maroon Irish Waxed Linen (no longer available)
- 1 Strand White Padres
- 1 Strand Ancient Clay - Sand
- 1 Strand Heishi - Copper
- 1 Tube GS Hypo Cement
- 1 Passage to India Button
- 1 10 Yard Spool 4 Ply Butterscotch Irish Waxed Linen
- 1 10 Yard Spool 4 Ply Brick Irish Waxed Linen
- 1 10 Yard Spool of 4 Ply Maroon Irish Waxed Linen (no longer available)
- 1 Strand White Padres
- 1 Strand Ancient Clay - Sand
- 1 Strand Heishi - Copper
- 1 Tube GS Hypo Cement
Level: Beginner
Estimated time: 3 Hours
By Brittany Ketcham
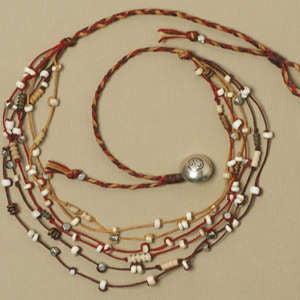
Using a combination of braiding and floating techniques, Brittany has created a lighthearted necklace with the added surprise of bursting color. Because she chose to use three contrasting colors of waxed linen, her six strand necklace is both playful and artisan. She begins by braiding six strands and then separates each strand to float and braid with beads added. The design is simple but very effective. With the addition of a component, High Spirits goes from being just playful to truly artisan and personal.
Watch How to Make a Beaded Braid (inserted below) for project techniques and overview of this design. Finished length is approximately 18 inches, not including the added length of the pendant. Adjust materials for desired length
Beaded Braid- Desert Sun


Project Map

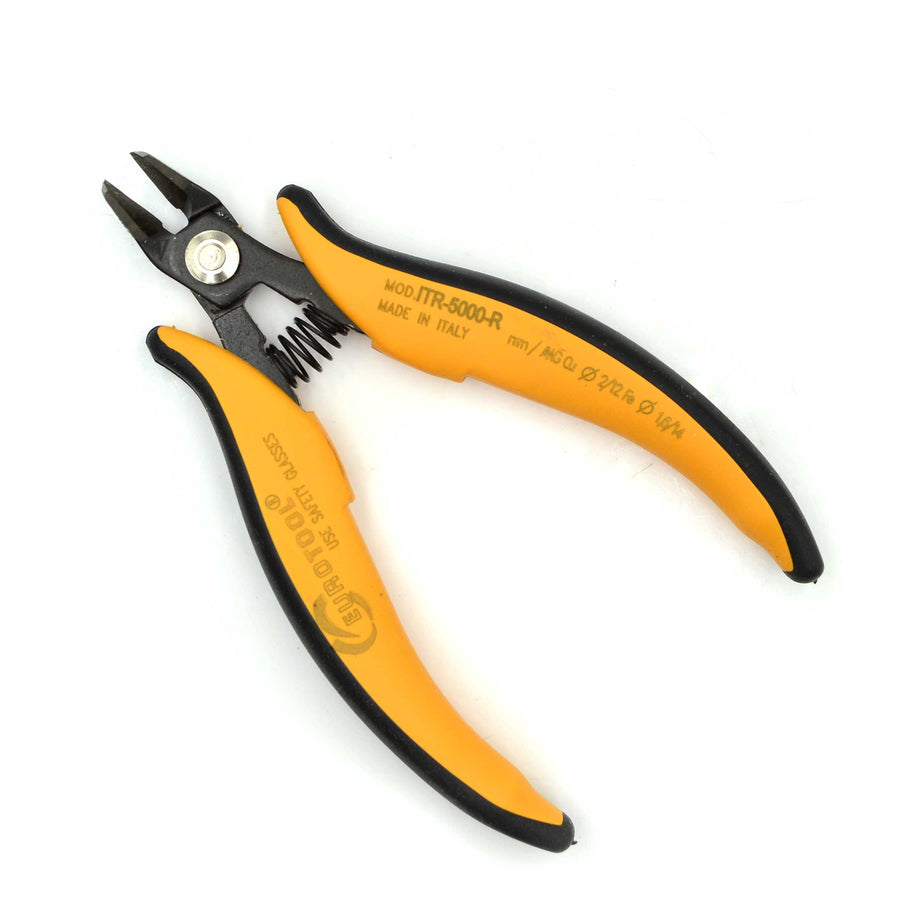
Begin With a Button: Please watch the video for braiding techniques which are not be covered in this companion handout. To begin building this design, you will need 6 strands of 4 ply linen cut 40 inches each in 3 colors. Bring 6 strands together and at one end, tie an overhand knot. Add a drop of Hypo-tube Cement to the knot. Later you can cut the tails with your wire cutters on this end or leave them long. String all your 6 strands of linen through a hex bead. Secure your project to a smooth surface using tape. Braid for 6 inches. (In a little bit, you will tie an overhand knot at the end of the braiding, but you can?t yet.) Thread the shank of your button onto the waxed linen and bring it up over the section you have braided. Using the silk wrapping technique, fold the braid on itself and silk wrap over your braid using a short length of linen (about 10 inches will do the wrap).

Ready to Float: Now you can tie the overhand knot at the end of the braiding of the 6 strands. Separate each strand and float your beads on each thread. Each floating strand measures 8-10 inches. It is random, so try to just relax about the lengths.

You have two ways of floating beads..... In the photograph below, the two styles are shown. The top float is a loop and it works well with beads with larger holes. String on a bead and then loop back and go through it again. Hold the bead in place and tighten down the linen. It will more than likely stay there forever. That is one of the beauties of waxed linen. The lower sample uses a knotting technique. Tie an overhand knot on the linen. String on a bead and tie another overhand knot on the other side. This is not pearl knotting....they do not have to be perfectly up against the bead. The more you do this, the closer your knots will get to the bead, just do not worry!

When you are done floating beads in your center section, you want to tie another overhand knot to bring all 6 strands together. Braid the strands together for about 6 inches, like you did on the first side. Once you have matched the length from the first side, Loop your braid onto itself to make a button loop. Check first that it fits the button to the size it needs to be. Take another separate length of linen and make a second silk wrap for the button loop.
Braid any additional length you need for the tail and thread on a hex bead. After the hex bead, tie an overhand knot at the end. Dab on a bit of Hypo-tube Cement and let the knot dry. If you want to cut the ends short, do that with wire cutters once the glue sets.